Upcycling and crafting are wonderful ways to express creativity while embracing sustainability, and this project perfectly embodies that spirit. Transform humble terracotta pots into charming and unique bird decorations with this simple, eco-friendly DIY project. Using readily available materials and minimal tools, you can create delightful additions to your garden, patio, or even indoor spaces, adding a touch of rustic whimsy to your surroundings. These charming birdhouses are not only aesthetically pleasing but also provide a sense of accomplishment, proving that beautiful creations can stem from simple, sustainable practices.
Forget expensive store-bought decorations – let's unleash your inner artist and create these adorable bird-themed terracotta pot masterpieces! This guide will walk you through each step, from preparing your pots to adding the finishing touches, ensuring a fun and rewarding crafting experience. Let's get started and discover how easily you can turn ordinary terracotta pots into extraordinary avian artwork!
Preparation and Safety Guidelines
- Terracotta
- Aluminum foil
- Water
- Paint (optional)
- Always supervise children during crafting. Small parts can pose a choking hazard.
- Terracotta pots can be fragile. Handle with care to avoid breakage and potential injury.
- Use non-toxic paints and sealant, especially if the bird feeder will be used outdoors and potentially come into contact with birds or rain water.
Step-by-Step Instructions
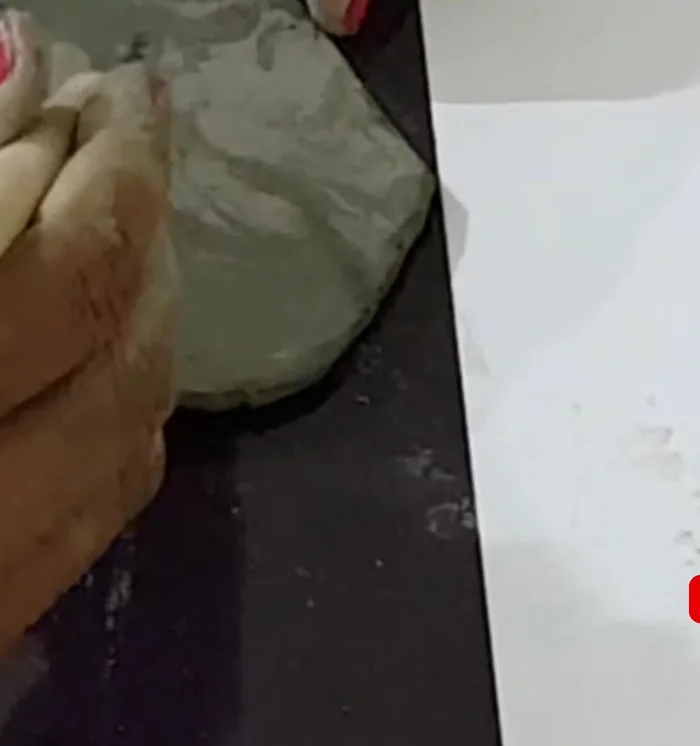
Prepare the Terracotta Base
- Prepare the terracotta base. Use aluminum foil to reduce thickness if needed.

Prepare the Terracotta Base Shape the Bird's Body
- Shape the bird's body. Use a reference image for easier shaping.
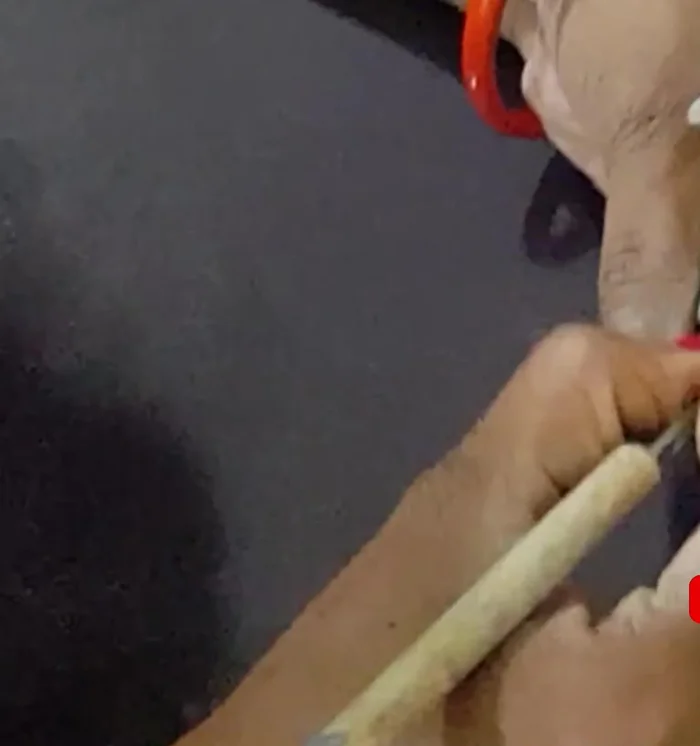
Shape the Bird's Body Create and Attach Legs
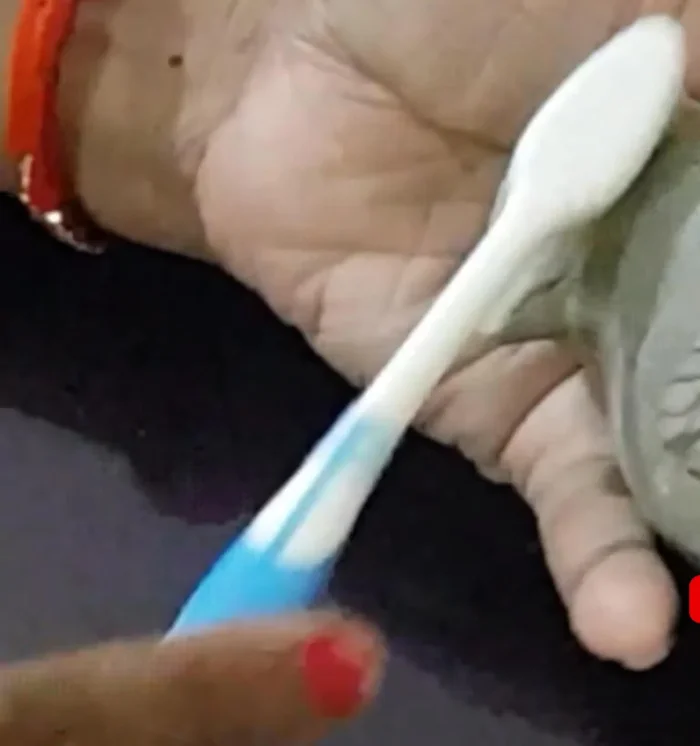
- Create the bird's legs. Shape, smooth, and attach them to the body using water as adhesive.
Create and Attach Legs Create and Attach Wings
- Make and attach the wings. Cut and shape the wings, then attach them to the body using water.
Create and Attach Wings Add Feather Texture
- Add feather texture. Carefully cut and shape the feathers, creating a realistic look. Take your time for best results.
Add Feather Texture Refine Details
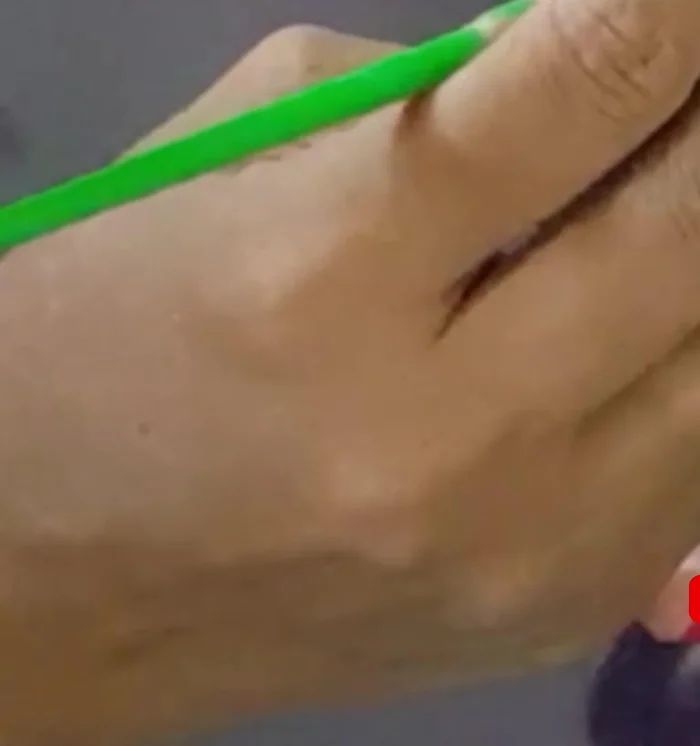
- Refine the details. Add lines and dots to the bird's body for a more detailed appearance.
Refine Details Optional: Paint the Bird
- Paint the bird. Add color to enhance the bird's features or leave it natural.
Optional: Paint the Bird Finish and Dry
- Finish and dry. Allow the bird to dry completely.
Finish and Dry


Read more: Hang Your Clay Creations: The No-Hole Hanger Method
Tips
- Use a reference image to help with shaping the bird.
- Take your time to create the feather texture for a better result.
- Natural terracotta looks beautiful without paint.