Unleash your inner artist and discover the captivating world of polymer clay mosaics! This versatile medium allows for boundless creativity, transforming simple clay shapes into stunning, personalized works of art. Whether you're a seasoned crafter or a complete beginner, the possibilities are endless. From vibrant jewelry to intricate wall hangings, polymer clay mosaics offer a rewarding and accessible craft for all skill levels. The beauty lies in its forgiving nature – mistakes are easily rectified, encouraging experimentation and exploration.
This guide provides a gentle introduction to the art of polymer clay mosaics, equipping you with the fundamental skills and techniques needed to create your first masterpiece. Let’s dive into a comprehensive, step-by-step process that will transform your initial apprehension into confident creation, guiding you through every stage of the process, from material selection to final finishing touches.
Preparation and Safety Guidelines
- Sculpey Primo or Sculpey Souffle polymer clay
- Wax paper (deli sheets)
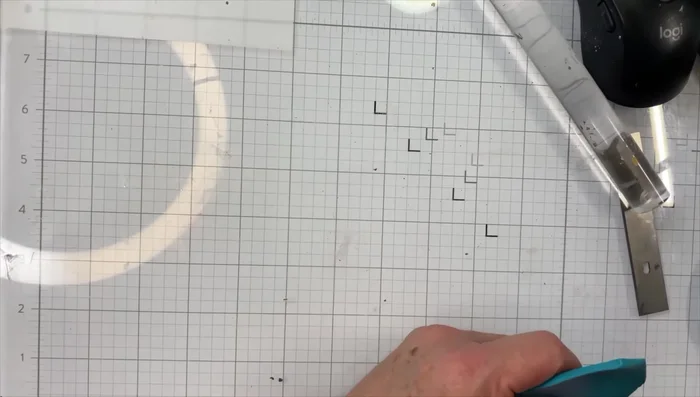
- Glass surface or tile
- Flexible blade
- Rigid blades
- Acrylic roller
- Atlas pasta machine
- Clear cling stamps
- Brayer
- Micapowders (Jacquard Perlex or similar)
- Baby wipes
- Cookie cutters (various sizes)
- Nail file
- Water-based sealer (Quick Shine Multi-Surface Floor Finish)
- Makeup brush
- Tweezers (optional)
- Heat gun or hair dryer (optional)
- Toaster oven or regular oven
- Polymer clay needs to be baked in a well-ventilated area according to the manufacturer's instructions. Inhaling fumes can be harmful.
- Always wash your hands thoroughly with soap and water before and after handling polymer clay. Avoid touching your face or eyes.
- Use a dedicated workspace and tools for polymer clay to prevent cross-contamination with food preparation areas.
Step-by-Step Instructions
Prepare your Materials
Prepare the Clay
- Condition the clay by kneading it. Wrap unused portions in wax paper.
Roll and Condition Clay
- Use an acrylic roller or pasta machine (Atlas 150/180 recommended) to roll clay to desired thickness (number 3 setting on pasta machine recommended).

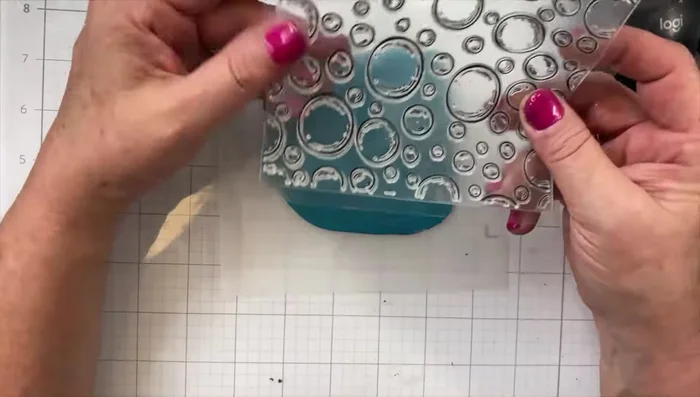
Roll and Condition Clay Imprint Design
- Use clear cling stamps to create impressions in your clay. If the clay is sticky, lightly spray with water.
Imprint Design Add Mica Powders (Optional)
- Apply colored micapowders to enhance the design. Use your fingers to gently tap and blend the powder.
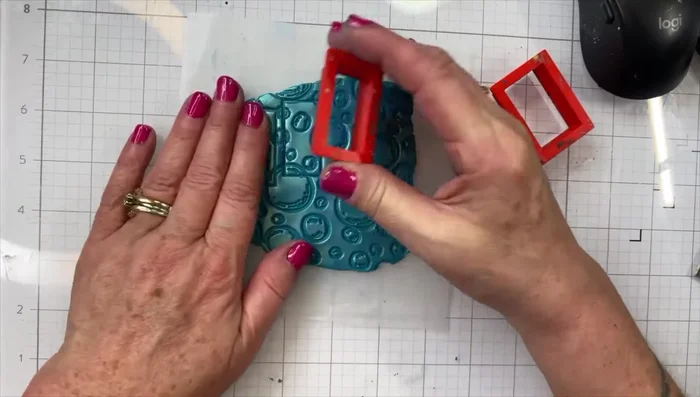
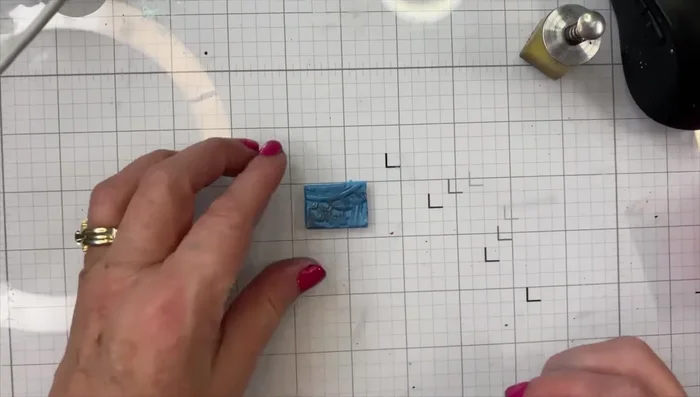
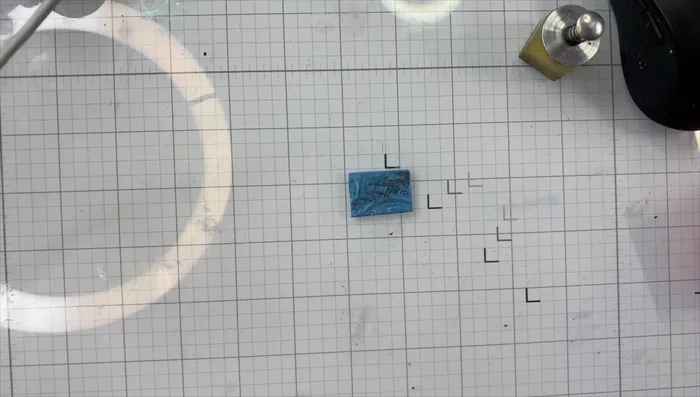
Add Mica Powders (Optional) Cut Tiles
- Use cookie cutters to cut your desired shapes from the clay sheet. Lift each piece individually to prevent stretching.
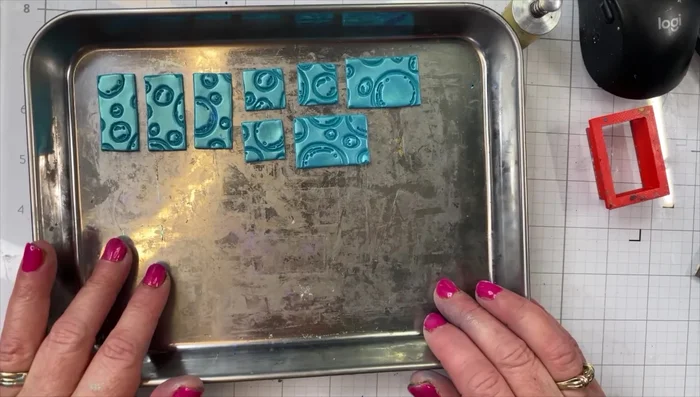
Cut Tiles Bake Tiles
- Bake in a toaster oven or regular oven at 275°F (135°C) for 30 minutes for thin tiles (less than 1/8 inch).
Bake Tiles File and Smooth Tiles
- Once cooled, use a nail file to smooth any rough edges or imperfections.
File and Smooth Tiles Seal Tiles
- Apply a water-based sealer designed for polymer clay (Quick Shine Multi-Surface Floor Finish recommended) using a makeup brush. Let dry completely, optionally using a heat gun or hair dryer to speed up the process.
Seal Tiles

Read more: Hang Your Clay Creations: The No-Hole Hanger Method
Tips
- Choose the right clay: Sculpey Primo is a good all-around choice, Sculpey Souffle is slightly more expensive but offers a softer feel. Avoid Sculpey III for beginner projects.
- Buy in bulk: For cost savings, consider purchasing larger packs (8 oz or 1 lb) of black, white, and pearl clays.
- Mix colors: Experiment by mixing clays to create custom colors.
- Work on a suitable surface: Use a glass surface, ceramic tile, or wax paper to prevent sticking.
- Always lift tiles before cutting: Avoid stretching the clay by lifting individual tiles before cutting out shapes.