Unleash your creativity and elevate your scrapbooking and card-making projects with the captivating world of stenciling! Forget mundane designs; stencils offer a gateway to stunning visual effects, adding depth, texture, and intricate detail with surprising ease. From delicate floral patterns to bold geometric shapes, the possibilities are endless, allowing you to personalize your creations and reflect your unique style. Imagine effortlessly adding layers of color, creating breathtaking backgrounds, and achieving professional-looking results without the need for complex artistic skills.
This article will guide you through a variety of stunning stencil techniques, perfect for both beginners and experienced crafters. We'll explore different stencil materials, paint application methods, and innovative layering strategies to help you master this versatile craft. Ready to transform your projects? Let's dive into the step-by-step process and unlock the full potential of stenciling in your scrapbooking and card making adventures.
Preparation and Safety Guidelines
- Stencils (Cricut-made or store-bought)
- Ink pads
- Inking tool with removable foam pads
- Paper trimmer
- Card stock
- Pattern paper
- Pictures
- Foam stickers
- Label maker
- Acetate
- Black shimmer brush
- Baby wipes
- Adhesive (optional)
- Scissors
- Twine
- Hole punch
- Stamps
- Stickers
- Liquid glass (optional)
- Spectrum Noir tri-blend markers (optional)
- Always use a stencil that is appropriate for your chosen medium (e.g., don't use a flimsy stencil with heavy paint). A sturdy stencil will prevent paint bleed and tearing.
- Secure your stencil firmly to your surface to prevent movement while applying paint, ink, or other mediums. Use painter's tape or stencil adhesive for best results.
- Clean your stencils thoroughly after each use to remove any residue. This will ensure their longevity and prevent clogging of detail.
Step-by-Step Instructions
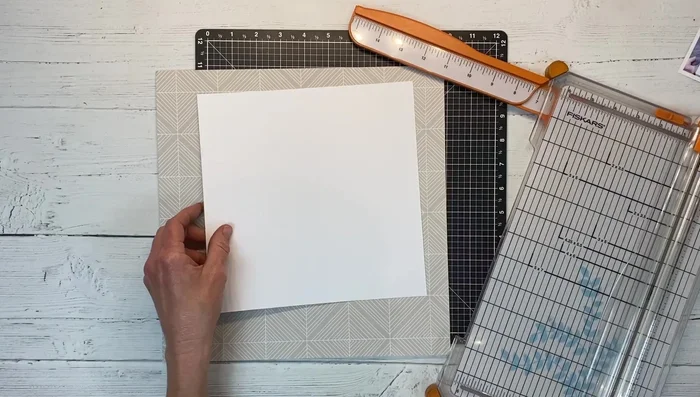
Prepare Materials
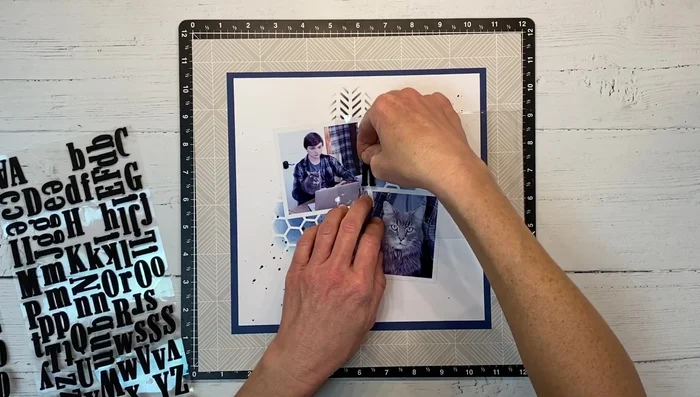
- Choose card stock and pattern paper for your background and center panels. Cut and arrange the elements as desired.

Prepare Materials Base Stenciling
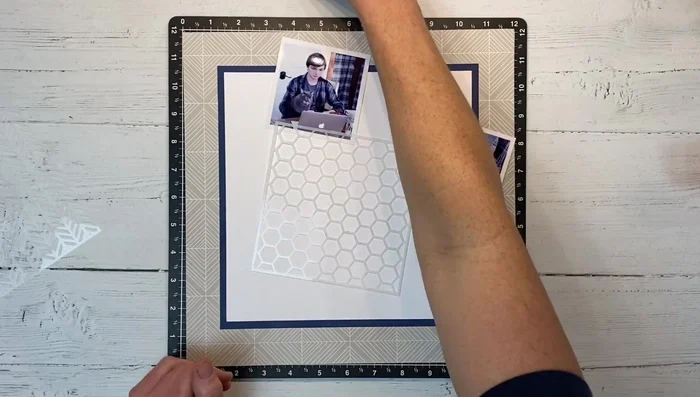
- Secure your stencil onto the card stock/paper. Apply ink to the stencil, focusing on the center and blending outwards for a faded effect. Remove the stencil.
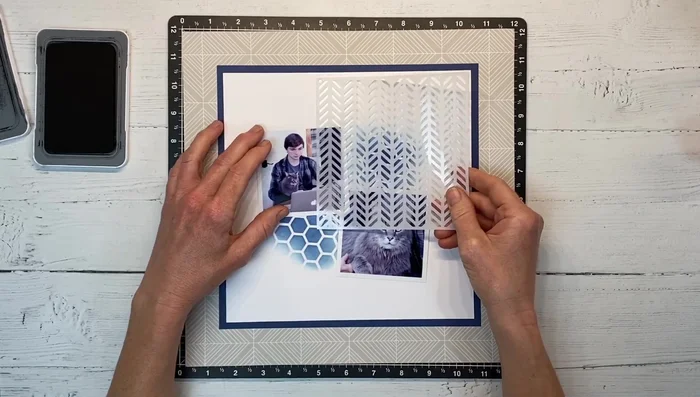
Base Stenciling Layered Stenciling
- Overlap different stencils to create more complex designs. Experiment with different ink colors for added depth.
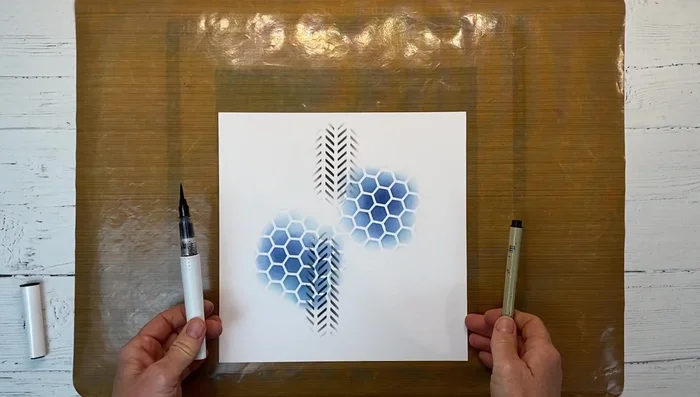
Layered Stenciling Add Texture
- Use a black shimmer brush to create splatters on the background for added interest.
Add Texture Add Embellishments
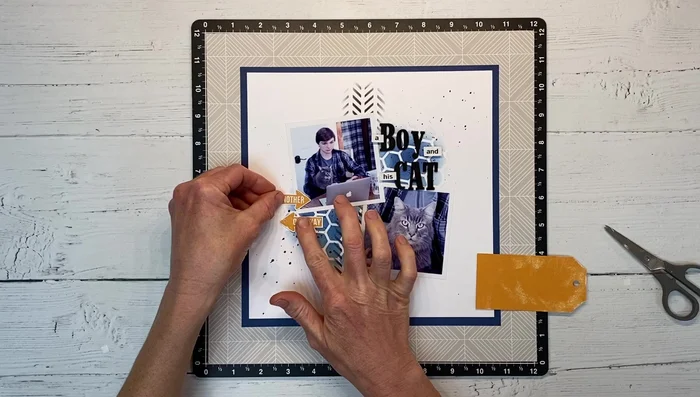
- Add foam stickers, printed titles, or other embellishments to enhance the design. Consider layering to build visual interest.
Add Embellishments Create Tags
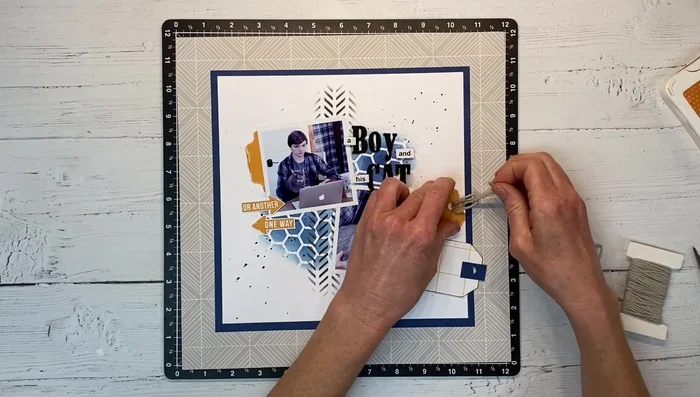
- Create small tags from coordinating paper, add embellishments (stamps, stickers, etc.), and attach them to the project.
Create Tags Final Touches
- Add journaling, twine, and other elements to complete the project.
Final Touches
Read more: Easy Origami Paper Box Tutorial: Step-by-Step Guide
Tips
- Store stencils on a jump ring and hang them for easy access and storage.
- Use removable tape or spray adhesive to secure stencils, but for small areas, holding them by hand can work.
- Ink blending creates a cool mixed-media look with minimal effort. The ink dries quickly.
- Experiment with layering your stencils and ink colors to achieve unique effects.
- Consider using a label maker for a unique titling effect.