Have you ever finished a painting and felt it was almost there, but lacked a certain je ne sais quoi? A subtle texture, a touch of unexpected depth, a playful burst of energy? Sometimes, the final flourish isn't about adding more paint, but about manipulating what's already there. Enter the humble sponge, a surprisingly versatile tool capable of transforming a completed artwork from ordinary to extraordinary. This simple technique allows you to add layers of complexity, soften harsh lines, or create exciting visual effects with remarkable ease.
Sponge painting offers a unique approach to adding texture and visual interest to your artwork, enabling you to experiment with diverse styles and achieve breathtaking results. Whether you’re aiming for a subtly blended effect or a bold, expressive statement, this accessible technique opens up a world of creative possibilities. Let's delve into a step-by-step guide that will show you exactly how to harness the power of the sponge and transform your finished paintings.
Preparation and Safety Guidelines
- Sponge
- Brushes
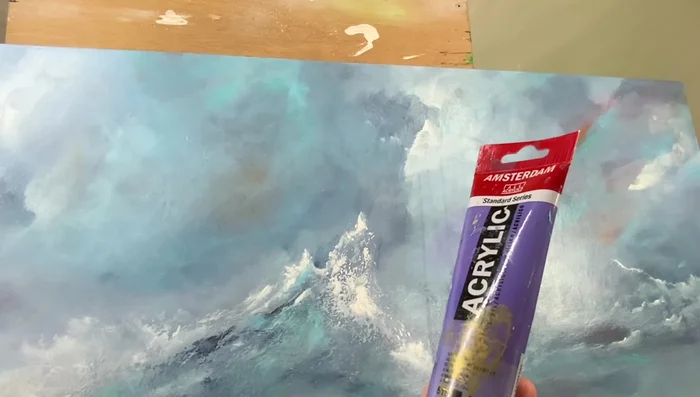
- Acrylic paints
- Paper towels
- Always work in a well-ventilated area. Sponge painting involves using solvents and paints that can release fumes.
- Protect your work surface with drop cloths or newspaper. Spilled paint can be difficult to remove.
- Wear appropriate safety gear, including gloves and eye protection, to prevent skin and eye irritation from paint and solvents.
Step-by-Step Instructions
Prepare the Painting
- Start with a finished painting you want to improve.
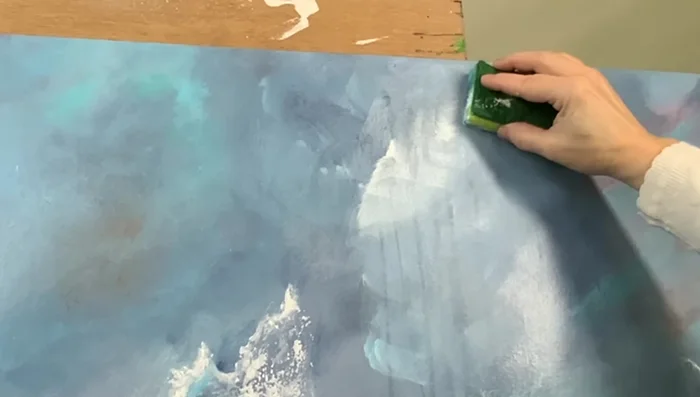
Create a New Base Layer
- Use a sponge with a very light touch to apply paint over the existing layers, creating a new base.
- Allow the paint to dry slightly before continuing to work on other areas.

Create a New Base Layer Layer and Blend Colors
- Layer different colors using the sponge, working in a very light touch to blend and soften the transitions. Go over areas multiple times to achieve the desired effect.
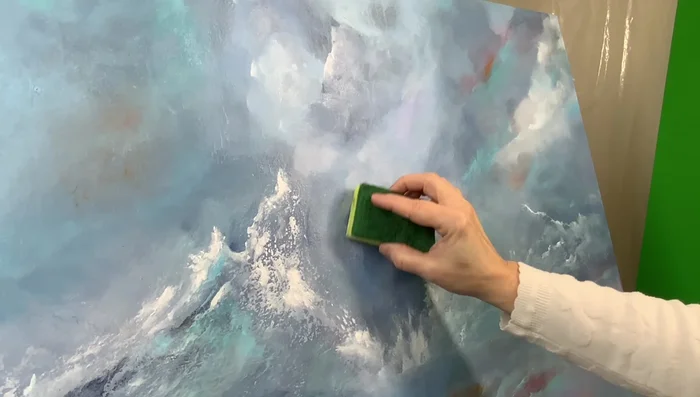
Layer and Blend Colors Add Texture and Detail with Sponge
- Use a dry brush technique with the sponge to create texture and detail. Apply paint with minimal pressure.
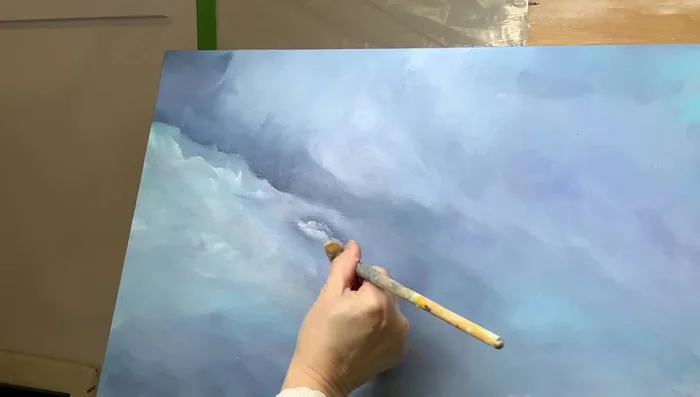
Add Texture and Detail with Sponge Refine and Enhance
- Add details with brushes to enhance areas and create dimension.
- Use a damp paper towel to gently blend or remove paint, making adjustments as needed.
Refine and Enhance
Read more: 7 Top Paint Color Trends for 2024: A Complete Guide with Free Downloadable Resource
Tips
- Use a very light touch with the sponge, especially when first starting. Multiple passes are often needed.
- Allow the paint to dry slightly between layers to prevent muddying colors.
- Experiment with different directions and pressures with the sponge to achieve varying textures and blends.
- Don't be afraid to make changes; acrylic paint is easily altered.
- Keep a damp paper towel handy for easy corrections.