Origami, the ancient art of paper folding, offers a captivating way to transform simple squares of paper into intricate and beautiful creations. While some origami projects can be daunting for beginners, this tutorial focuses on creating a delightful 3D fish – a perfect project for those new to the art form or looking for a quick and satisfying craft. The charming result belies the simplicity of the process, requiring minimal tools and easily accessible materials. This simplified design emphasizes clear, easy-to-follow steps, making it an ideal introduction to the world of three-dimensional origami.
Forget complex diagrams and frustrating folds! This guide provides a straightforward approach to constructing a charming 3D fish, using clear instructions and helpful images. We will walk you through each step, ensuring that even absolute beginners can successfully create their own shimmering underwater friend. Ready to dive in? Let's begin the step-by-step process of creating your very own easy origami 3D fish!
Preparation and Safety Guidelines
- Square sheet of paper
- Use sharp scissors carefully, keeping fingers away from the blades. Adult supervision is recommended for young children.
- Start with a larger sheet of paper for easier folding, especially if you're a beginner. Smaller paper will be more challenging.
- Don't be discouraged if your first attempt isn't perfect! Origami takes practice. Watch the video or instructions carefully and try again.
Step-by-Step Instructions
Preparing the Base
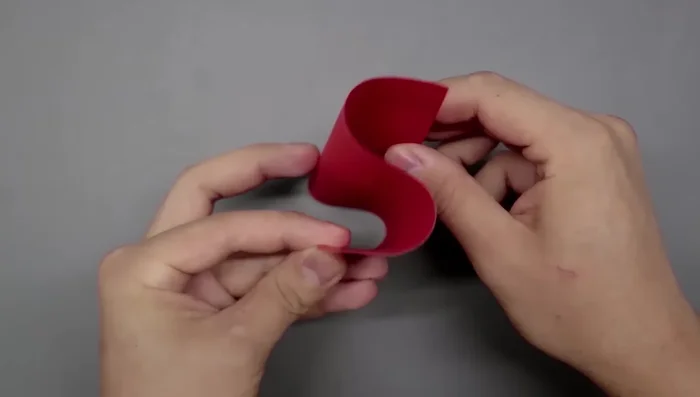
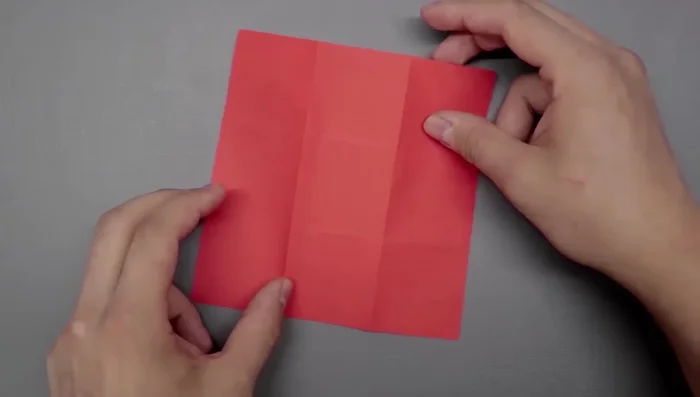
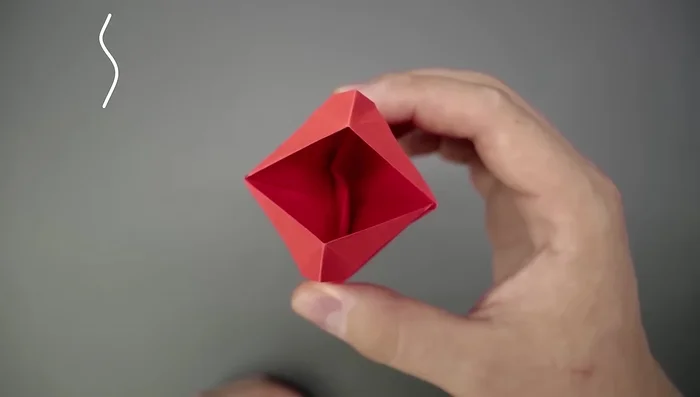
- Divide the square paper into thirds. You can use a ruler or create an 'S' shape by bending the paper sideways twice.
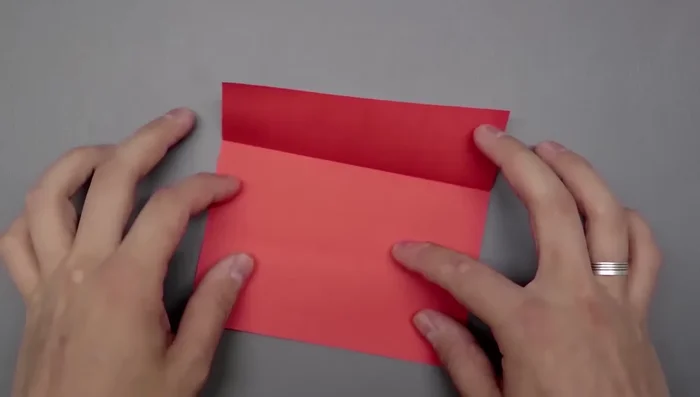
- Bring the edges together to create two creases, then flatten to make the thirds distinct.
- Fold one-third of the right side to the left, aligning it with the first crease. Unfold. Repeat this on the other side.
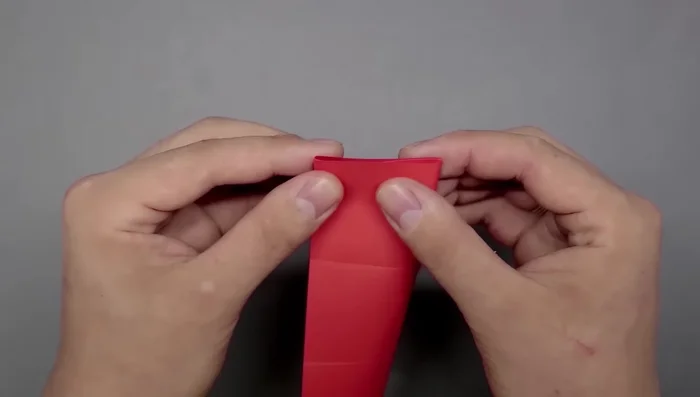
- Rotate the square and divide it into thirds again, using the same 'S' curve and crease method as before.

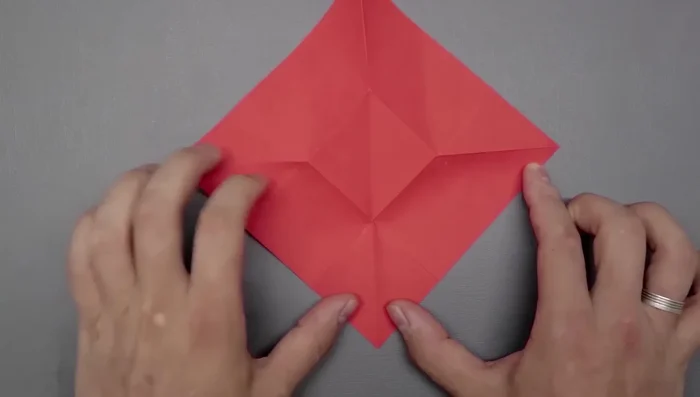
Preparing the Base - Fold along the newly created creases to divide the paper into nine smaller squares.
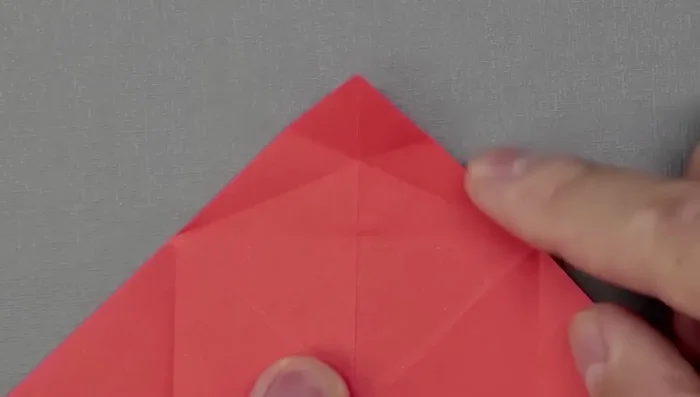
Preparing the Base Creating the Body Shape
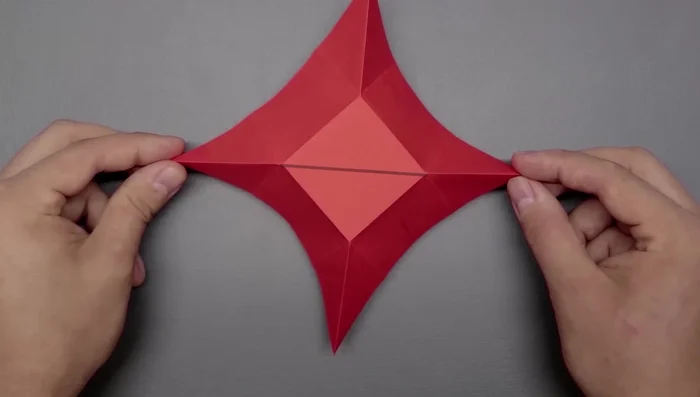
- Turn over. Fold the four corner squares in half diagonally by bringing the corners together, then flattening.
- Fold the middle square in half, this time bringing the top and bottom corners together to create a crease.
- Create two new folds on the right side by bringing the corner to the left side of the middle square, and repeat on the left side.
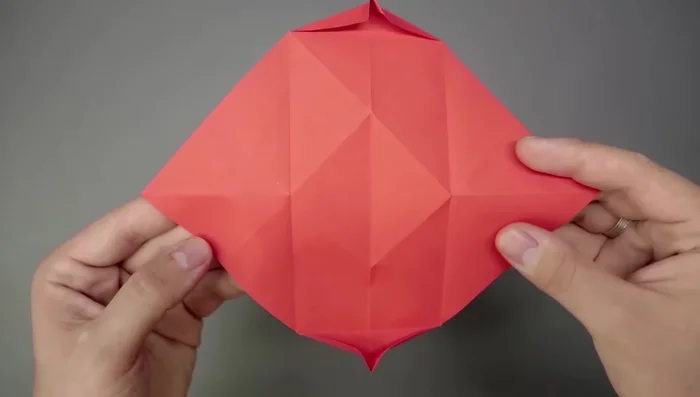
Creating the Body Shape Forming the Head
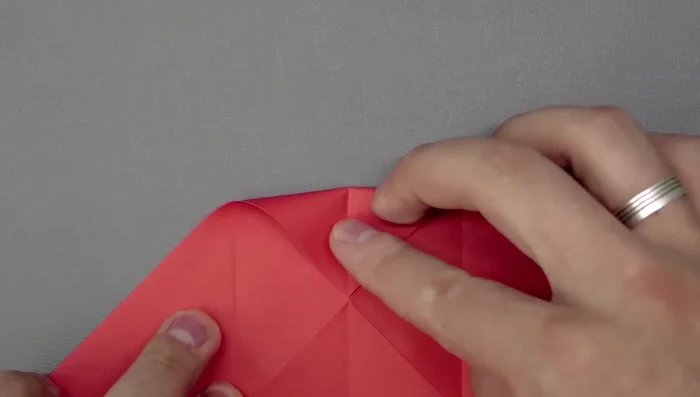
- Fold the top corner square in half by bringing the top corner to the point where the lines intersect. Unfold. Then create two more diagonals within the resulting triangle.
- Divide the small space above the two diagonals in half, then fold both sides down simultaneously to create a small flap. Repeat on the opposite corner.
- Fold the top corner and close. Now bring both sides to the middle; the paper should naturally assume the fish shape.
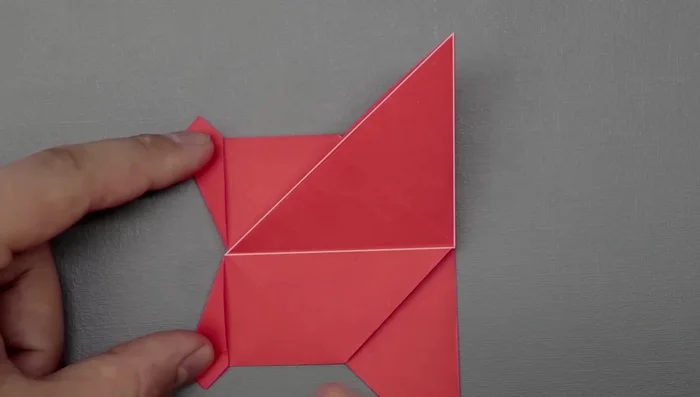
Forming the Head Shaping the Tail
- Create the tail by bringing the first flap up and folding the triangle in half diagonally. Then, bring the top edge to the horizontal crease below.
- Repeat this for the other side of the tail, but keep the flap down and fold diagonally. Tuck in any extra paper to refine the shape.
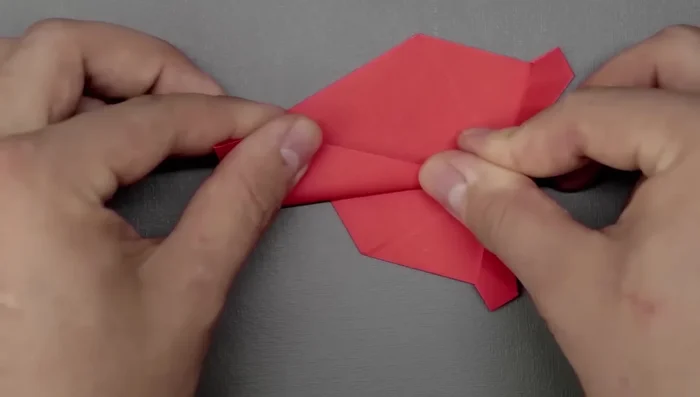
Shaping the Tail Finishing Touches
- To improve the mouth closure, bend the inside paper to create an 'S' shape or simply bend it to the side.
Finishing Touches

Read more: Easy Origami Paper Box Tutorial: Step-by-Step Guide
Tips
- Make sharp creases for a more defined fish.
- There are variations for making the tail, but the method described provides a clean result.