Silhouettes possess a timeless charm, capable of transforming ordinary subjects into striking pieces of art. Windmills, with their iconic shapes and evocative symbolism, are particularly well-suited to this style. This tutorial will guide you through the process of creating a beautiful silhouette painting of a windmill, perfect for adding a touch of rustic elegance to your home décor or a unique gift for a loved one. Whether you're a seasoned artist or just starting your creative journey, this project is surprisingly accessible, requiring minimal materials and artistic expertise.
Forget complicated techniques and frustrating brushstrokes! This easy step-by-step guide will break down the process into manageable stages, empowering you to create a stunning windmill silhouette with confidence. Let's dive right in and begin creating your own masterpiece; follow the simple steps outlined below to bring your artistic vision to life.
Preparation and Safety Guidelines
- 12x12 primed canvas
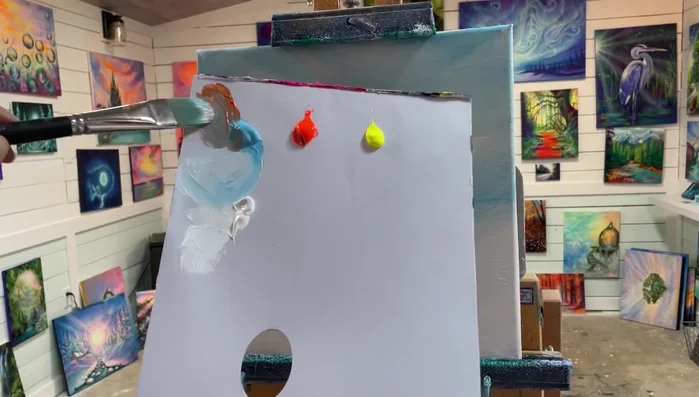
- Acrylic paints (light blue, neon orange, neon yellow, black, titanium white)
- Number 12 filbert brush
- Small flat brush
- Small mop brush
- Hair dryer
- Always work in a well-ventilated area, especially when using spray paints or acrylics with strong solvents. Open windows and consider using a respirator if you're sensitive to fumes.
- Protect your work surface with newspaper or a drop cloth. Acrylic paints, even water-based ones, can stain.
- If using sharp craft knives or tools for stencils or cutting, always handle them with care and away from children.
Step-by-Step Instructions
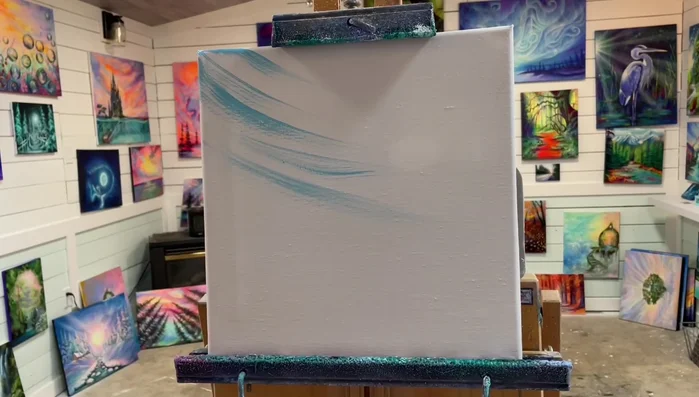
Prepare the Canvas
- Prepare the canvas by priming it with acrylic gesso and let it dry.

Prepare the Canvas Paint the Sky
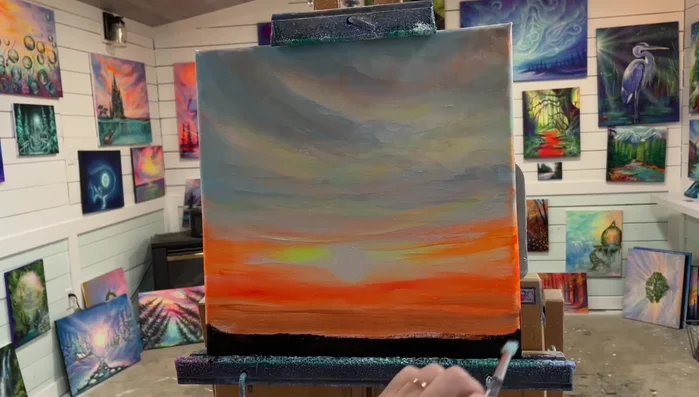
- Apply diluted light blue to create muted patches of blue sky. Add a little bit of water to your brush for blending.
- Blend titanium white and a tiny amount of light blue to soften the edges and create a softer tone in the sky.
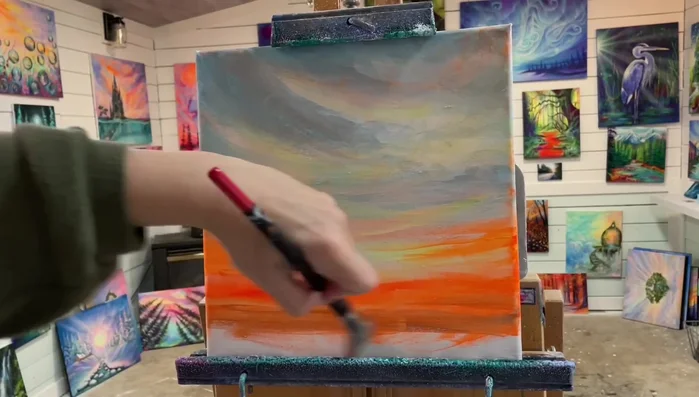
- Mix blue and neon orange on your palette. Apply this mixture across the top, overlapping the blue sky to create a sunset effect.
- Apply smaller amounts of the orange-blue mixture lower on the canvas, creating perspective and making the clouds appear distant. Use white to create lighter tones and blend the colors.
Paint the Sky - Blow dry the sky to ensure it's completely dry before adding other colors.
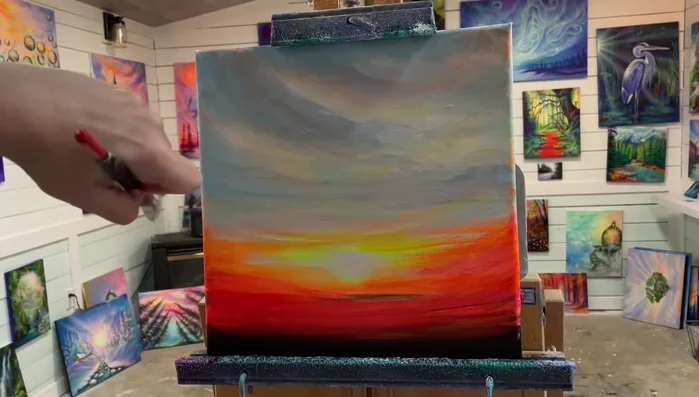
Paint the Sky Paint the Sun
- Apply neon yellow around the area where the sun will be, leaving a space for the brightest part. Overlap with neon orange, blending but leaving some yellow visible.
- Add more orange and yellow, blending to create a bright sunset with multiple tones. Add a small circle of titanium white for the brightest part of the sun.
- Add more yellow to increase saturation. Overlapping yellow with blue will create green, so consider adding small amounts of orange to tint the yellow and white.
Paint the Sun Add Shadows and Depth
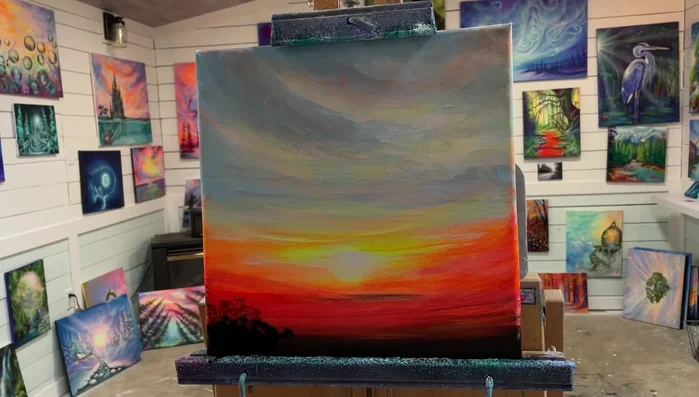
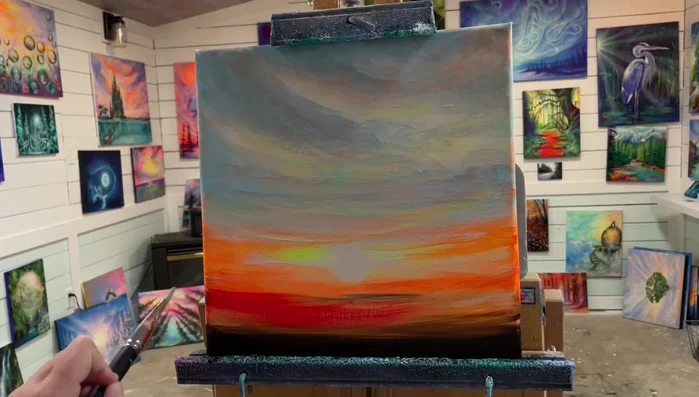
- Mix orange and blue, then gradually add darker colors towards the bottom of the canvas to create shadows. Use a watered-down black mixed with neon orange to deepen the shadows at the bottom.
Add Shadows and Depth Create Foliage
- Using a mop brush and a mix of orange and black, tap and sweep to create silhouette foliage. Blend with a larger brush, removing excess paint where needed.
- Use a mop brush with red, orange, and black to add more foliage, varying brushstrokes for different sizes and textures.
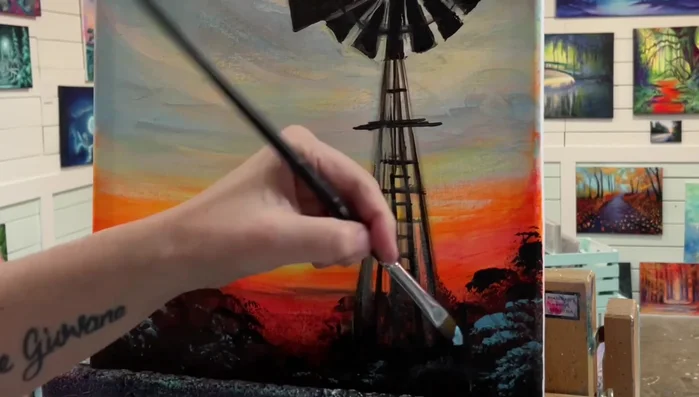
Create Foliage Add Accents and Highlights
- Apply neon red over the orange and yellow to create pops of color, mainly below the sun and lightly over some flowers.
Add Accents and Highlights Paint the Windmill
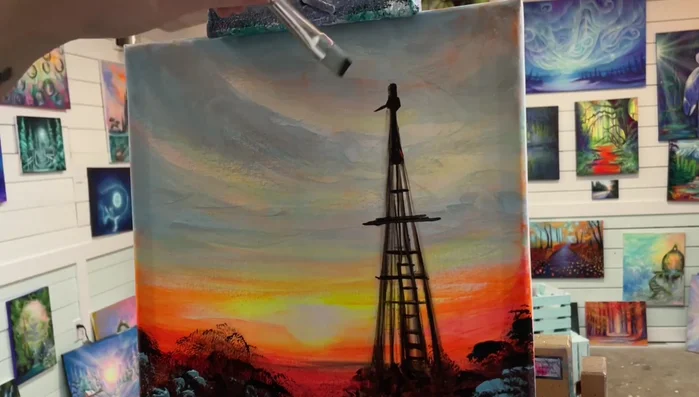
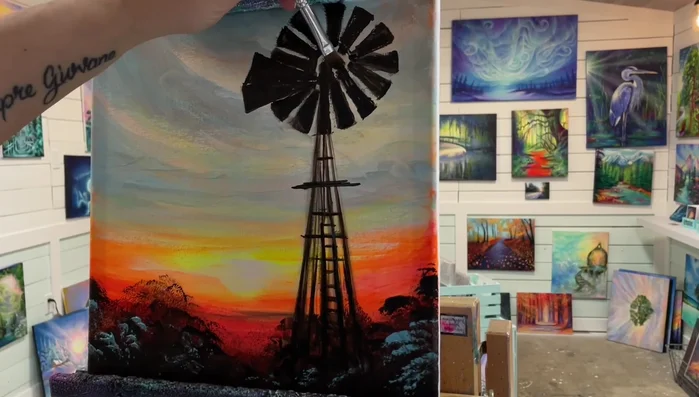
- Freehand the windmill using a small flat brush and black paint, adding skinny lines and triangles. Consider sketching it out first if needed.
- Add a few lines to define the ladder and other details. Use a fresh coat of black to ensure clean lines and fill in shapes.
- Create a wider circle in the center, use white paint for spaces in between windmill pieces, and add highlights to balance the light.
Paint the Windmill Paint the Flowers
- Use a filbert brush with a mix of blue and black to create flower petals, varying pressure and brushstrokes for different sizes and shapes.
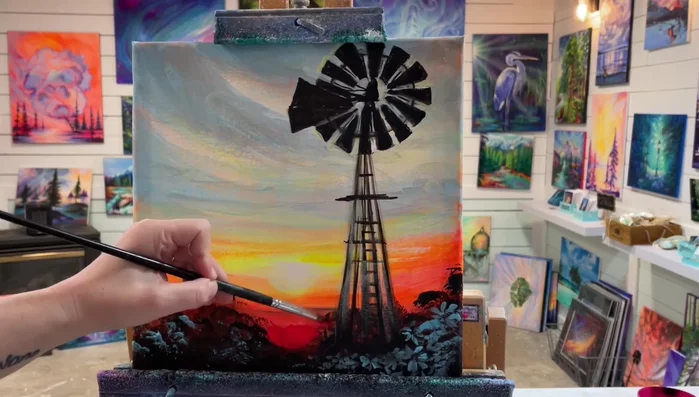
Paint the Flowers Final Touches and Blending
- Use a dry brush technique with a mix of blue and black to add a smoky look to the clouds. Add neon red for highlights, and blend with a large brush and blue-gray for finishing touches.
Final Touches and Blending


Read more: 7 Top Paint Color Trends for 2024: A Complete Guide with Free Downloadable Resource
Tips
- Don't be afraid to experiment with colors and techniques. Overlapping colors creates interesting effects.
- Break down complex shapes (like the windmill) into simpler shapes (triangles, circles) to make painting easier.
- Use a flat brush for creating straight lines when painting the windmill.
- Vary the size of your flowers for a more natural look.
- Dry brushing adds subtle texture and depth.