Ever dreamt of capturing the breathtaking beauty of a seascape on canvas, with waves crashing and sunlight dancing on the water? This tutorial will guide you through the process of creating just that, using the mesmerizing wet-on-wet and masking fluid techniques. Prepare to be amazed by the vibrant textures and realistic effects you can achieve, transforming your canvas into a window to a stunning coastal scene. We'll unlock the secrets to blending fluid colors, mastering the delicate interplay of light and shadow, and creating realistic waves that seem to move right off the canvas.
Learning to paint realistic seascapes can seem daunting, but with these techniques and our clear step-by-step instructions, you'll be surprised at how easily you can master the art. This tutorial will take you from initial sketch to finished masterpiece, breaking down each stage into manageable steps. Let's dive in and begin your journey to creating your own stunning seascape!
Preparation and Safety Guidelines
- Blocking paper
- 3/4 inch flat brush
- Number 3 rigger brush
- Large mop brush
- Number 12 round brush
- Cobalt blue
- Alizarin crimson
- Cadmium yellow
- Cadmium orange
- Payne's grey
- Cerulean blue
- Masking fluid
- Pencil
- Damp clean brush
- Clean water
- Tissue
- Card
- White pastel pencil
- Always work in a well-ventilated area when using oil paints and solvents. Fumes can be harmful.
- Wear appropriate safety gear, including an apron and gloves, to protect your clothing and skin from paint and solvents.
- Dispose of used paints and solvents responsibly according to local regulations. Never pour them down the drain.
Step-by-Step Instructions
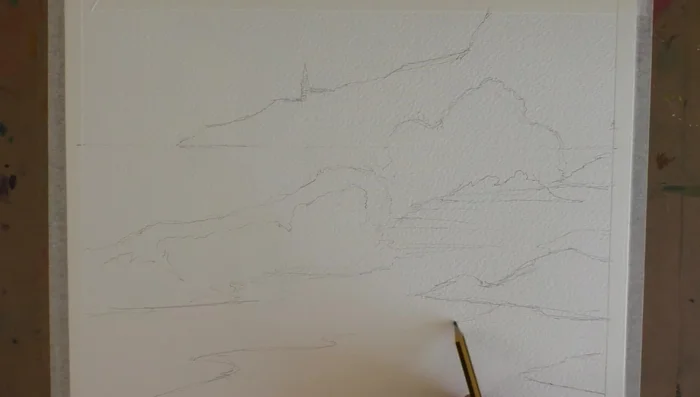
Preliminary Sketch & Masking
- Create a minimal pencil sketch of the seascape, focusing on the crashing wave in front of the cliff to establish high contrast.
- Apply masking fluid to preserve the white areas of the waves, working quickly before it dries.

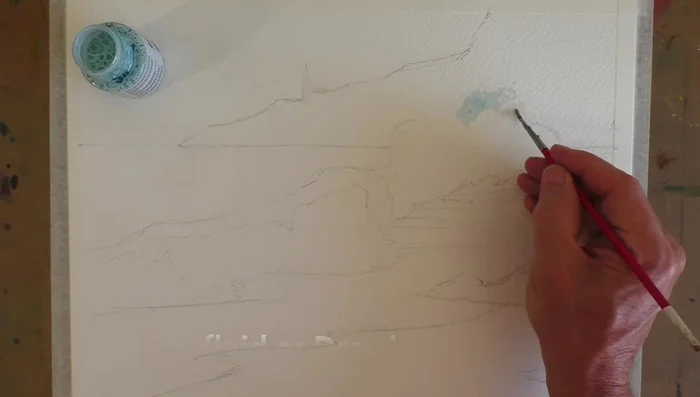
Preliminary Sketch & Masking Sky and Sea Base
- Wet the sky area with a large mop brush, going over the cliff area as well, before applying paint.
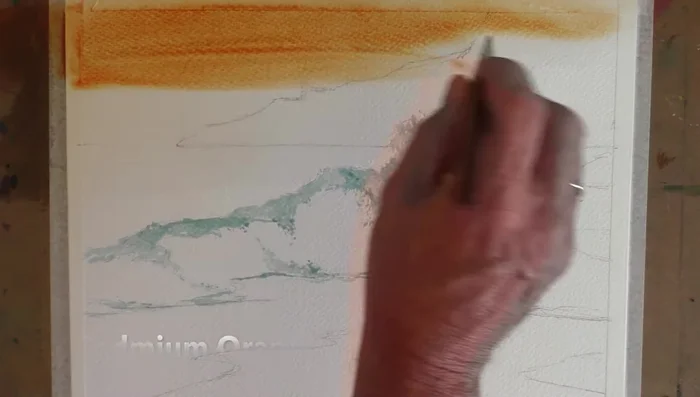
- Paint a strong cadmium orange below the horizon line into the sea with a flat brush.
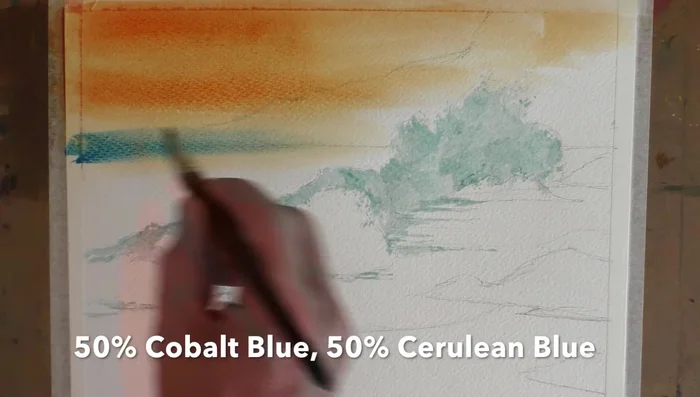
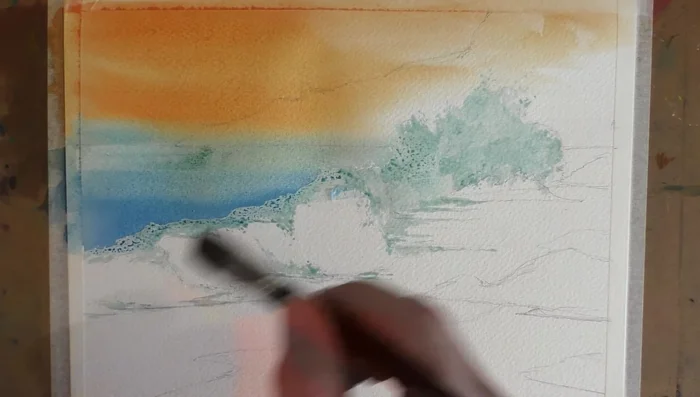
- Mix cobalt blue and cerulean blue for the sea, letting it bleed into the sky, adding more cobalt blue towards the bottom. Avoid the wave area.
- Lift out light suggestions in the sea using a damp, clean brush, especially along the horizon.
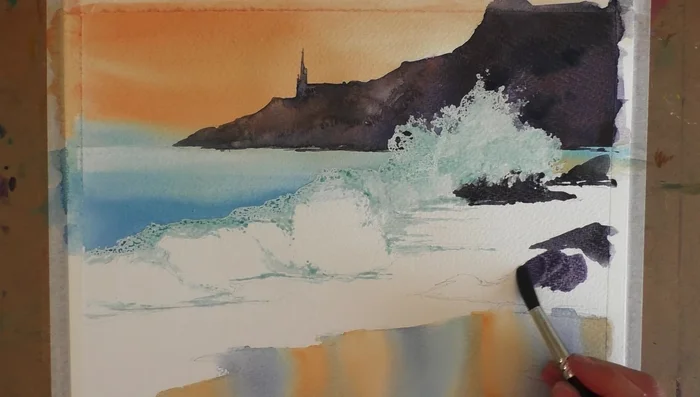
Sky and Sea Base Foreground Elements
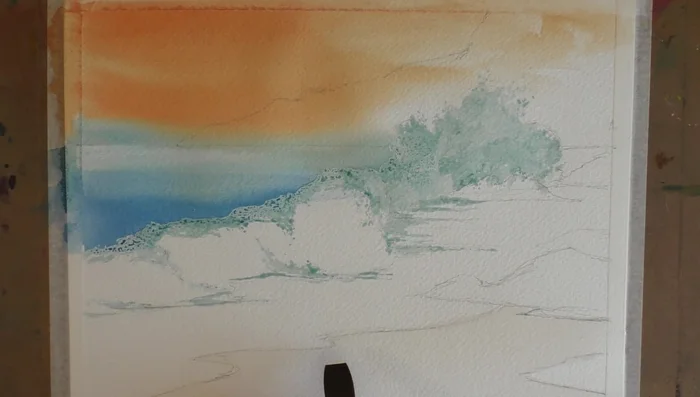
- Wet the foreground sandy area with clean water and let it soak in before painting vertical stripes of orange and blues with a flat brush. Lift the board to create a soft effect.
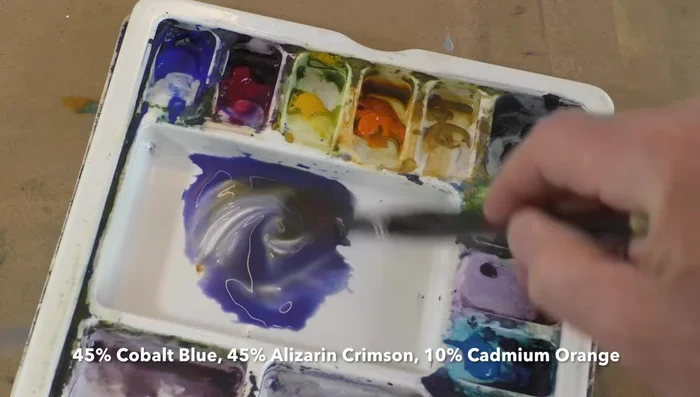
- Mix a purpley-gray (cobalt blue, alizarin crimson, and a touch of orange) and paint the headland, keeping the bottom flat. Add details like the church steeple.
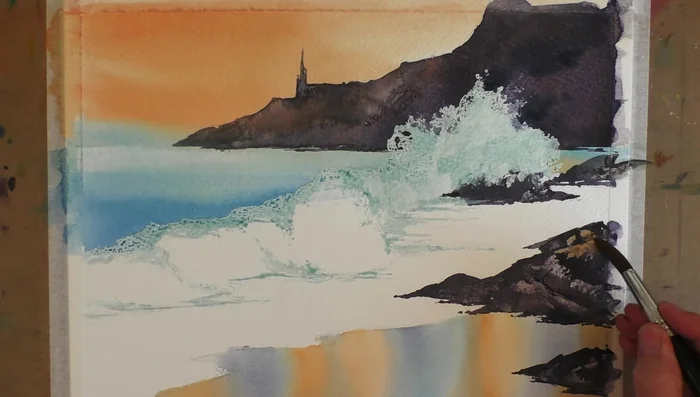
- Add Payne's grey to the purpley-gray mix for darker tones on the rocks. Use a rigger brush for detail and a card to create texture.
- Add a watery orange to the rocks to reflect light from the sky.
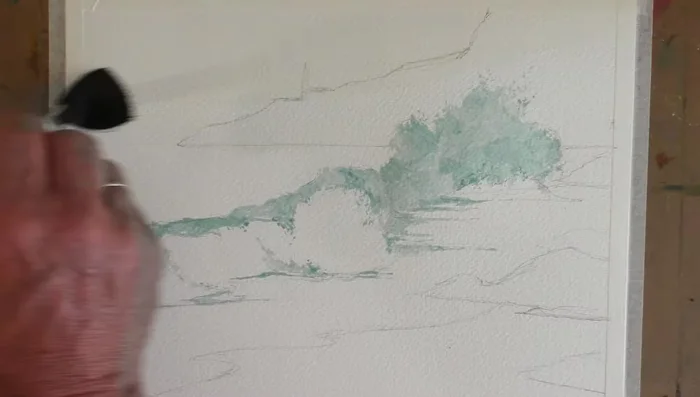
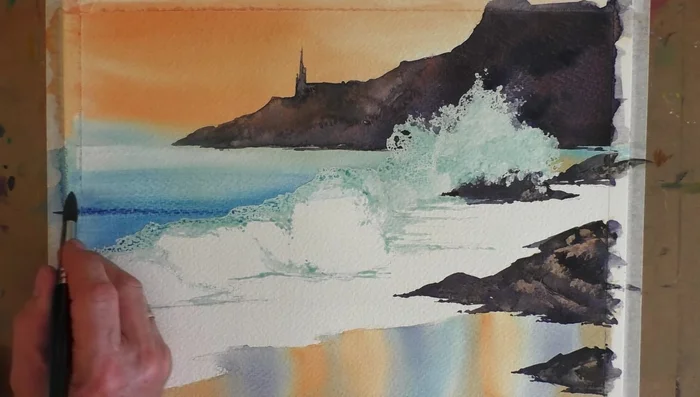
Foreground Elements Wave Creation & Detailing
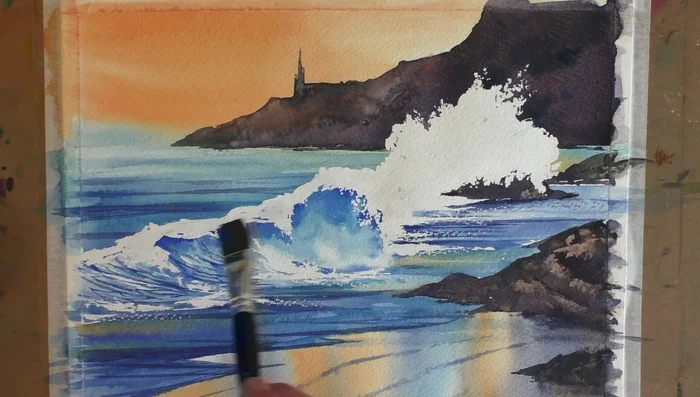
- Re-wet the sea with clean water and add cobalt blue wet-on-wet, along with orange and other blue tones. Use wax resist lines for broken water.
- Re-wet the area below the waves and add a darker tone, lifting the board to create a natural run-down effect.
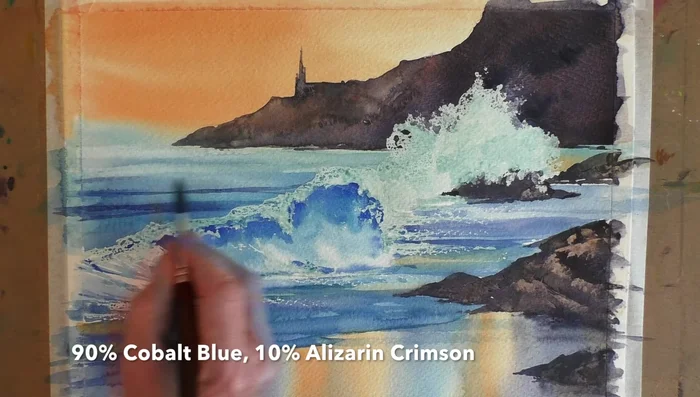
- Add subtle details to the sea with a mix of cobalt blue and alizarin crimson. Add water droplets with a spray bottle and paint ripples in the sand.
Wave Creation & Detailing Refinement and Finishing Touches
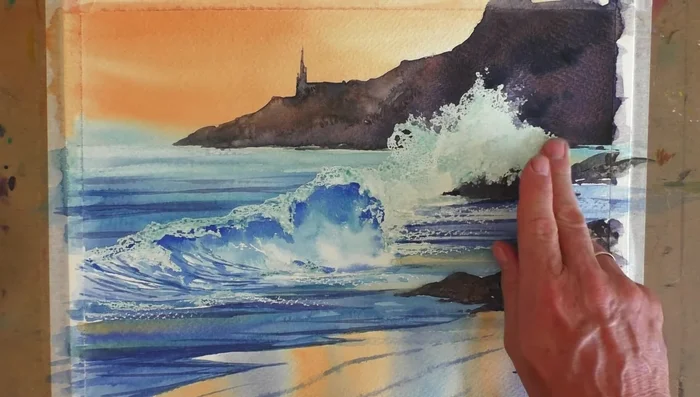
- Carefully remove the masking fluid, re-wetting the white areas with clean water.
- Add a watery gray to the wave shadows and use a damp tissue to soften edges and create a spray effect.
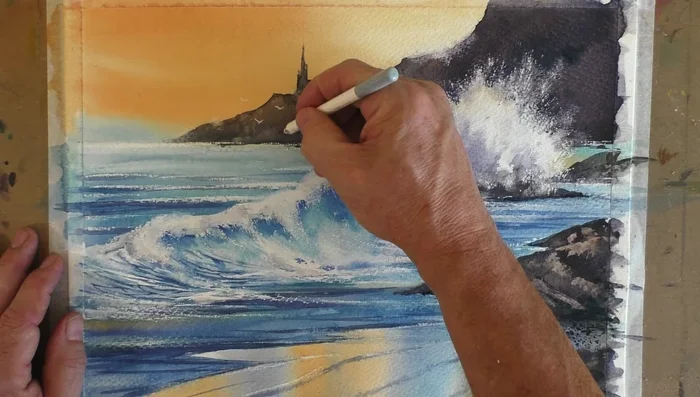
- Add details like seagulls with white pastel, and use a scalpel to create sparkles and spray in the water (carefully!).
Refinement and Finishing Touches

Read more: 7 Top Paint Color Trends for 2024: A Complete Guide with Free Downloadable Resource
Tips
- Work quickly with masking fluid to avoid it drying.
- Use colored masking fluid for easier visibility.
- Be gentle when removing masking fluid to avoid tearing the paper.
- Use a damp tissue to effectively soften and lift out highlights.
- The wet-on-wet technique is most effective on 100% cotton paper.