Rustic wood signs are a charming addition to any home, bringing a touch of warmth and personality to your décor. Whether you're looking to create a personalized welcome sign, a quirky kitchen motto, or a heartfelt message for a loved one, crafting your own offers a rewarding and creative outlet. The beauty of this project lies in its simplicity; you don't need expensive tools or advanced crafting skills to achieve stunning results. The natural imperfections of the wood add to its rustic appeal, lending an authentic, handcrafted feel to your finished piece.
This guide will walk you through a simple yet effective method for creating your own beautiful rustic wood signs using a trace-and-paint technique. We'll explore how to prepare your wood, choose the perfect design, and master the art of transferring your design flawlessly onto the wood before bringing it to life with paint. Ready to get started? Let's dive into the step-by-step process below!
Preparation and Safety Guidelines
- Wood planks (various sizes)
- Sandpaper
- White or gray paint
- Brush (fine brush)
- Acrylic paint (black or gray)
- Wood glue
- Glue gun
- Paper
- Pencil or ballpoint pen
- Masking tape
- Varnish (optional)
- Ribbon or twine (optional)
- Foliage or embellishments (optional)
- Always wear safety glasses to protect your eyes from wood splinters and paint splatters.
- Work in a well-ventilated area, as paints and stains can release fumes.
- Use caution when handling sharp tools like knives or saws for tracing and cutting. Consider using a safety mat to protect your work surface.
Step-by-Step Instructions
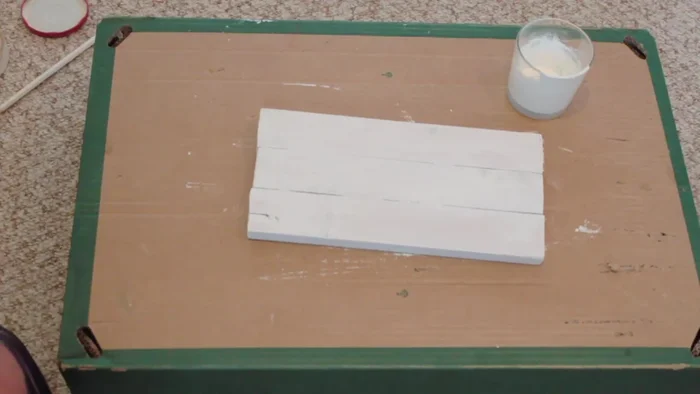
Prepare the Wood Base
- Glue wood pieces together using wood glue and hot glue for faster setting.
- Let the paint dry completely (a couple of hours or overnight).

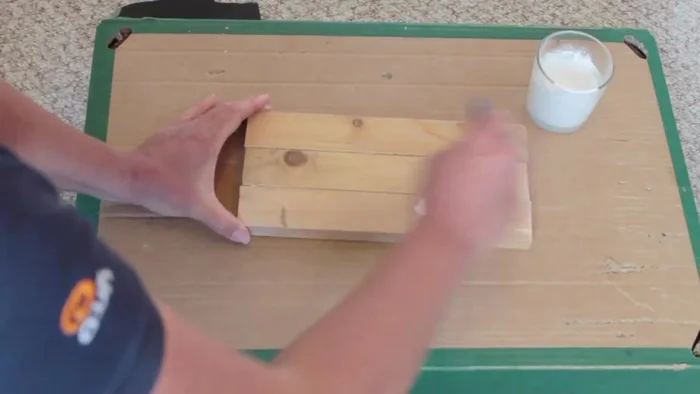
Prepare the Wood Base Paint the Wood
- Paint the wood with a water-based paint (white or gray), brushing lightly with the grain.
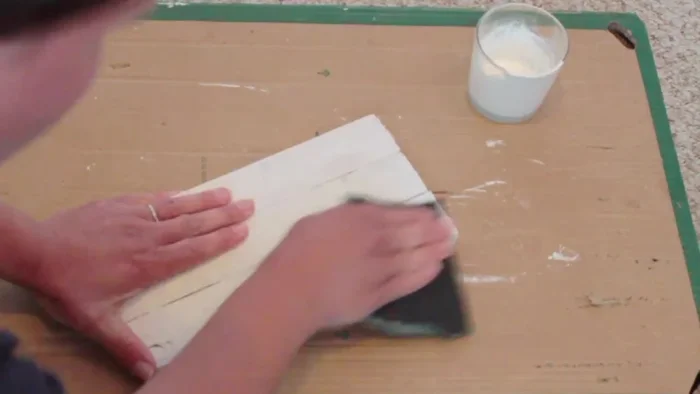
Paint the Wood Sand for Rustic Finish
- Sand the edges and surface of the wood to create a rustic look, paying attention to the grain.
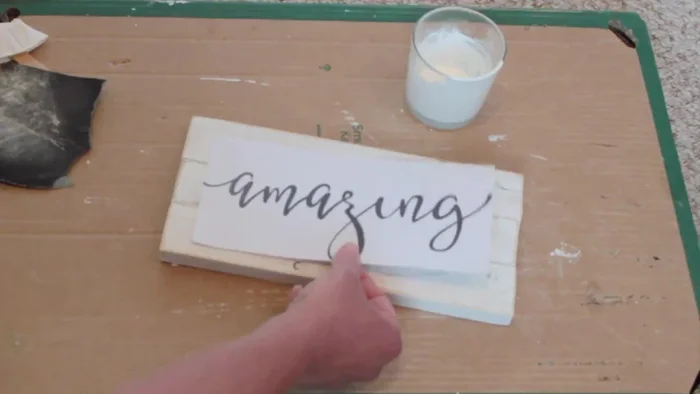
Sand for Rustic Finish Transfer and Trace Lettering
- Print lettering on regular paper (not reversed). Scribble on the back of the paper, position it on the sign, and tape it down. Trace the lettering onto the wood using a sharp point.
Transfer and Trace Lettering Paint the Lettering
- Remove the paper template and paint within the traced lines using a fine brush and acrylic paint.
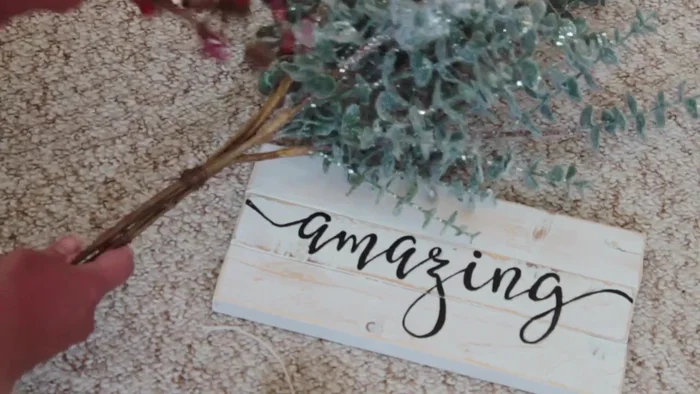
Add Decorative Elements
- Add optional details like twine or ribbon, foliage and a bow using hot glue.
Add Decorative Elements

Read more: 7 Top Paint Color Trends for 2024: A Complete Guide with Free Downloadable Resource
Tips
- Use water-based paint for easy cleanup.
- Sanding the edges gives a nice framing effect.
- Use masking tape to secure the paper template while tracing.
- Use a fine brush and a small amount of acrylic paint for precise lettering.
- A varnish spray can add protection and enhance the sign's finish.