Unicorns, those mythical creatures of grace and wonder, are beloved by many, and now you can craft your own miniature magical companion! This guide will walk you through the enchanting process of creating a charming unicorn charm entirely from polymer clay. Forget expensive store-bought trinkets – unleash your inner artisan and create a unique, personalized accessory that reflects your own creativity and style. Polymer clay is remarkably versatile, allowing for intricate detailing and a wide range of color possibilities, ensuring your unicorn charm is truly one-of-a-kind.
Learn to sculpt delicate horns, a flowing mane, and a whimsical body, all from the comfort of your own home. With simple tools and readily available materials, you'll be surprised how easily you can bring your unicorn vision to life. From shaping the basic form to adding those final shimmering touches, this step-by-step guide provides clear instructions and helpful tips to ensure your crafting experience is both enjoyable and successful. Let's begin creating your magical polymer clay unicorn charm!
Preparation and Safety Guidelines
- Polymer clay (white, yellow, pastel colors)
- Wire
- Eye pin
- Liquid clay
- Rubber tip sculpting tool
- Sculpy gloss glaze
- Pink chalk pastels
- Oven
- Polymer clay needs to be baked according to the manufacturer's instructions to harden. Improper baking can result in a soft, unusable charm.
- Always work in a well-ventilated area, as some polymer clays may release fumes when baked. Avoid inhaling these fumes.
- Polymer clay can get very hot during baking. Use oven mitts to handle the baked charm and avoid burns.
Step-by-Step Instructions
Create the Unicorn Body
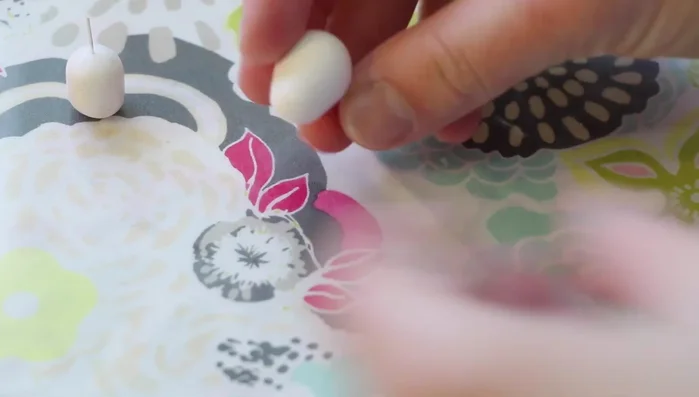
- Roll a ball of white clay into a small, round cylinder.
- Roll a larger ball of white clay into a head shape and attach it to the body using wire.
- Roll out teardrop shapes for the back legs, flatten the bottom, and attach them to the body. Use smaller balls for the front legs, attaching and blending them in.

Create the Unicorn Body Shape the Head and Ears
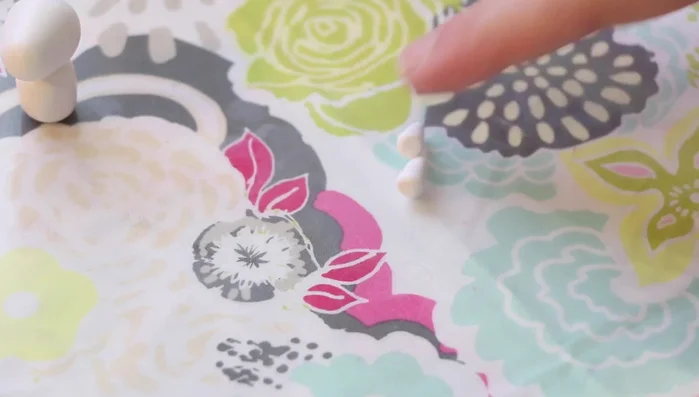
- Pinch two small balls of white clay into triangle shapes and attach them to the head.
Shape the Head and Ears Make the Horn
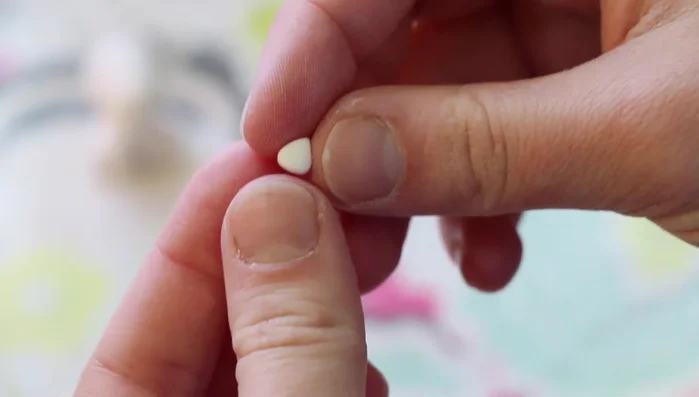
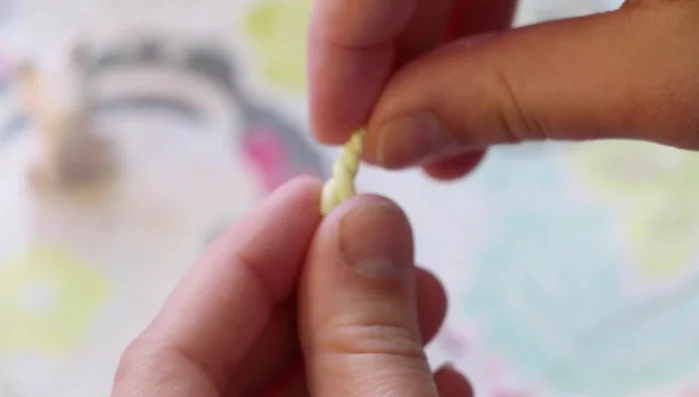
- Twist two pieces of yellow Fimo gemstone clay together, cut off excess, and attach to the head.
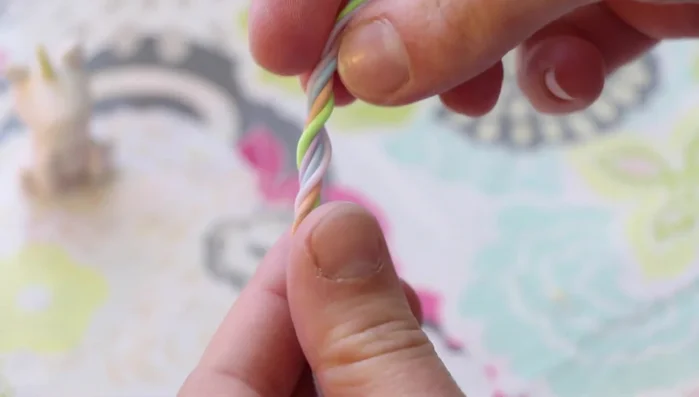
Make the Horn Add Mane and Tail
- Twist together pastel-colored clay and attach it to the back of the head and body to form the mane. Create a tail using more twisted clay and blend the bottom.
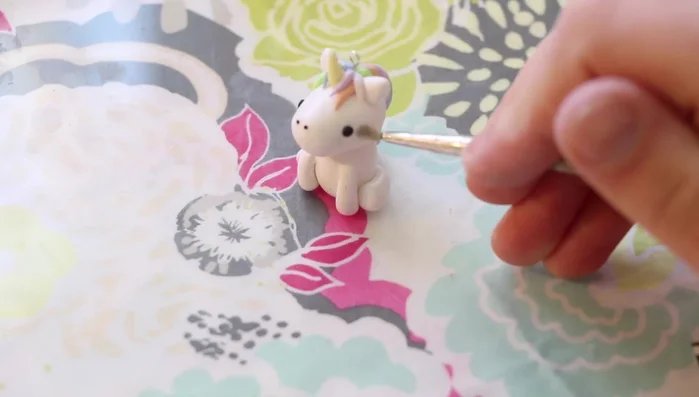
Add Mane and Tail Prepare for Baking
- Insert a long eye pin into the head for support, securing it with liquid clay.
- Attach small balls of black clay for eyes and even smaller balls for nostrils.
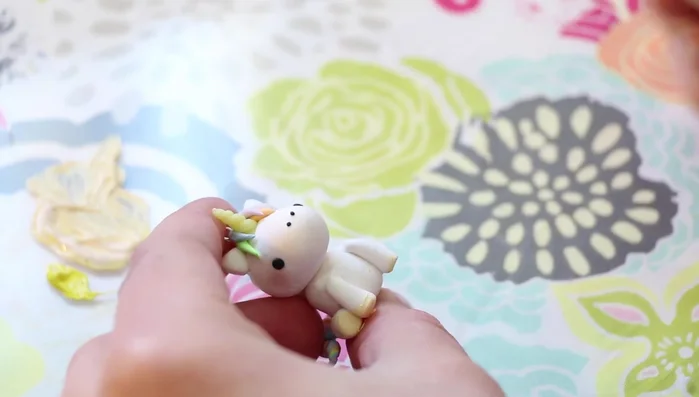
Prepare for Baking Add Finishing Touches
- Use pink chalk pastels to add blush to the cheeks.
Add Finishing Touches Bake the Charm
- Bake the charm in the oven at 275° for about 20 minutes.
Finishing and Glaze
- Once cooled, paint details and apply Sculpey gloss glaze.
Finishing and Glaze


Read more: Hang Your Clay Creations: The No-Hole Hanger Method
Tips
- Make the body smaller and rounder than shown in the video.
- Consider blending the legs more seamlessly into the body for a smoother look.