The world of tabletop gaming and miniature painting is rich with detail and vibrant storytelling, and at the heart of it all lies the miniature itself. For those seeking to go beyond simply painting pre-made figures, the rewarding challenge of sculpting your own 28mm miniatures awaits. Using polymer clay opens up a universe of creative possibilities, allowing you to bring unique characters and creatures to life, tailored precisely to your vision. From fierce warriors to fantastical beasts, the potential is limitless, bound only by your imagination and sculpting skills.
This guide provides a comprehensive, step-by-step approach to sculpting your own 28mm miniatures using polymer clay. We’ll cover everything from essential tools and material selection to mastering fundamental techniques and achieving intricate details, transforming a simple lump of clay into a stunning, fully realized miniature ready to take its place on the gaming table. Let's dive in and begin sculpting!
Preparation and Safety Guidelines
- Super Sculpey polymer clay
- Kitchen foil/Tin foil
- Armature wire
- Petroleum jelly
- Silicon sculpting tools
- Wax carving tools
- Oven
- Acrylic paints
- Acrylic paint pens
- White spirits (for oil paint wash)
- Makeup applicator sticks
- Deodorant stick (for paint handle)
- Detergent bottle cap (for paint handle)
- Blue tack
- Always work in a well-ventilated area. Polymer clay fumes can be harmful if inhaled, especially when baking.
- Use oven mitts or gloves when handling hot components after baking. The clay and the baking surface can get very hot.
- Avoid contact with eyes and skin. If contact occurs, rinse thoroughly with water and seek medical attention if needed.
Step-by-Step Instructions
Prepare the Armature
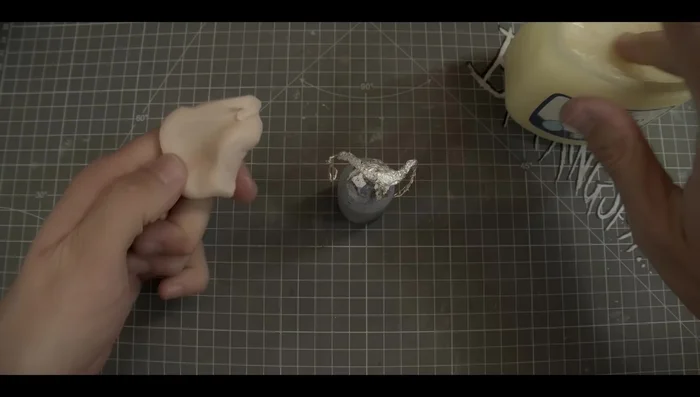
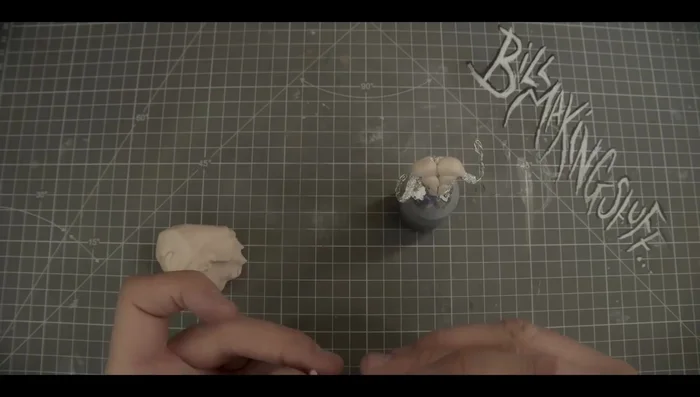
- Create a foil armature.
- Add armature wire for details (limbs).
- Apply petroleum jelly to the foil armature.

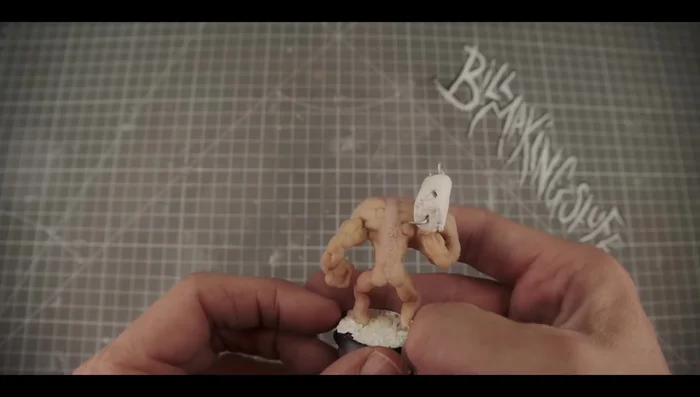
Prepare the Armature Sculpt the Miniature
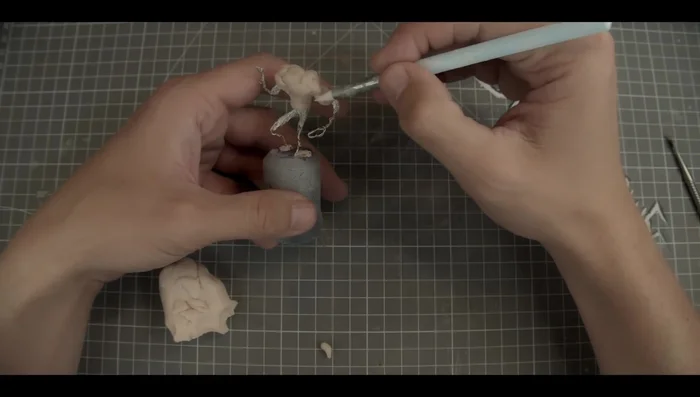
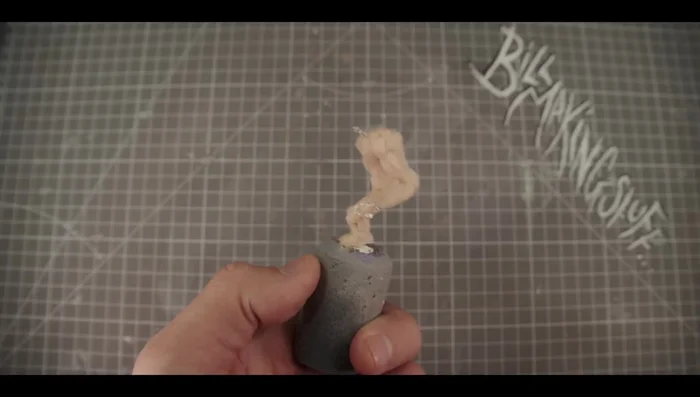
- Sculpt the clay onto the armature, building up muscles and details.
- Use sculpting tools to refine details.
- Use petroleum jelly to smooth out rough areas.
Sculpt the Miniature Bake the Miniature
- Bake the miniature in the oven (135°C for at least 20 minutes).
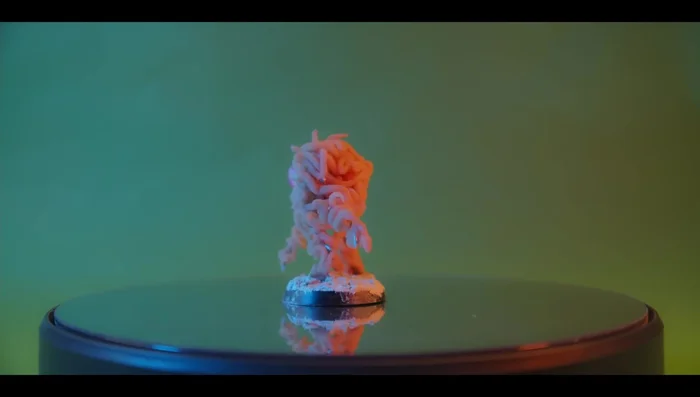
Bake the Miniature Prime the Miniature
- Prime the miniature.
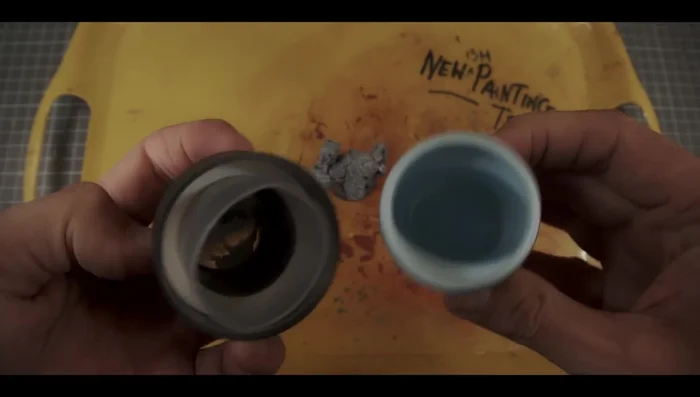
Prime the Miniature Paint the Miniature
- Paint using your chosen method (dry brushing and washes are shown).
Paint the Miniature

Read more: Hang Your Clay Creations: The No-Hole Hanger Method
Tips
- Use foil to create a base armature for efficient clay usage.
- Bake longer than the instructions suggest to avoid brittleness.
- Dry brushing can be used to create gradients and depth.
- Oil paint washes create a satisfying smooth finish and depth.
- Makeup applicator sticks are useful for blending and softening paint.