Polymer clay offers a unique and endlessly creative avenue for crafting miniature works of art, and what better subject than everyone's favorite comfort foods? This tutorial will guide you through the delightful process of creating incredibly realistic miniature pizza and rice cakes using readily available polymer clay. Forget those plastic-looking store-bought miniatures; we'll be sculpting delicious-looking replicas you'll be proud to display, whether as part of a larger diorama or simply as charming standalone pieces. The possibilities are as limitless as your imagination, allowing you to experiment with toppings, sauces, and even different types of rice cakes!
From perfectly formed crusts to meticulously detailed toppings, we'll cover every step, ensuring you achieve professional-looking results even if you're a complete beginner. Prepare to unleash your inner artisan as we delve into the exciting world of miniature food crafting. Ready to get started? Let's jump into the step-by-step instructions below and transform your polymer clay into mouthwatering miniature pizza and rice cakes!
Preparation and Safety Guidelines
- Polymer clay (white & translucent liquid sculpy)
- Offset spatula
- Ballpoint tool
- Paintbrushes
- Chalk pastels
- Acrylic stamping blocks (optional)
- Oven
- Polymer clay is not food! Keep it away from children and pets. Do not ingest or put in your mouth.
- Always bake polymer clay according to the manufacturer's instructions. Improper baking can result in fumes that are harmful to your health.
- Use a well-ventilated area when baking and working with polymer clay. Wear a respirator mask if you have sensitivities.
Step-by-Step Instructions
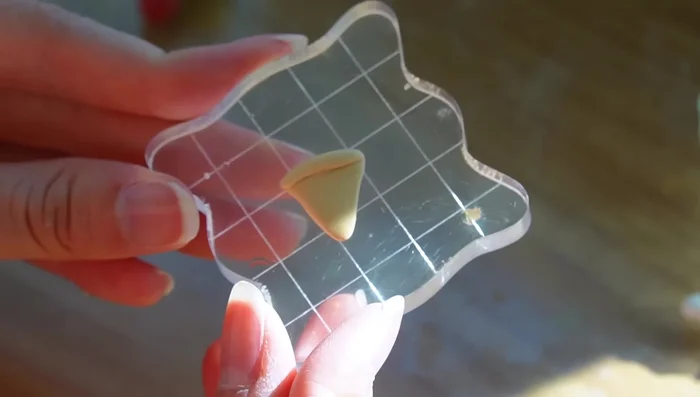
Prepare the Bases
- Prepare the base (pizza & rice cake shapes). Bake partially to solidify.
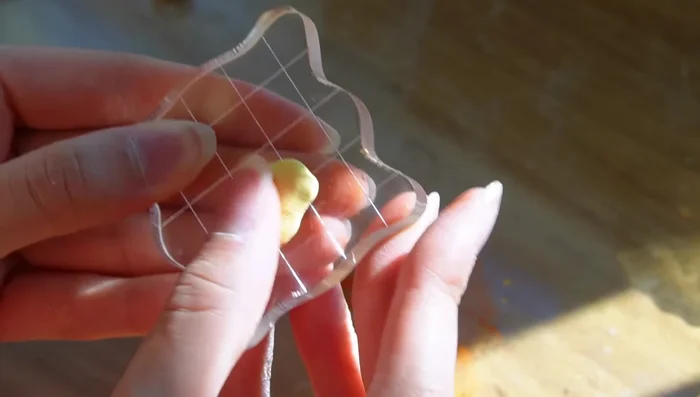
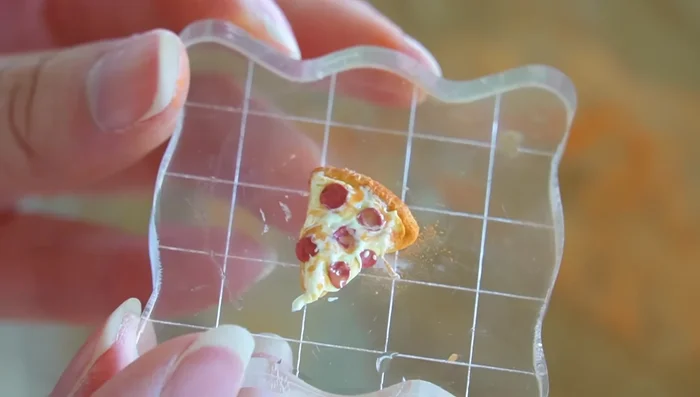
Create the Pizza Crust
- Create the pizza crust using light beige and pale yellow clay, shaping and texturing it.

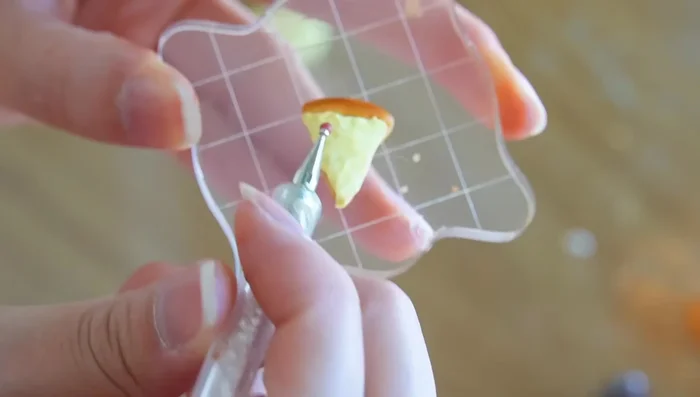
Create the Pizza Crust Add Pizza Toppings
- Add cheese layer using pale yellow clay, texturing with a paintbrush or tool.
- Add pepperoni using small, textured pieces of reddish-brown clay.
- Create melted cheese effect by mixing pale yellow clay with white liquid Sculpey, applying with an offset spatula.
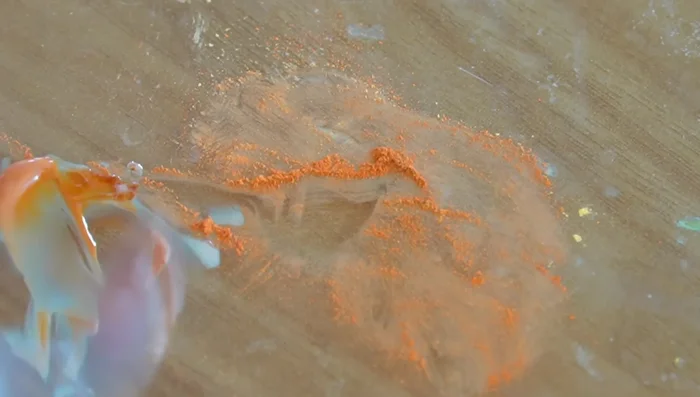
- Add greasy effect to the pizza using a mix of leftover pastels and translucent liquid Sculpey.
Add Pizza Toppings Finalize the Pizza
- Add finishing touches to the pizza, texturing the crust.
Finalize the Pizza Bake the Pizza and Rice Cakes
- Bake the pizza and rice cakes completely.
Bake the Pizza and Rice Cakes Decorate Rice Cakes (Optional)
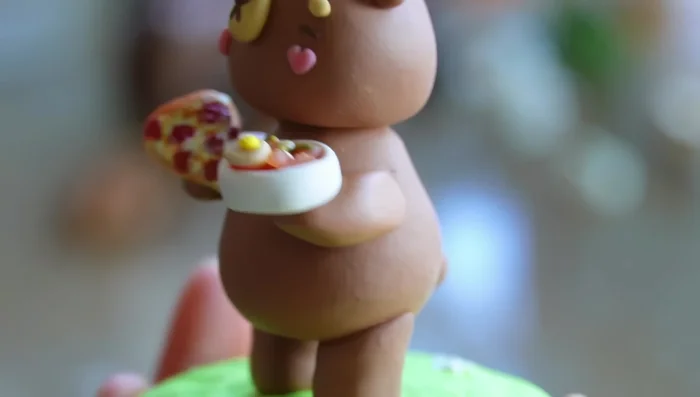
- Add arms and flowers using polymer clay. Bake again.
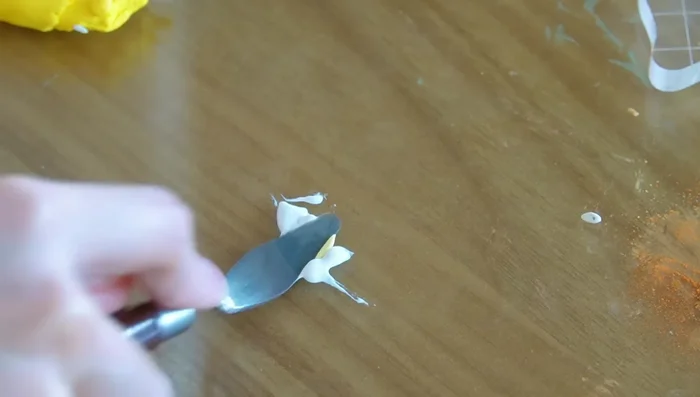
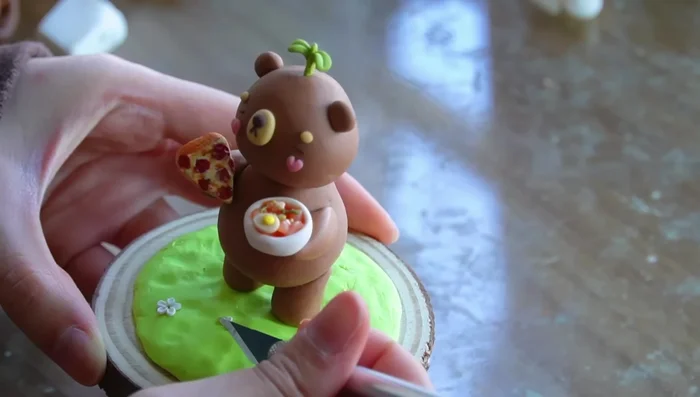
Decorate Rice Cakes (Optional) Finishing Touches and Display
- Glue to platform and glaze.
Finishing Touches and Display

Read more: Hang Your Clay Creations: The No-Hole Hanger Method
Tips
- Polymer clay can be baked multiple times without cracking or burning.
- Experimenting without camera pressure is important for learning.
- Don't aim for perfect precision with food miniatures; texture and color are key.
- Liquid Sculpey is useful for creating realistic effects like melted cheese and grease.
- Consider using ergonomic tools if you have carpal tunnel or arthritis.