Have you ever dreamt of adding charming, miniature details to your dollhouse, fairy garden, or even your crafting workspace? Creating realistic miniature ceramic canisters can seem daunting, but with the versatile magic of polymer clay, it’s surprisingly achievable! This tutorial will guide you through the process of crafting these adorable, tiny vessels, transforming simple clay into convincingly realistic miniature ceramics. Forget expensive, hard-to-find miniature accessories – you'll be amazed at how easily you can create your own unique collection.
We'll explore techniques for shaping, texturing, and baking your polymer clay to achieve a convincing ceramic finish, from the subtle imperfections to the smooth, glassy sheen. Learn how to add intricate details and even create realistic decals for a truly personalized touch. Ready to embark on this miniature crafting adventure? Let's dive into the step-by-step process and create your own exquisite miniature ceramic canisters!
Preparation and Safety Guidelines
- White polymer clay
- Round dowel
- Real cork (optional)
- Pasta machine
- Cutting mat
- Blade
- Needle
- Nail file
- Acrylic paint
- Water
- Gloss varnish
- Small brush
- Pen (optional)
- Scissors
- Sandpaper (optional)
- Alcohol pen (optional)
- Thin copper wire
- Aluminum from tea light (optional)
- Glue
- Polymer clay needs to be baked according to the manufacturer's instructions to harden properly. Improper baking can result in cracking or warping.
- Always work in a well-ventilated area, as some polymer clays release fumes during baking. Avoid inhaling these fumes.
- Use oven mitts or gloves when handling hot baking dishes and freshly baked clay to prevent burns.
Step-by-Step Instructions
Prepare the Clay
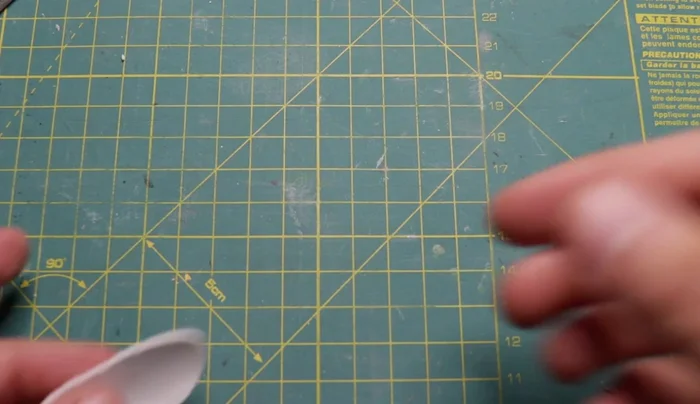
- Flatten a layer of white polymer clay (around 1mm thick) using a pasta machine.

Prepare the Clay Shape the Canisters
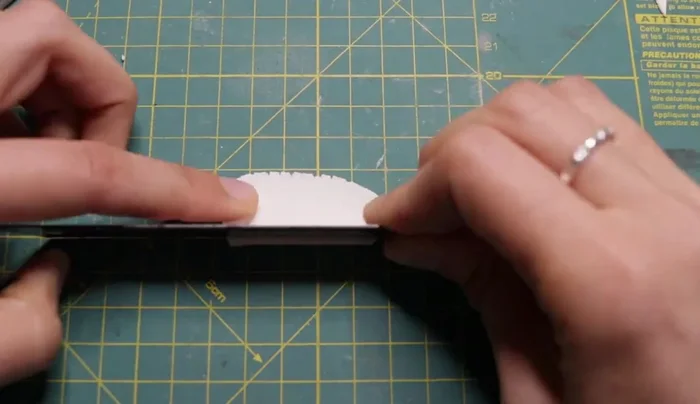
- Cut a strip (less than 1.5cm height) and shape it around a wooden dowel, pressing gently and trimming excess clay.
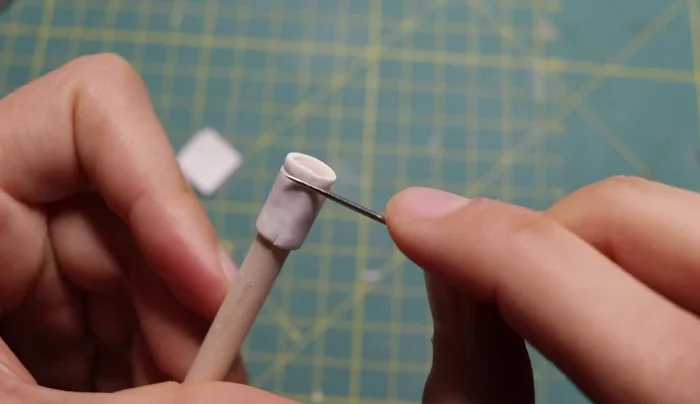
- Use a needle to smooth the junction and trim the bottom of the canister.
- Make an indentation along the top edge using light pressure.
- Remove the canister from the dowel (or bake together and remove after baking).
Shape the Canisters - Repeat the process using different sized dowels or the back of a pen for varied canister sizes.
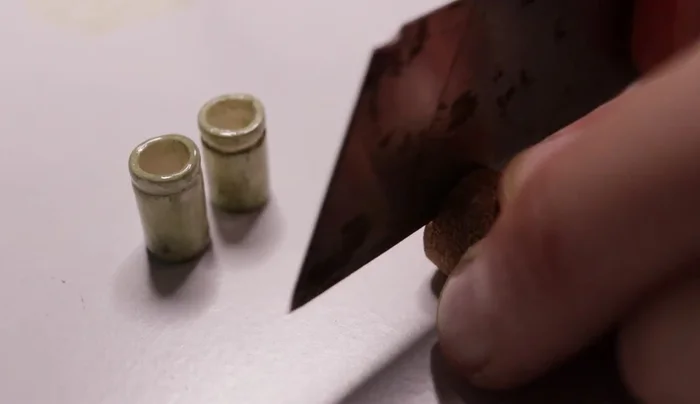
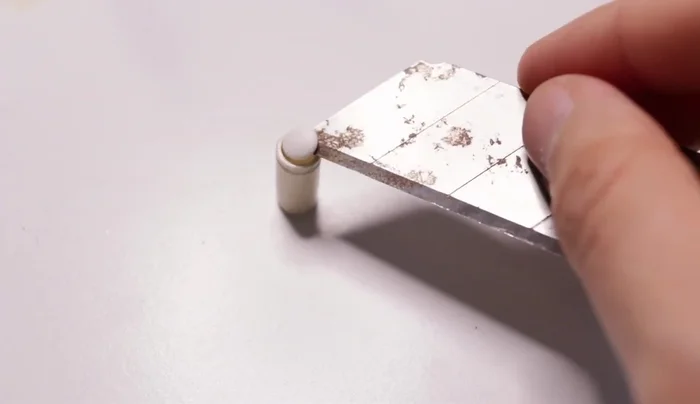
Bake and Finish
- After baking, use a nail file to smooth edges and clean the surface.
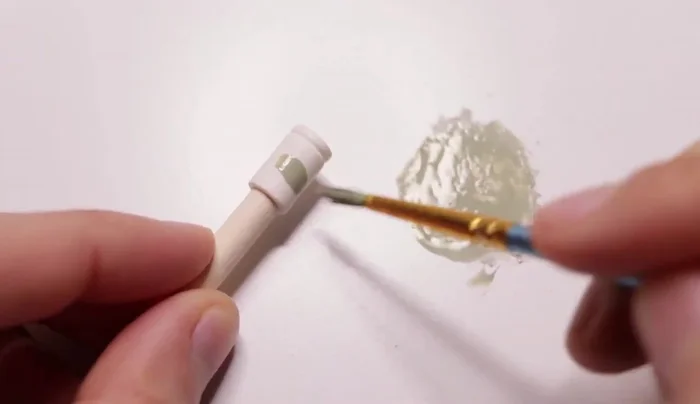
Base Painting
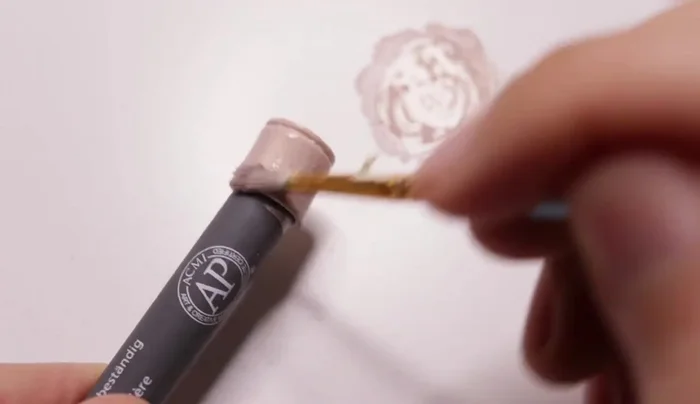
- Apply thinned acrylic paint for an uneven, realistic ceramic effect.
Base Painting Advanced Painting (Optional)
- For more detailed designs, apply diluted brown paint and then add dark brown dots with a stiff-bristled brush.
Advanced Painting (Optional) Create Cork Lids
- Cut out cork circles to use as lids.
Create Cork Lids Create Ceramic Lids
- Create ceramic lids by rolling out clay, flattening it, adding a decorative clay snake and attaching it with liquid polymer clay. Varnish after attaching.
Create Ceramic Lids Create Airtight Lids
- Create airtight lids using a round dowel and shaping clay around it. Add indentation, bake, paint, varnish.
Create Airtight Lids Add Metal Accents (Optional)
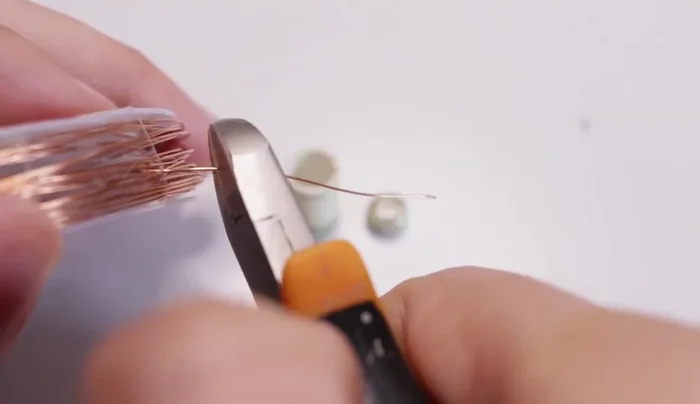
- Cut and shape thin copper wire to join the canister and lid. Add glue to secure the ends.
Add Metal Accents (Optional) Add Clamp (Optional)
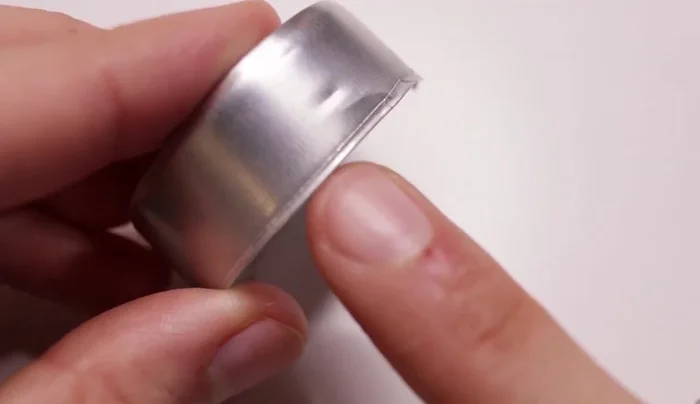
- Create a clamp from aluminum from a tea light and a small oval ring of wire. Paint and glue to the canister.
Add Clamp (Optional) Final Varnish
- Apply 2 coats of high-quality gloss varnish for a glossy ceramic finish.
Final Varnish

Read more: Hang Your Clay Creations: The No-Hole Hanger Method
Tips
- Thinning acrylic paint with water creates an uneven, realistic ceramic look.
- Use high-quality gloss varnish for a superior ceramic effect.
- Apply varnish in a dabbing motion to avoid brush strokes.
- Apply lettering after painting and varnishing if using alcohol-based pens.