Polymer clay is a fantastically versatile material, and creating your own keychains is a rewarding and surprisingly simple craft project, perfect for beginners. Whether you're looking for a fun weekend activity, a personalized gift, or a way to unleash your creativity, this guide will walk you through the entire process of crafting beautiful and unique polymer clay keychains. Forget mass-produced trinkets; you'll learn how to design and make keychains that perfectly reflect your style and personality, from whimsical animals to elegant geometric shapes. The possibilities are truly endless!
This ultimate guide will equip you with all the essential knowledge and step-by-step instructions needed to create stunning polymer clay keychains from start to finish. We'll cover everything from choosing the right clay and tools to mastering essential techniques like blending colors, shaping your designs, and achieving a professional-looking finish. Ready to dive in and start crafting your dream keychains? Let’s get started with the step-by-step process outlined below.
Preparation and Safety Guidelines
- Polymer clay (Sculpey Primo recommended)
- Clay tools
- Rubbing alcohol
- Q-tips
- UV resin
- Respiratory mask
- Gloves
- Oven
- Eye pins
- Pliers
- Jump rings
- Cable wire
- Clasp
- Beads (optional)
- Bead landing (optional)
- UV lamp
- Nail file
- Soft pastels (optional)
- Polymer clay needs to be baked in a conventional oven according to the package instructions. Never microwave or use a toaster oven.
- Always work in a well-ventilated area. Polymer clay fumes can be irritating.
- Ensure surfaces and tools are clean before and after working with polymer clay to avoid contamination.
Step-by-Step Instructions
Prepare and Shape
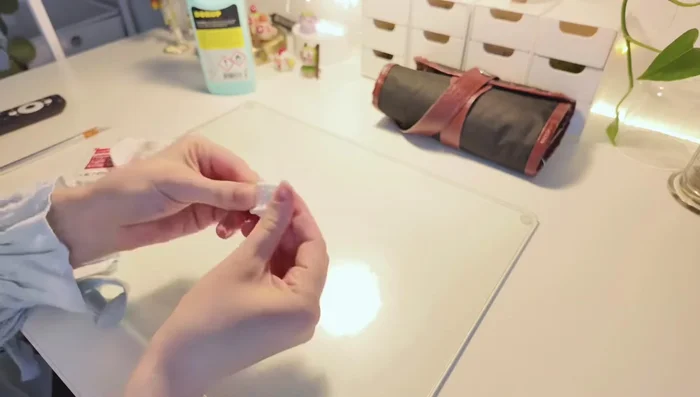
- Prepare your workspace and hands.
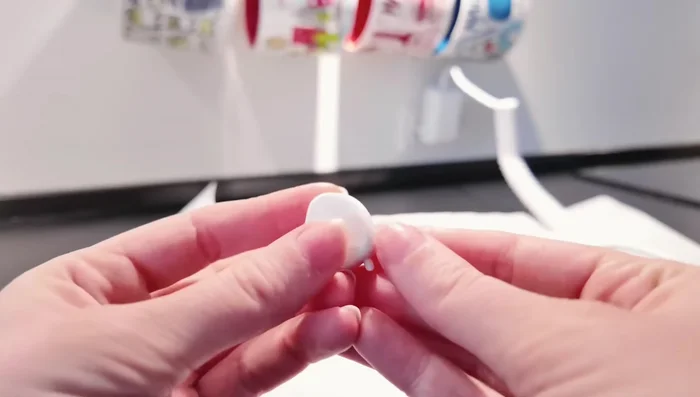
- Condition your clay until smooth.
- Shape your clay into your desired design.

Prepare and Shape Attach Eye Pin
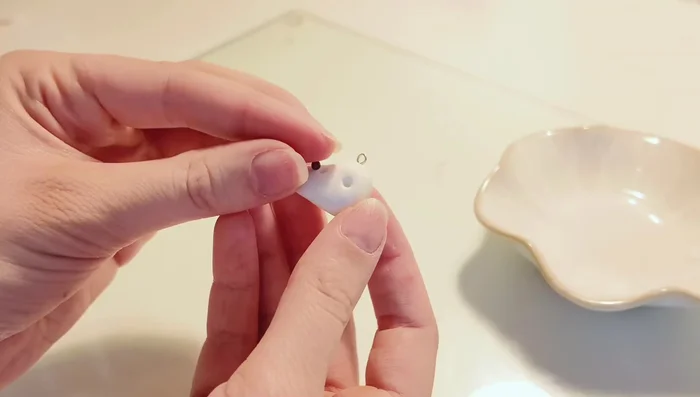
- Cut and bend eye pin to appropriate length. Insert carefully into the charm.
Attach Eye Pin Add Details
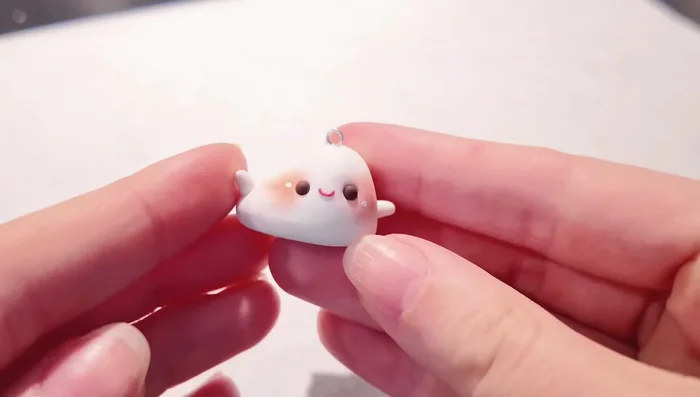
- Add details to the charm (eyes, mouth, blush, etc.).
Add Details Bake and Finish Charm
- Bake the charm according to the clay instructions.
- File down any excess dust or rough edges after baking.
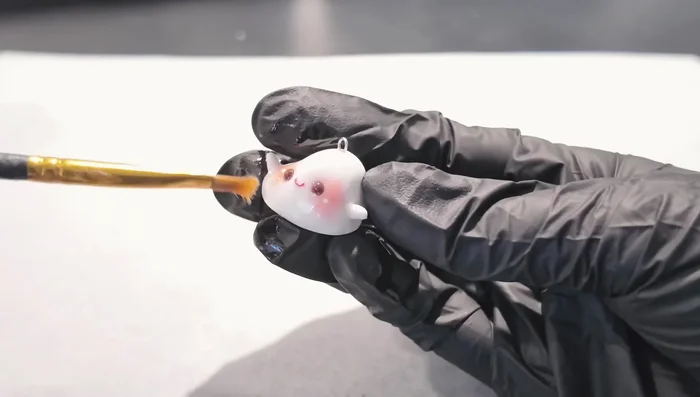
- Apply UV resin evenly and cure under a UV lamp.
Bake and Finish Charm Assemble Keychain
- Attach jump ring to eye pin, attach to cable chain, add clasp.
Assemble Keychain Add Beads (Optional)
- Add beads and bead landing (optional).
Add Beads (Optional)


Read more: Hang Your Clay Creations: The No-Hole Hanger Method
Tips
- Use a harder clay like Sculpey Primo to prevent flattening when inserting eye pins.
- Use rubbing alcohol to clean your clay and remove fingerprints.
- Always wear a respiratory mask and gloves when working with UV resin.
- Experiment with different beads and colors to create unique keychains.