Polymer clay crafting offers endless possibilities, and today we're diving into a sweet and satisfying project: creating adorable miniature ice cream cones! These charming little treats are perfect for adding a touch of whimsy to jewelry, keychains, or even just as delightful desk decorations. The vibrant colors and customizable designs allow for truly unique creations, limited only by your imagination. Imagine the possibilities: strawberry swirl, mint chocolate chip, or perhaps a rainbow explosion of deliciousness – all crafted from the pliable magic of polymer clay.
Forget the sticky mess of real ice cream; this project is clean, fun, and rewarding for crafters of all skill levels. Ready to transform your polymer clay into delectable miniature desserts? Let's get started with our step-by-step guide, showing you exactly how to sculpt and bake your own irresistible polymer clay ice cream cones.
Preparation and Safety Guidelines
- Scrap clay
- Acrylic roller (or pasta machine)
- Round jar or similar object
- Razor blade
- Sculpey clay (or other polymer clay)
- Toothpicks
- Toaster oven
- Polymer clay needs to be baked according to the manufacturer's instructions to harden. Improper baking can result in a soft, unusable product.
- Always work in a well-ventilated area. Some polymer clays may release fumes during baking.
- Polymer clay can reach high temperatures during baking. Use oven mitts to handle hot components and avoid burns.
Step-by-Step Instructions
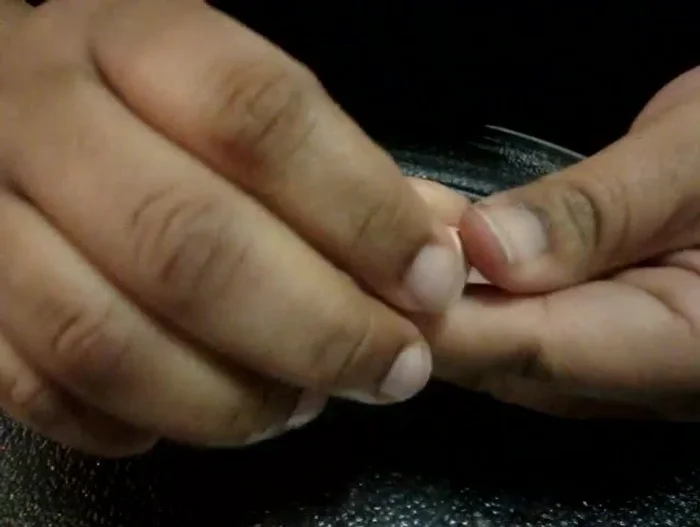
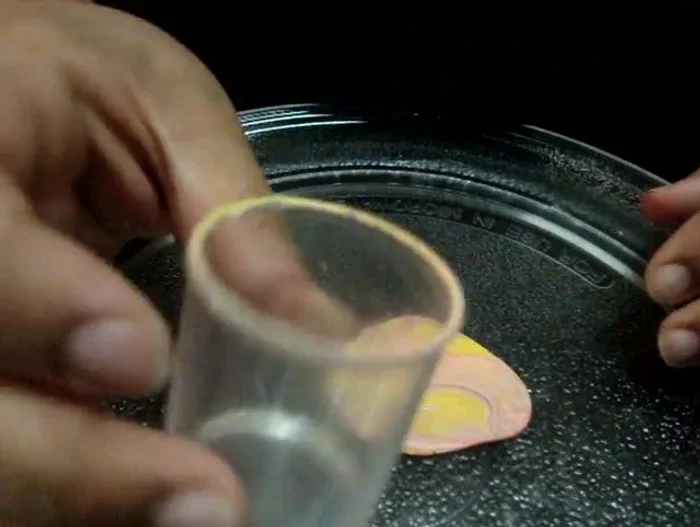
Prepare the Cone Base
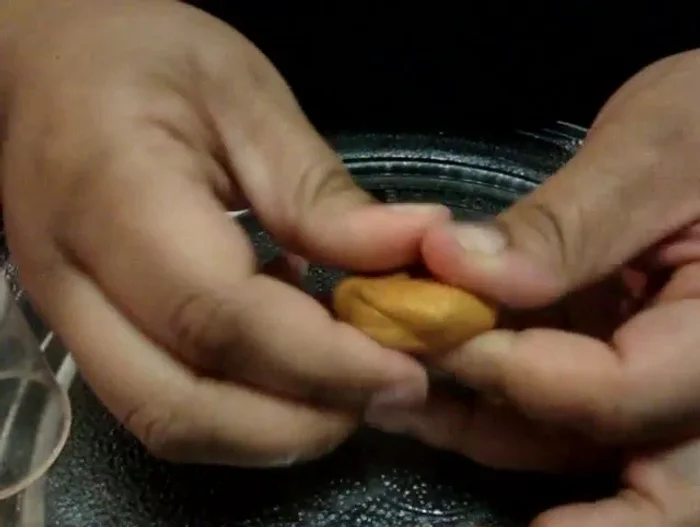
- Flatten scrap clay using an acrylic roller or pasta machine.
- Use a round object to create a circle in the flattened clay. Remove excess clay and clean the workspace.
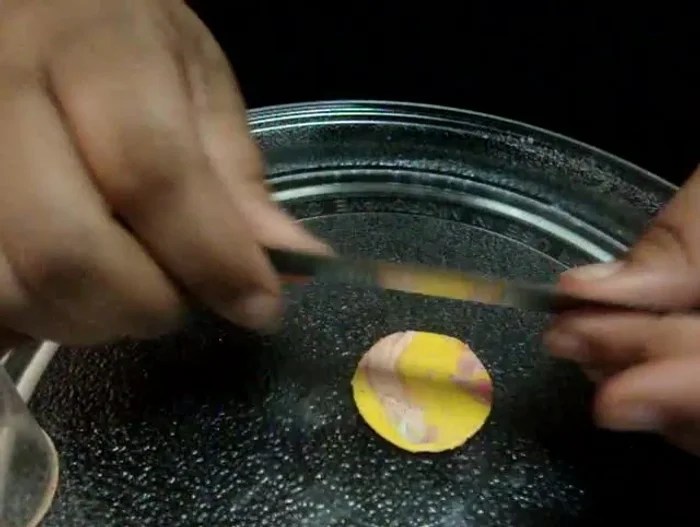
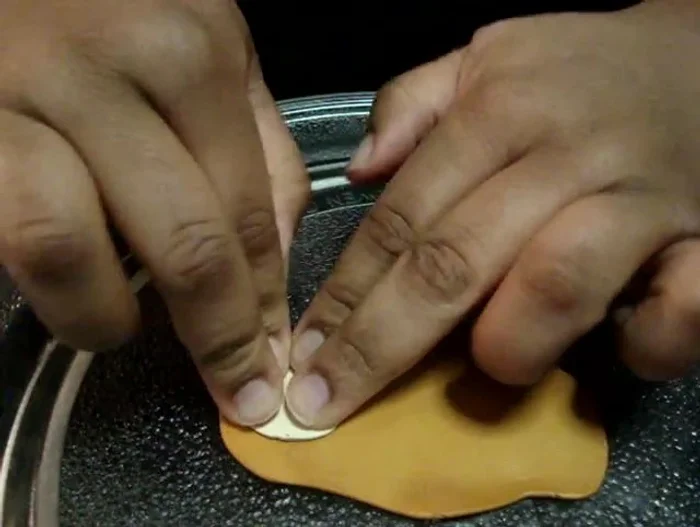
- Use a razor blade to create a grid pattern on the clay circle, ensuring the lines don't cut all the way through.
- Bake the clay according to the manufacturer's instructions.

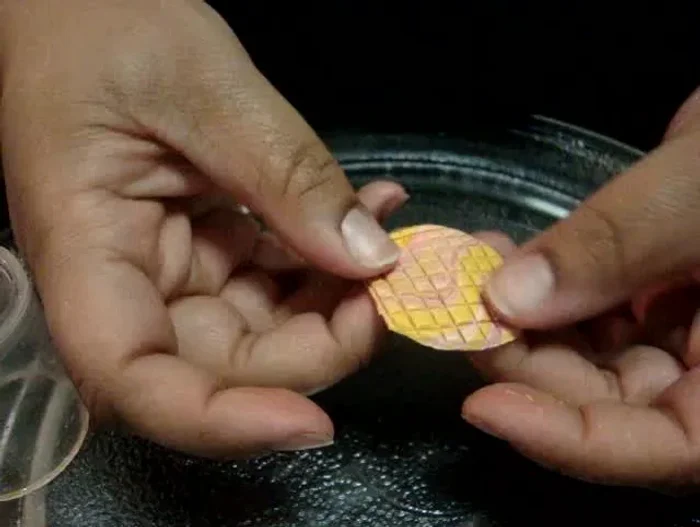
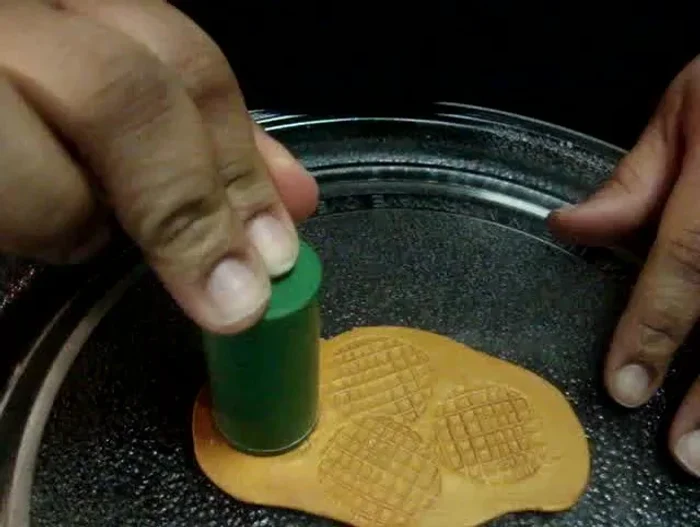
Prepare the Cone Base Create the Ice Cream Cone Pattern
- Flatten out your chosen color of polymer clay (not too thick, not too thin).
- Use the baked clay grid as a stamp, pressing it gently into the colored clay to create the ice cream cone pattern. Use a small amount of oil to prevent sticking if needed.
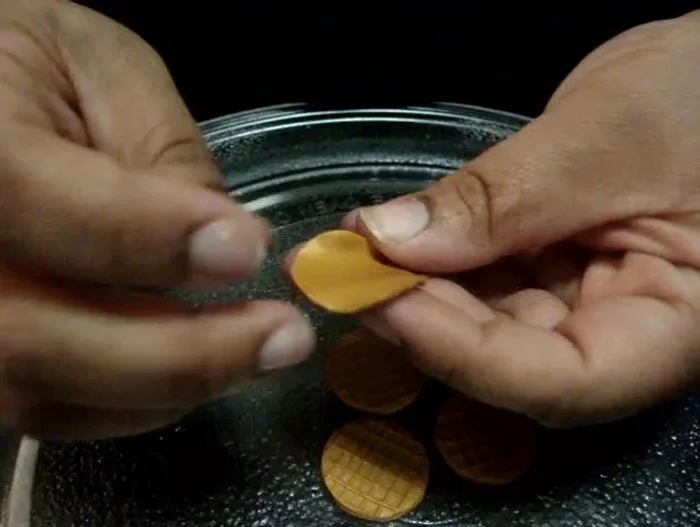
Create the Ice Cream Cone Pattern Shape the Ice Cream Scoops
- Use toothpicks to create small circles of clay for the ice cream scoop.
- Roll the clay circles into a cone shape, being gentle to preserve the pattern.
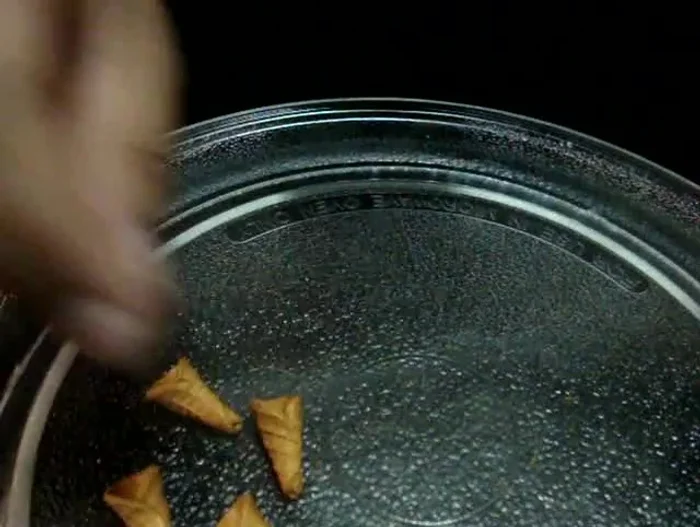
Shape the Ice Cream Scoops Bake the Ice Cream Cones
- Bake the ice cream cones according to the instructions on your polymer clay package.
Bake the Ice Cream Cones
Read more: Hang Your Clay Creations: The No-Hole Hanger Method
Tips
- Using a pasta machine will make the flattening process easier and more consistent.
- Don't press too hard when making the grid lines or stamping the pattern, or the design will smudge.
- A tiny amount of olive oil or vegetable oil can help prevent the clay from sticking to your stamp.