Dive into the enchanting world of polymer clay crafting with this adorable tutorial! Learn how to create a charming heart-shaped sea turtle charm, perfect for adding a touch of whimsical ocean magic to your jewelry, keychains, or even phone accessories. This project is surprisingly simple, even for beginners, requiring only basic polymer clay techniques and a handful of readily available tools. The satisfying process of shaping and sculpting the tiny turtle will be a delightful experience, and the final result is guaranteed to bring a smile to your face.
This delightful sea turtle charm is more than just a cute accessory; it's a miniature work of art you can proudly create yourself. Get ready to unleash your creativity and follow along with our step-by-step guide, as we take you through each stage of crafting this endearing piece. Let's begin creating this precious polymer clay heart sea turtle charm together!
Preparation and Safety Guidelines
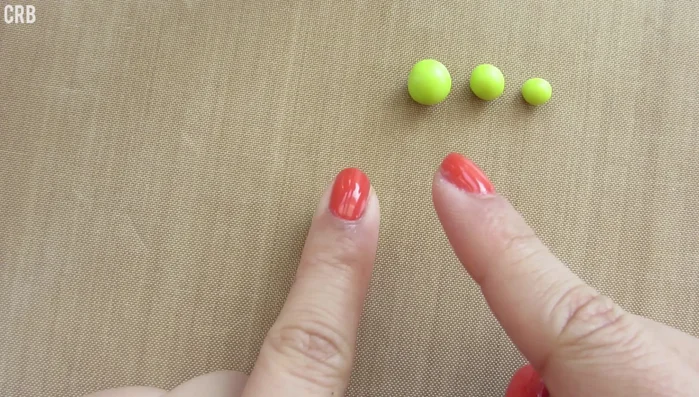
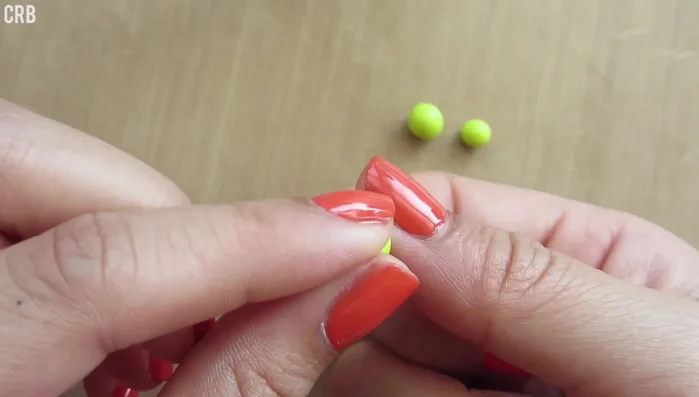
- Polymer clay (various colors)
- Dotting tool or bobby pin
- Small paintbrush
- Chocolate pastels (brown and green)
- Red or pink chalk pastels
- Acrylic paint (brown)
- Eye pin or screw
- Oven
- Cotton swab
- Acetone or nail polish remover
- Glaze
- Polymer clay needs to be baked according to the manufacturer's instructions to harden properly. Improper baking can result in a fragile or sticky charm.
- Always work in a well-ventilated area, as some polymer clays may release fumes during baking. Avoid inhaling these fumes.
- Polymer clay can get very hot during baking. Use oven mitts when handling the baked charm and avoid touching it while it's still hot.
Step-by-Step Instructions
Shell Creation
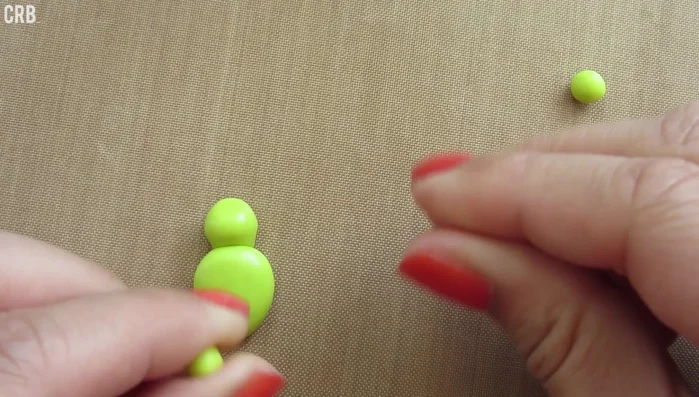
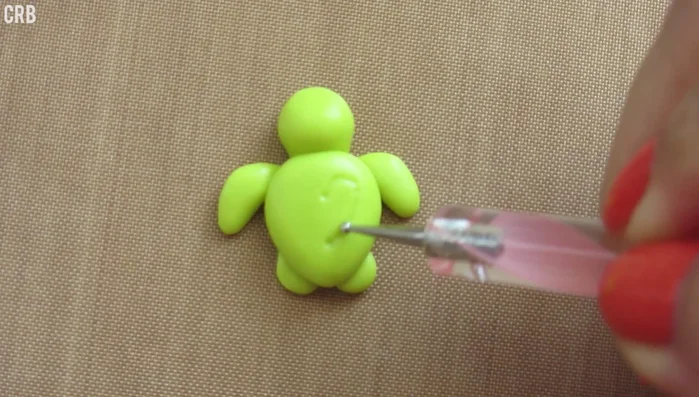
- Shape the largest clay ball into an upside-down teardrop for the shell.

Shell Creation Head and Neck Attachment
- Roll and shape the second-largest ball into a neck and head, attaching it to the shell.
Head and Neck Attachment Front Flipper Attachment
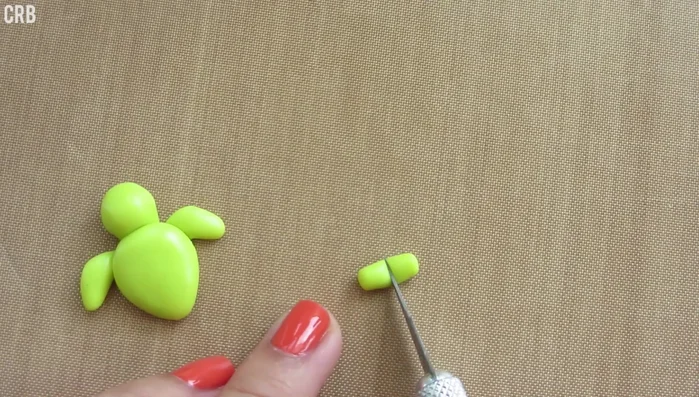
- Make two log-shaped flippers and attach them to the bottom of the shell.
Front Flipper Attachment Back Flipper Attachment
- Create two smaller teardrop shapes for the back flippers and attach them to the shell.
Back Flipper Attachment Shell Design
- Using a dotting tool, create a heart pattern on the shell by making indents.
Shell Design Eye Creation
- Add two black clay balls for the eyes and make indents for them on the head.
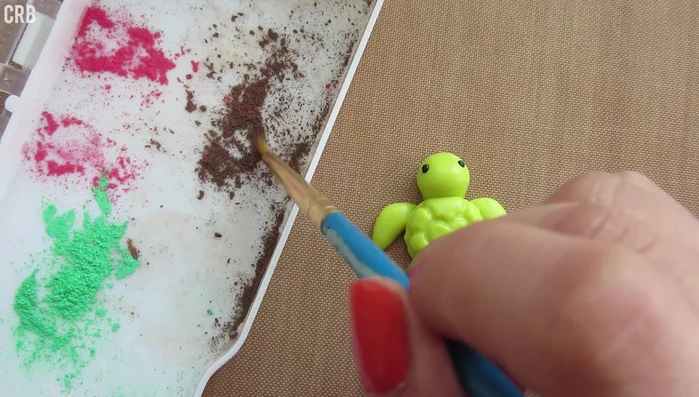
Eye Creation Pastel Coloring
- Dust the shell with brown and green chalk pastels, focusing on the indents.
- Add a blush using red or pink chalk pastels.
Pastel Coloring Baking and Finishing
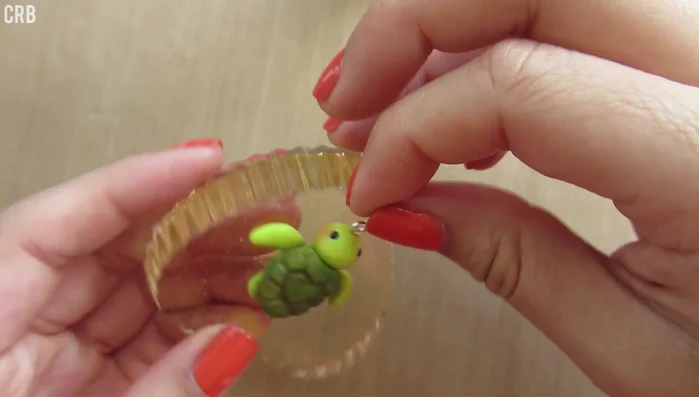
- Add an eye pin or screw to make it a charm and bake according to clay instructions (275°F for about 30 minutes).
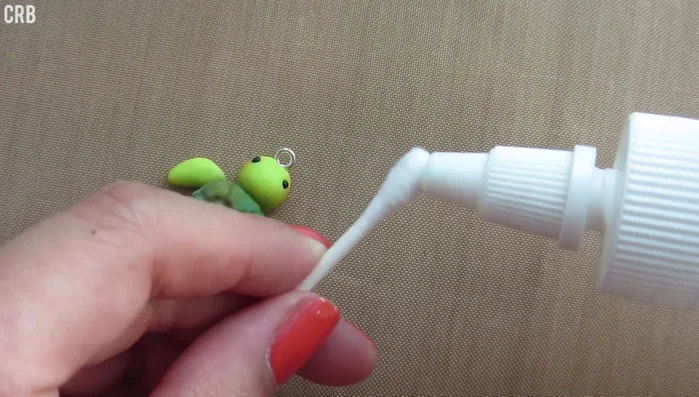
- Clean off excess chalk pastel with a cotton swab and acetone.
Baking and Finishing Painting Details
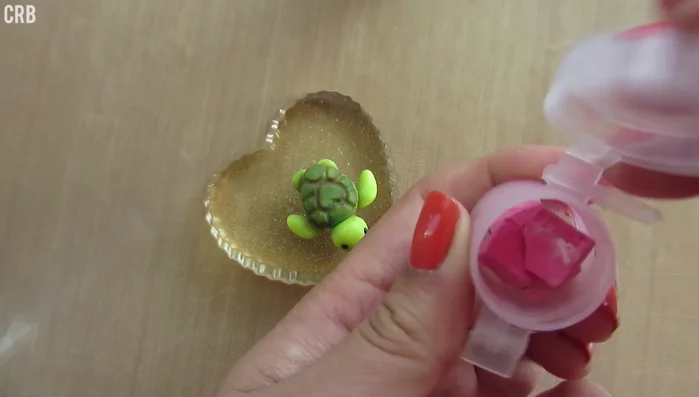
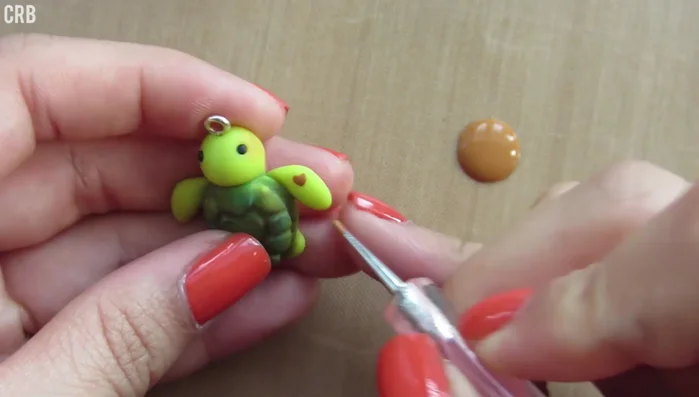
- Paint brown spots and hearts on the flippers and optionally on the head using a dotting tool.
Painting Details Glazing and Final Touches
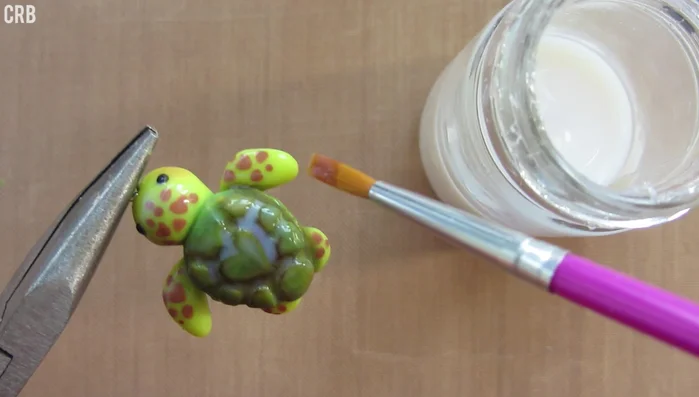
- Let the paint dry completely and glaze for a shiny finish.
Glazing and Final Touches

Read more: Hang Your Clay Creations: The No-Hole Hanger Method
Tips
- Flattening the clay helps to blend pieces together smoothly.
- Take your time creating the heart design on the shell. The video is sped up.
- Use whatever colors you like for the pastels and paint; they don't have to be exactly as shown.