Unleash your inner artisan and discover the joy of crafting exquisite miniature flower arrangements using the versatile medium of polymer clay! This tutorial will guide you through the process of creating charming, miniature flower pots, perfect for adding a touch of whimsical elegance to your home, or as delightful gifts for loved ones. Forget the limitations of real flowers; with polymer clay, your creations will last a lifetime, retaining their vibrant colours and delicate details. Imagine tiny roses, perfectly formed lilies, and delicate forget-me-nots, all nestled within intricately designed miniature pots, showcasing your unique artistic flair.
Polymer clay offers unparalleled flexibility, allowing you to experiment with a vast array of colours, textures, and designs. From rustic terracotta to sleek modern styles, the possibilities are endless. Ready to transform your creative vision into reality? Let's dive into the step-by-step process of crafting your own stunning miniature polymer clay flower pot arrangements.
Preparation and Safety Guidelines
- Fimo soft clay (emerald green, lemon yellow, cherry red, mandarin, white, brown)
- Small clay pots
- Fun wire
- Leaf-shaped cutters (3 sizes)
- Flower cutter
- Stylus
- Exacto knife
- Wire cutters
- Spanish moss
- Pasta machine
- Polymer clay can be toxic if ingested. Always wash your hands thoroughly before and after handling, and avoid touching your face or mouth while working.
- Cure polymer clay according to the manufacturer's instructions. Incomplete curing can lead to soft, sticky, or smelly finished pieces.
- Use a well-ventilated area when baking polymer clay. The fumes produced during baking can be irritating to some individuals.
Step-by-Step Instructions
Prepare the Flower Pot
- Place brown clay into the pot, pressing it down as if it were dirt. Add Spanish moss for added texture (optional).

Prepare the Flower Pot Create Daisy Flowers
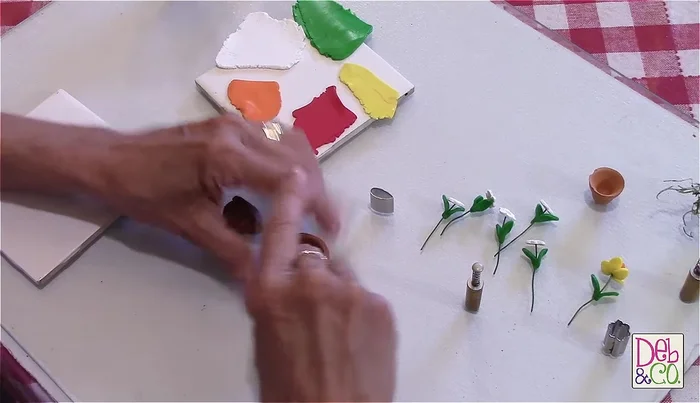
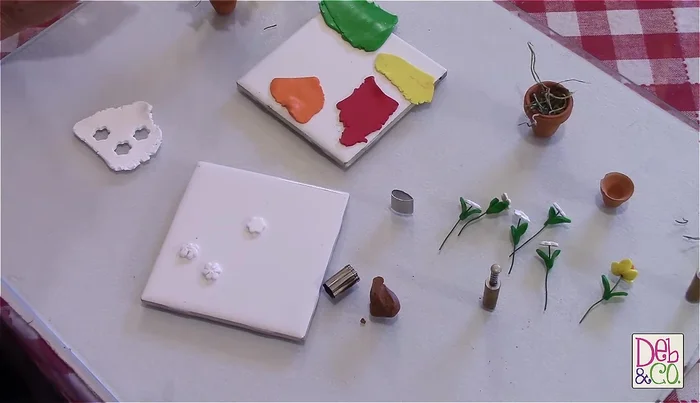
- Roll out white clay to a setting of 4 on a pasta machine. Use a daisy cutter to create flower shapes. Use a needle tool to indent the petals, creating a more defined shape.
- Use a stylus to create a hole in the center of each daisy. Fill the hole with a small amount of lemon yellow clay.
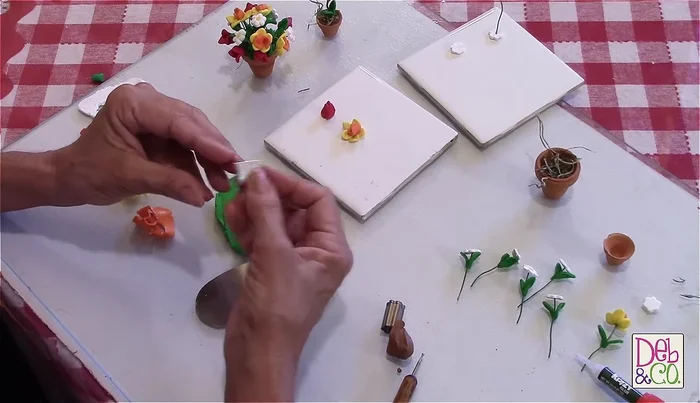
- Turn the daisies over and attach fun wire to the back, using a small amount of glue to secure (optional, but recommended).
Create Daisy Flowers Create Tulip Flowers
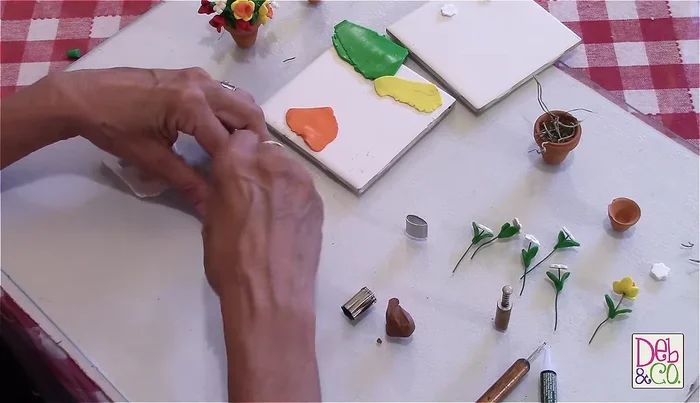
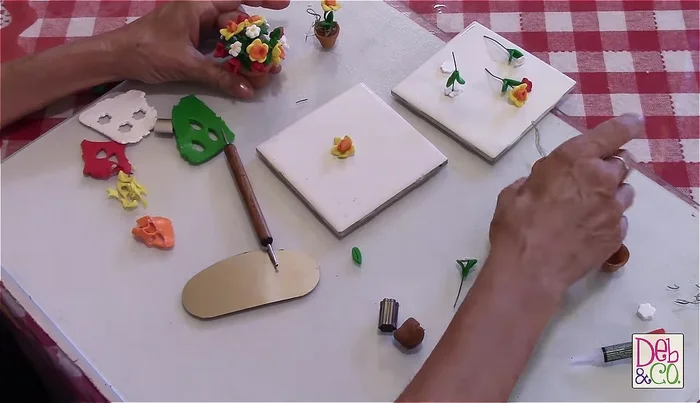
- Use three leaf-shaped cutters (red clay) and join them together in the center to form a tulip shape.
Create Tulip Flowers Create Daffodil Flowers
- Use two sizes of leaf cutters (smaller for outer petals, yellow clay) to create five outer petals and three inner petals. Connect the petals, ensuring the pointed side faces outwards. Add a yellow center using larger leaf-shaped pieces.
Create Daffodil Flowers Create Leaves
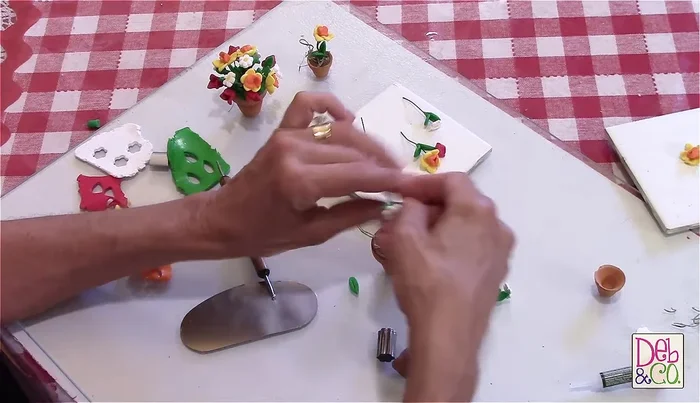
- Use a thin leaf cutter to make leaves. Use a needle tool to draw a line down the center of each leaf.
- Wrap the leaves around the wire stems, securing them with a small amount of glue if necessary.
Create Leaves Bake the Individual Flowers and Leaves
- Bake the individual flowers and leaves for about 15 minutes at 275°F (135°C). Allow to cool completely.
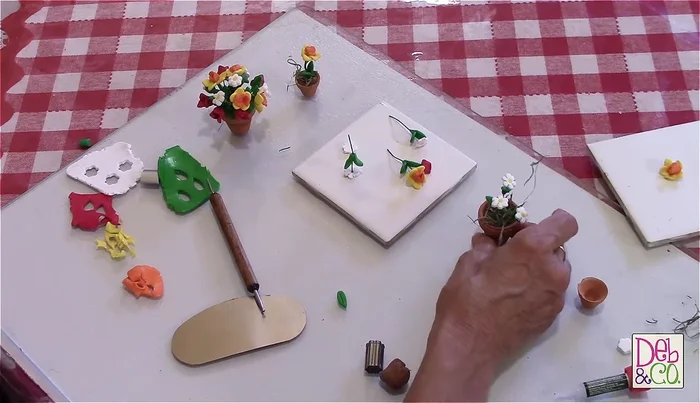
Bake the Individual Flowers and Leaves Assemble the Arrangement
- Arrange the cooled flowers and leaves in the prepared flower pot.
Assemble the Arrangement Bake the Final Arrangement
- Bake the entire arrangement for about 20 minutes at 275°F (135°C).
Bake the Final Arrangement


Read more: Hang Your Clay Creations: The No-Hole Hanger Method
Tips
- Use a pasta machine to ensure even thickness of your clay.
- The ease of shaping the flowers depends on the softness of your clay. Consider humidity levels.
- Allow the baked arrangement to cool completely before handling to prevent breakage.