Polymer clay crafting offers a versatile and rewarding avenue for creativity, allowing you to design unique and personalized decorations for any occasion. This charming dove ornament, crafted entirely from polymer clay, is a perfect example of the beautiful and intricate pieces you can create with this medium. Whether you're a seasoned crafter or a curious beginner, this project offers a satisfying blend of simple techniques and elegant results. The soft, delicate form of the dove lends itself beautifully to the malleable nature of polymer clay, allowing for intricate details and a personalized touch.
This detailed guide provides a clear and easy-to-follow step-by-step process for making your own stunning polymer clay dove ornament, perfect for adorning your Christmas tree, adding a touch of elegance to your home, or gifting to a loved one. Let's begin creating this beautiful and symbolic piece!
Preparation and Safety Guidelines
- Polymer clay (white gold glitter recommended)
- Silicone dove mold
- Ruffled edge cookie cutters (two sizes)
- Metal alphabet letters
- Gilding polish (gold and green)
- Rolling pin
- Clay sculpting tools
- Deli sheet
- Tile
- Paper towel
- Polymer clay needs to be baked according to the manufacturer's instructions to harden properly. Improper baking can result in a fragile or unusable ornament.
- Always work in a well-ventilated area, as some polymer clays may release fumes during baking. Avoid breathing in these fumes.
- Polymer clay can reach very high temperatures in the oven. Use oven mitts when handling baked clay and be cautious of hot surfaces.
Step-by-Step Instructions
Prepare the Clay
- Condition the polymer clay thoroughly to ensure it's not crumbly.

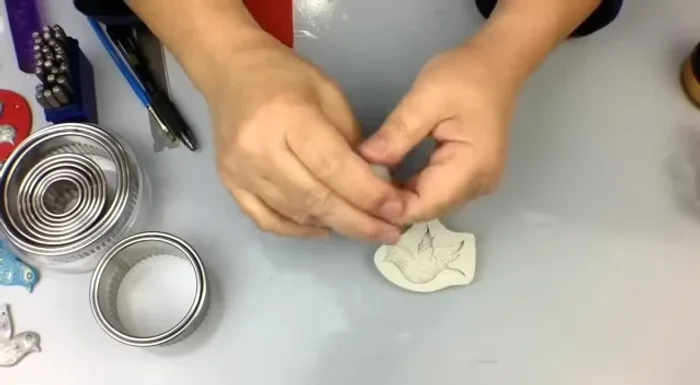
Prepare the Clay Mold the Dove
- Shape the clay to fit the mold as best as possible, pre-cutting or shaping areas like the tail for easier molding.
- Use hand pressure and heat to mold the clay into the silicone mold. Use a sculpting tool to apply pressure and torque the mold to fill all crevices.
- Carefully shave off excess clay in increments, ensuring no areas are too thin. Clean up the mold completely before demolding.
- Gently demold the clay piece by pressing the mold down on a work surface and pulling back.
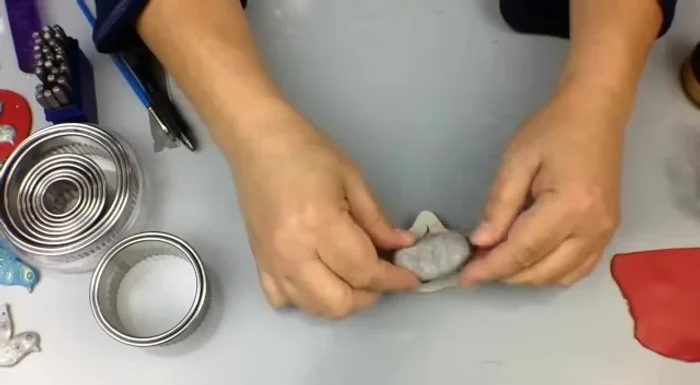
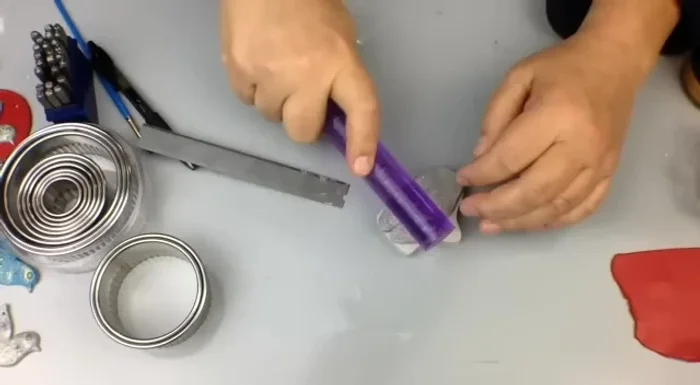
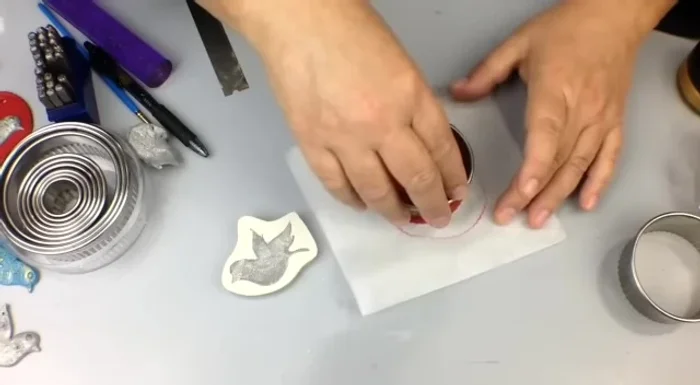
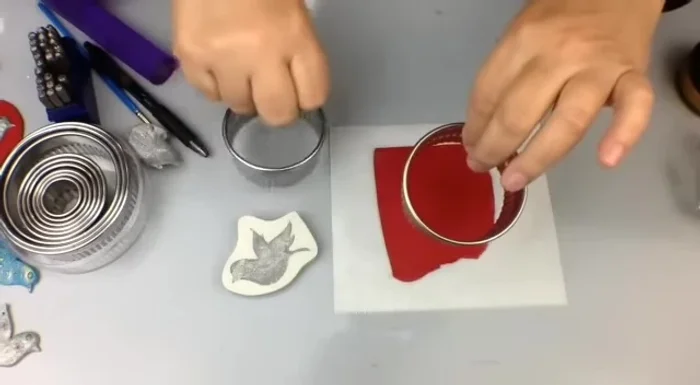
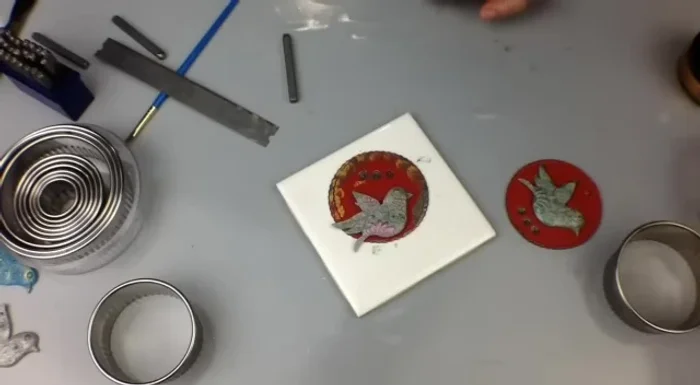
Mold the Dove Create the Ornament Base
- Using ruffled edge cookie cutters, cut out the base for the ornament, creating a frame effect with two different sizes.
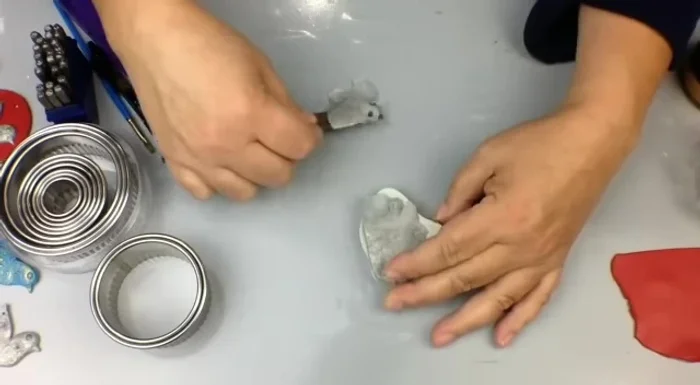
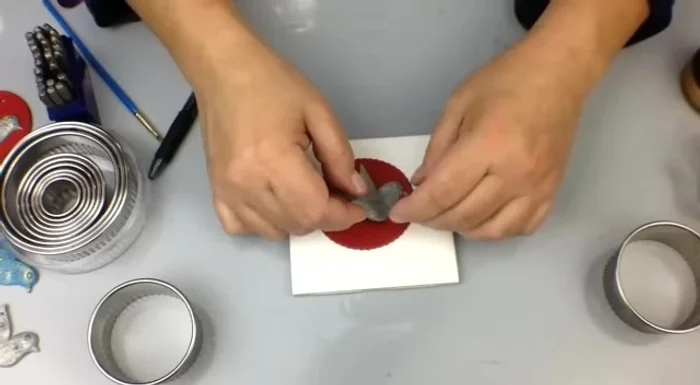
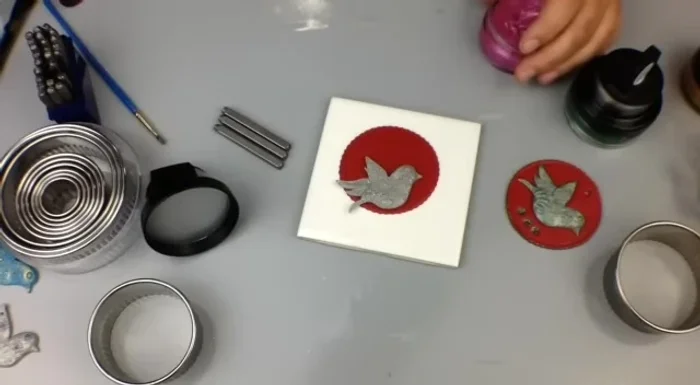
Create the Ornament Base Assemble and Decorate
- Position the dove on the base, slightly angled, and gently press it into the clay to adhere.
- Apply gilding polish using a finger or small brush, highlighting the details of the dove and base. Add metal letter stamps for personalization.
Assemble and Decorate Add Hanging Hole
- Use a knitting needle or similar tool to create a hole for stringing the ornament.
Add Hanging Hole
Read more: Hang Your Clay Creations: The No-Hole Hanger Method
Tips
- Thoroughly condition glittery or translucent clay for easier molding.
- Pre-shape the clay before molding to ensure it fits the mold perfectly.
- Clean the mold thoroughly before demolding to avoid damaging the piece.
- Don't press too hard when imprinting the cookie cutter design; a gentle press is sufficient.
- A little gilding polish goes a long way. Apply gently to highlight details.