Creating miniature works of art is incredibly rewarding, and polymer clay offers a fantastic medium for achieving exquisite detail in small-scale sculpting. This tutorial will guide you through the process of sculpting a charming, two-inch polymer clay doll head, perfect for adding a unique touch to jewelry, dollhouses, or even as a standalone miniature sculpture. We'll cover everything from preparing your clay and building the basic head shape to adding delicate facial features and achieving a smooth, realistic finish. Polymer clay's versatility allows for incredible creative freedom, letting you personalize your doll's expression and style.
Get ready to unleash your inner artist as we delve into a step-by-step guide that will empower you to create your own miniature masterpiece. From initial armature construction to the final finishing touches, each stage will be explained in detail, complete with helpful tips and tricks to ensure success. Let's begin sculpting your adorable two-inch polymer clay doll head!
Preparation and Safety Guidelines
- Polymer clay (Living Doll Sculpey)
- Tin foil
- Round sculpting tool
- Pasta roller
- Pointy sculpting tool
- Sanding sponge
- Liquid Sculpey (optional)
- Clay softener (optional)
- Polymer clay contains chemicals; ensure good ventilation and avoid inhaling dust or fumes. Wash hands thoroughly after handling.
- Bake clay according to the manufacturer's instructions. Overbaking or underbaking can damage the head and release harmful fumes.
- Use oven mitts or tongs to handle hot clay and baking tools. The oven and baking tools will be very hot after baking.
Step-by-Step Instructions
Prepare the Base
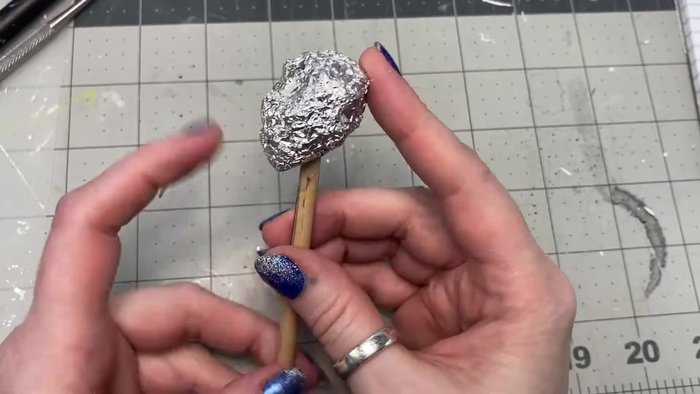
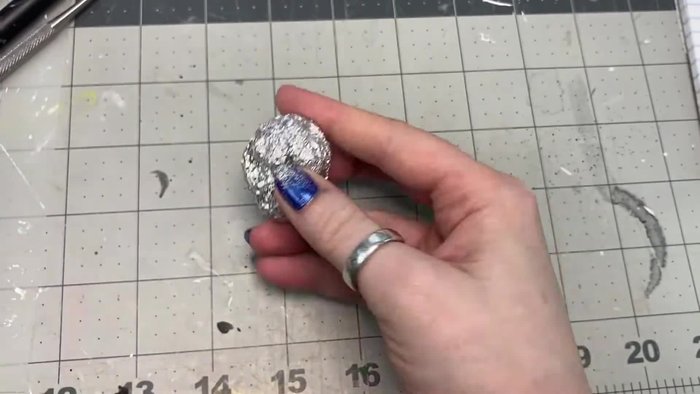
- Shape tin foil into an egg shape.
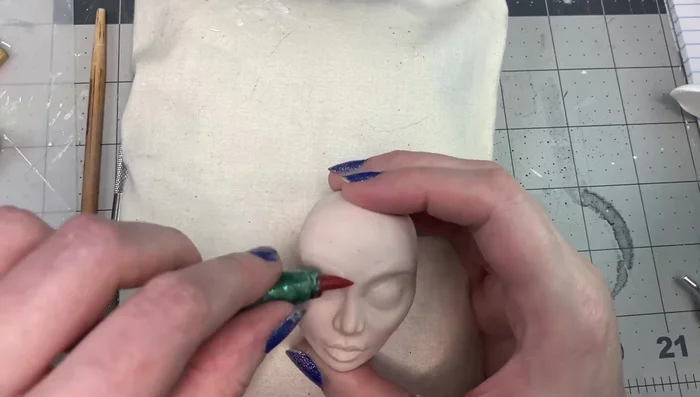
- Use a round sculpting tool to indent eye sockets.

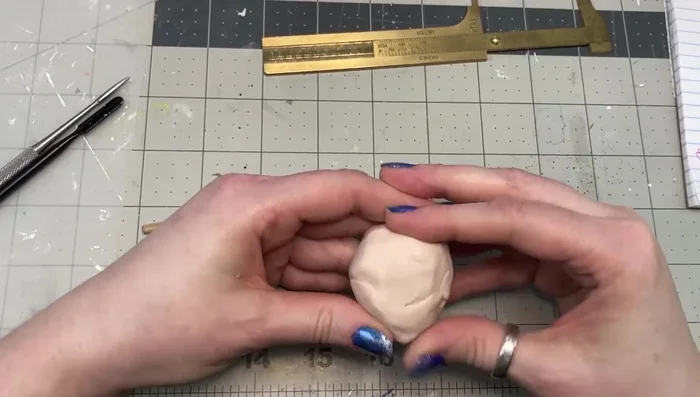
Prepare the Base Apply and Blend the Clay
- Roll out polymer clay and add it to the foil base, blending edges thoroughly.
- Add small amounts of clay to the forehead, chin, and jaw areas, blending well to prevent cracking.
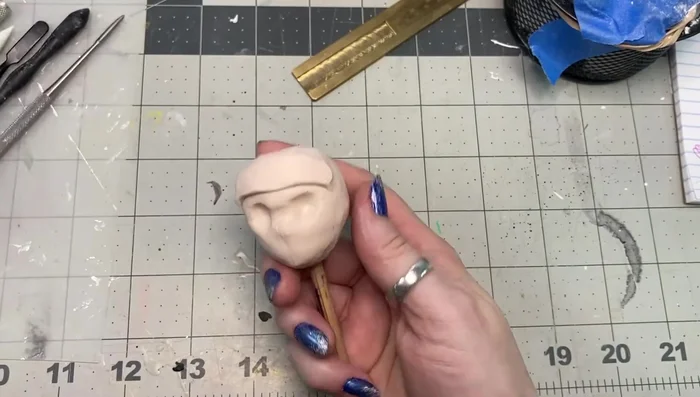
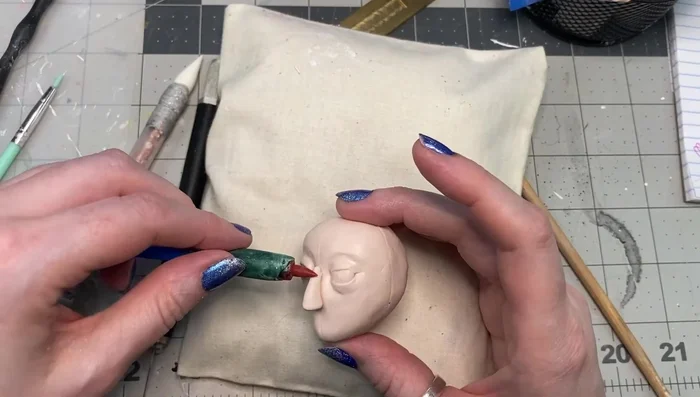
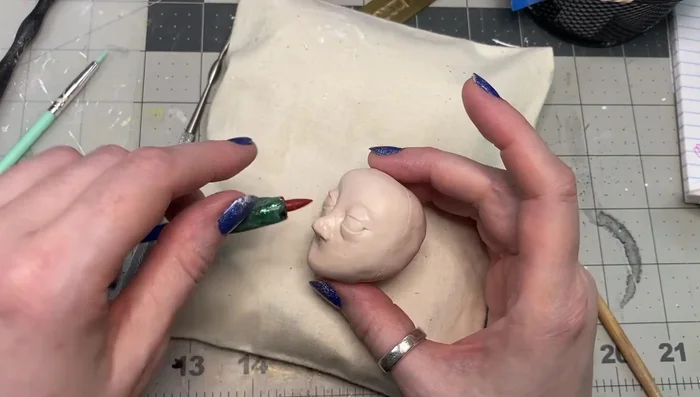
Apply and Blend the Clay Sculpt the Nose
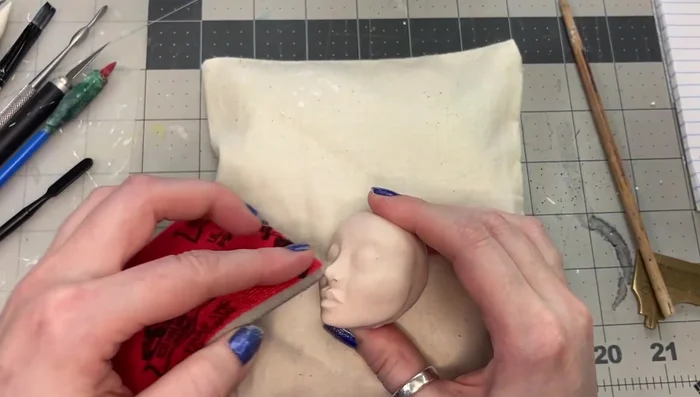
- Add clay for the nose, adding more than needed to allow for blending and shaping.
- Shape the nostrils and sides of the nose using a pointy tool.
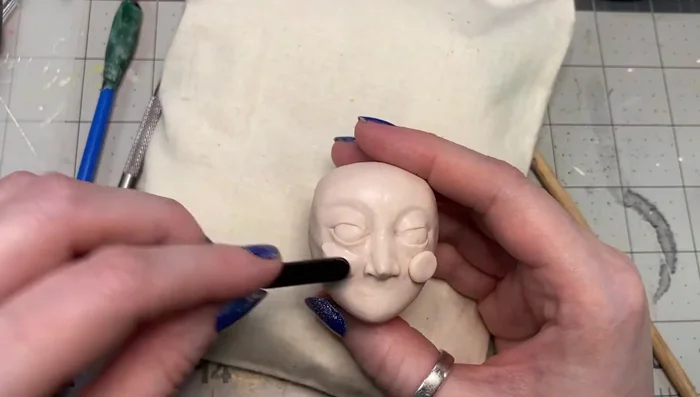
Sculpt the Nose Sculpt the Cheeks
- Add clay to cheeks, continuously blending and refining.
Sculpt the Cheeks Sculpt the Lips
- Add and shape the lips, creating a Cupid's bow; add more clay than needed, then blend and refine.
Sculpt the Lips Bake the Head
- Bake the clay head.
Bake the Head Sand and Refine
- Sand the baked head using a sanding sponge to refine details and remove lumps.
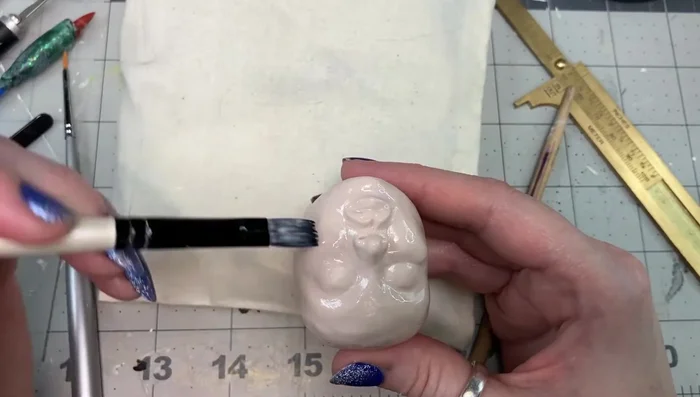
Sand and Refine Final Touches
- Add clay to the brow bone and blend using liquid Sculpey or clay softener.
- Refine the eyelids and add clay to the top of the head and jaw area.
Final Touches


Read more: Hang Your Clay Creations: The No-Hole Hanger Method
Tips
- Blend edges thoroughly to create a smooth surface, especially crucial for small-scale work.
- Add clay in stages to prevent cracking during baking.
- Add more clay than needed for shaping, then remove excess for better blending.
- Don't strive for perfection in the initial stages; focus on base shapes and refine later.
- Use a sanding sponge for smoothing and refining details after baking.