Christmas is just around the corner, and what better way to celebrate than by crafting unique and personalized ornaments? Forget mass-produced decorations; this year, unleash your inner artist and create dazzling, glitter-filled Christmas ornaments using the magic of polymer clay! This versatile material allows for endless creative possibilities, from delicate snowflakes to charming miniature snowmen, all with a touch of festive sparkle that will transform your Christmas tree. Adding glitter offers an extra layer of festive flair, making these ornaments truly one-of-a-kind treasures.
Forget expensive store-bought decorations and embrace the joy of crafting! This easy-to-follow tutorial will guide you through the simple steps of creating your own stunning polymer clay Christmas ornaments, complete with mesmerizing glitter accents. Ready to get started on your shimmering masterpieces? Let’s dive into the step-by-step process and transform plain clay into breathtaking festive decorations.
Preparation and Safety Guidelines
- Fimo clay (white glitter effect)
- Pasta machine
- Coarse sandpaper
- Squared paper
- Template
- Thick blade (Rick rack)
- Needle tool
- Heart-shaped cutter (or other shape cutter)
- Plastic straw
- Alcohol ink
- Liquid Fimo
- Toothpick
- Acrylic paint (gold or other color)
- Ribbon
- Americana Duraclear glaze (or similar)
- Oven
- Oven Thermometer
- Foil pan
- Polymer clay needs to be baked according to the manufacturer's instructions to harden. Improper baking can result in fragile ornaments.
- Use a well-ventilated area when baking polymer clay and avoid inhaling fumes. Glitter can also be messy; work in a contained area.
- Always supervise children when working with polymer clay, especially during the baking process. Avoid touching eyes after handling glitter.
Step-by-Step Instructions
Prepare the Polymer Clay
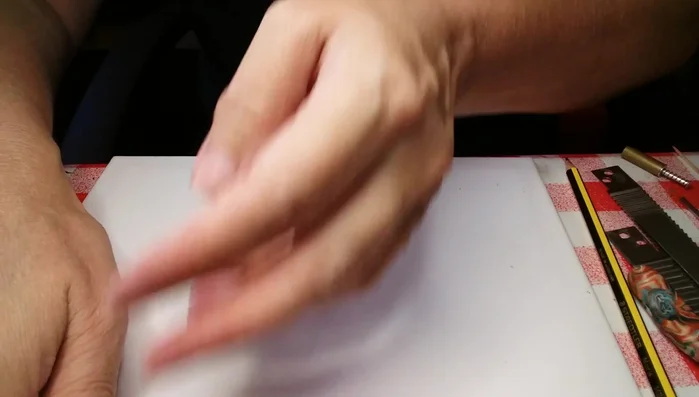
- Roll out Fimo clay and texture it with coarse sandpaper (optional).
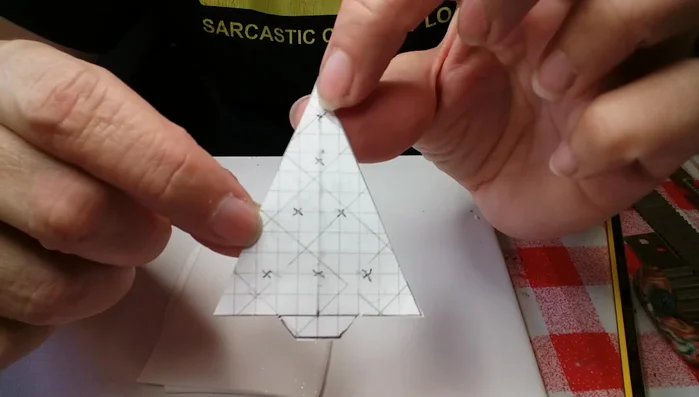
- Cut out shapes using template and clay cutter.

Prepare the Polymer Clay Create Hanging Holes
- Use needle tool to create holes in the center of cutouts.
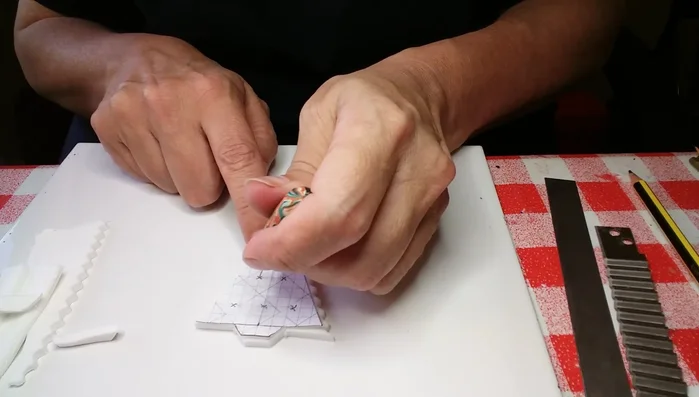
Create Hanging Holes Prepare and Apply Glitter
- Prepare plastic straw as a quill pen for applying liquid clay.
- Mix liquid Fimo with alcohol ink.
- Apply liquid clay into holes using the straw.
Prepare and Apply Glitter Bake the Ornaments
- Bake ornaments according to manufacturer's instructions, using a foil pan to prevent yellowing.
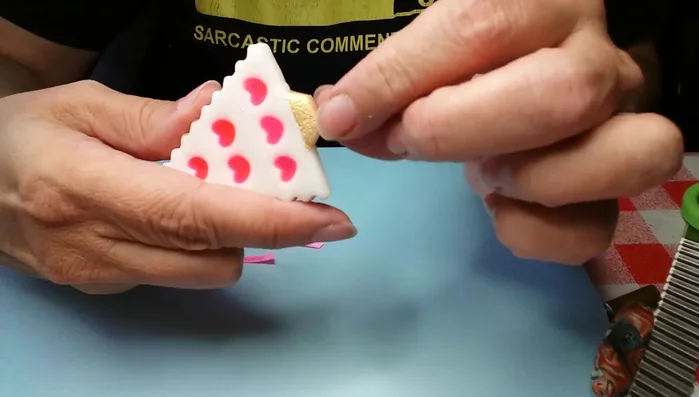
Bake the Ornaments Decorate and Finish
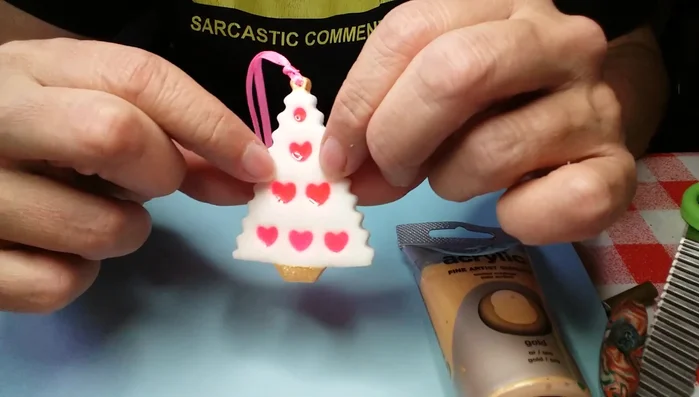
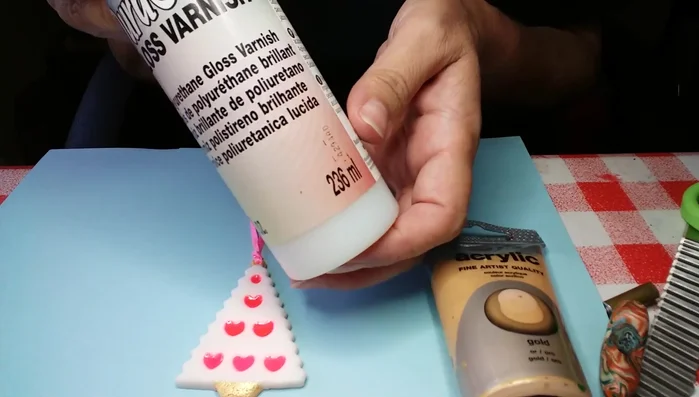
- Paint with acrylic paint after baking.
- Add optional embellishments (crystals, etc.).
- Apply glaze and attach ribbon for hanging.
Decorate and Finish


Read more: Hang Your Clay Creations: The No-Hole Hanger Method
Tips
- Experiment with different clay colors and textures.
- Make templates for easier shaping.
- Don't worry about minor imperfections; these are handmade decorations.
- Use a plastic straw to precisely apply liquid clay.
- If liquid clay overflows, gently wipe off excess.