Polymer clay offers a fantastically versatile and durable medium for creating personalized and truly unique cake toppers. Forget flimsy, mass-produced decorations; with a little patience and creativity, you can craft stunning, bespoke embellishments to perfectly complement your next celebratory cake. Imagine a charming miniature figurine representing the birthday celebrant, a whimsical arrangement of flowers, or even a perfectly sculpted replica of your favorite dessert—all crafted entirely by your own hand. The possibilities are as endless as your imagination.
This guide provides a comprehensive, step-by-step walkthrough of the process, allowing even complete beginners to confidently create their own beautiful polymer clay cake toppers. From choosing the right clay and tools to baking and finishing, we'll cover every detail to ensure your creation is not only visually appealing but also securely affixed to your cake. Let's dive into the fun and transform your baking creations with a handcrafted masterpiece!
Preparation and Safety Guidelines
- Aluminum foil
- Polymer clay
- Polymer clay scraps
- Silicone spatula
- Extruder
- Small nozzle
- Brush
- Acrylic paint
- Acetone
- Napkin
- Polymer clay needs to be baked according to the manufacturer's instructions to harden. Improper baking can result in a brittle or soft topper.
- Always work in a well-ventilated area, as some polymer clays may release fumes during baking.
- Avoid touching your face or eyes while handling unbaked polymer clay. Wash your hands thoroughly after handling.
Step-by-Step Instructions
Create the Bases
- Create the base using aluminum foil. Form two separate parts for the groom (legs and body) and one whole piece for the bride.
- Create the base for the figures using aluminum foil, cover with polymer clay, then add a white clay layer. Ensure stability.

Create the Bases Apply Polymer Clay to Bases
- Cover the aluminum foil bases with polymer clay, ensuring even spreading. Add liquid polymer clay for better grip if needed.
Apply Polymer Clay to Bases Create Heads and Mix Skin Tone
- Mix skin-tone polymer clay (white, yellow, blue, and red). Create the heads similarly to the bodies, starting with aluminum foil spheres.
Create Heads and Mix Skin Tone Add Clothing and Texture
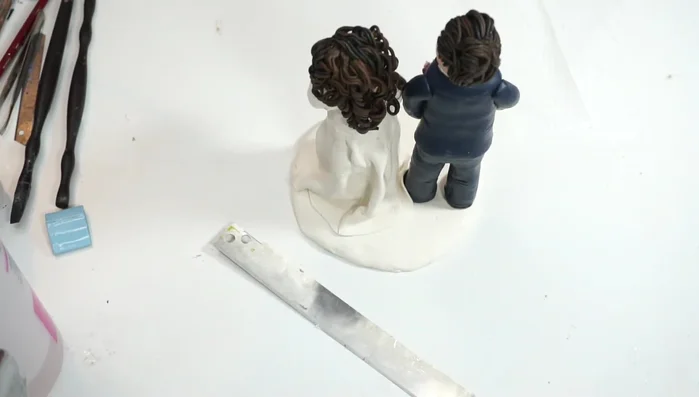
- Add clothing. For the groom, create the suit (pants, shirt, tie, jacket). For the bride, make a corset top and skirt. Add fabric texture to the dress by incorporating fabric pieces into the clay.
Add Clothing and Texture Create and Apply Hair
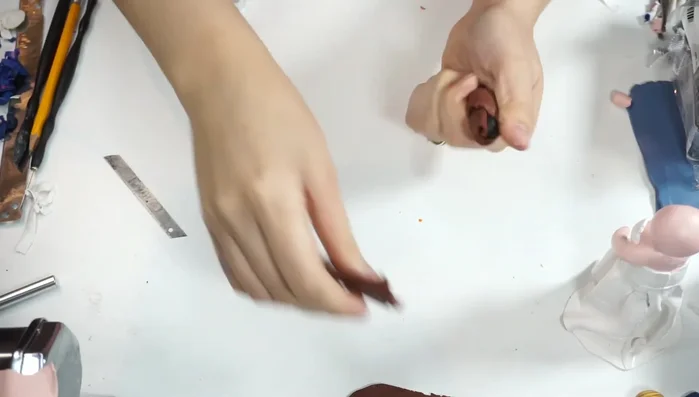
- Create hair. Mix brown and black clay, load into the extruder, and use the smallest nozzle. Apply brown to the back of the heads, then add individual hair strands and curl them.
Create and Apply Hair Add Bouquet and Details
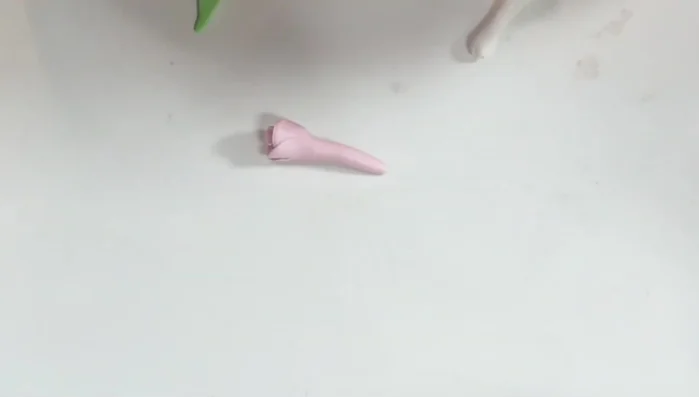
- Add details. Make flowers and leaves from pink, white, and green clay for the bouquet. Attach using liquid polymer clay.
Add Bouquet and Details Prepare for Baking
- Remove excess clay dust using acetone and a napkin.
Prepare for Baking Bake the Topper
- Bake for an hour.
Bake the Topper Add Finishing Touches
- veil, tiara, and facial features using acrylic paint.
Add Finishing Touches


Read more: Hang Your Clay Creations: The No-Hole Hanger Method
Tips
- Use liquid polymer clay to improve the grip of the clay on the aluminum foil base.
- For thicker clay layers, baking for an hour is recommended.