Tired of the same old buttons adorning your clothing and crafts? Yearning for unique, personalized touches that truly reflect your style? Then look no further! Polymer clay offers a fantastically versatile and accessible medium for creating one-of-a-kind buttons, allowing you to unleash your creativity and add a handmade flair to any project. From subtle elegance to bold, vibrant designs, the possibilities are endless, limited only by your imagination and the colours available in your polymer clay stash.
This comprehensive guide will walk you through the entire process of making your own stunning polymer clay buttons, from preparing the clay to achieving a professional-looking finish. Get ready to dive into a world of creative expression as we explore this rewarding craft, step by step. Let's get started!
Preparation and Safety Guidelines
- Polymer clay (Sculpey recommended)
- Cookie cutters (heart-shaped for this example)
- Rolling pin (or a smooth jar/glass)
- Tool for poking holes (plastic fork, toothpick, knitting needle)
- Parchment paper
- Oven (conventional or toaster oven)
- Nail polish (clear and glitter)
- Toothpick
- Polymer clay needs to be baked according to the manufacturer's instructions to harden. Improper baking can result in brittle or soft buttons.
- Always work in a well-ventilated area as some polymer clays release fumes when baked. Avoid inhaling these fumes.
- Use oven mitts or pot holders when handling hot baking trays and baked clay. The clay and the tray will be very hot.
Step-by-Step Instructions
Prepare your workspace and oven
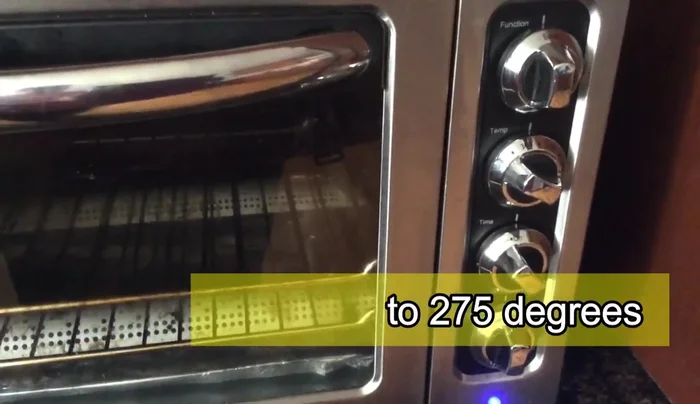
- Preheat your oven to 275°F (135°C).
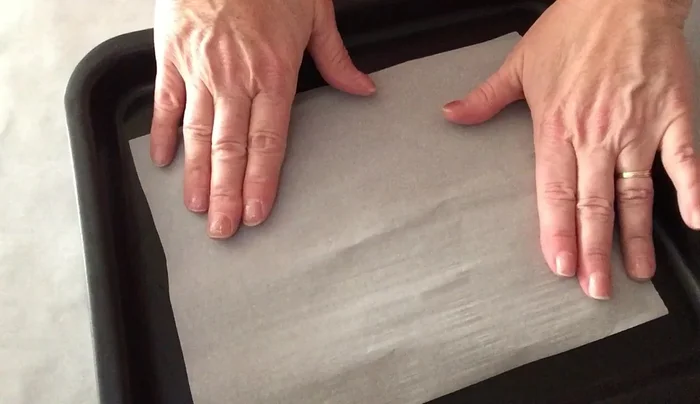
- Line your baking sheet with parchment paper.
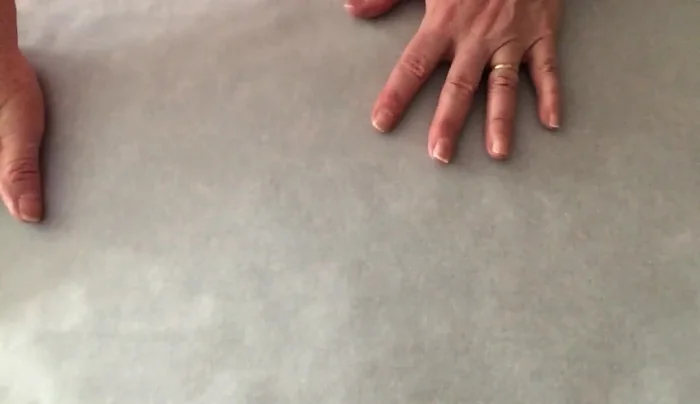
- Cover your work surface with parchment or wax paper.
- Wash, rinse, and dry your hands thoroughly.

Prepare your workspace and oven Prepare the clay
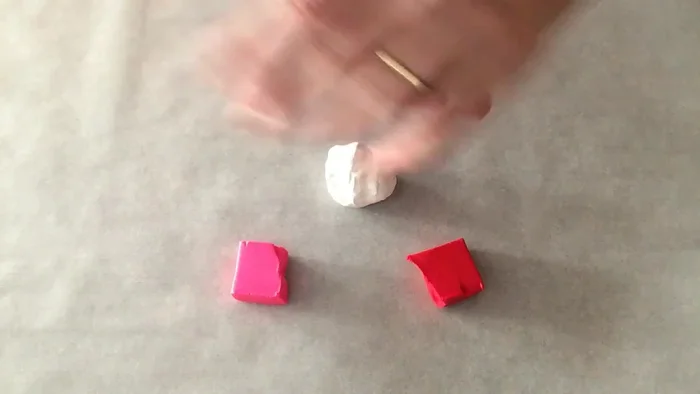
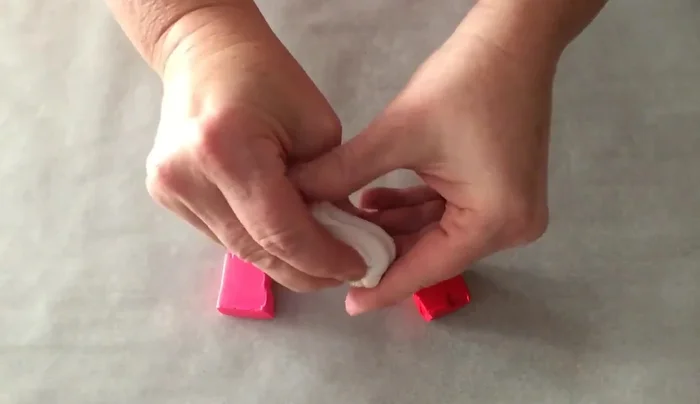
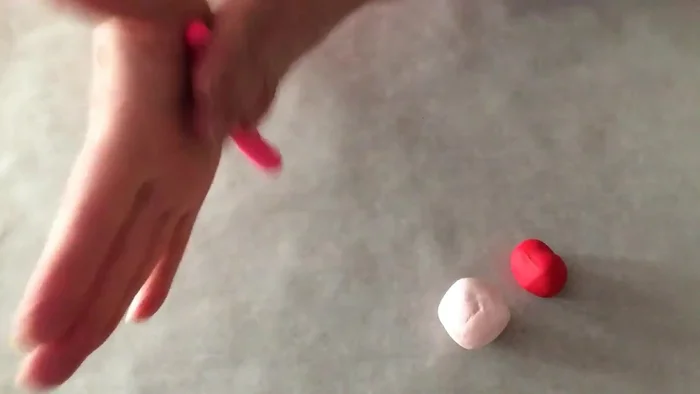
- Knead your chosen clay colors until soft (about 2-3 minutes each).
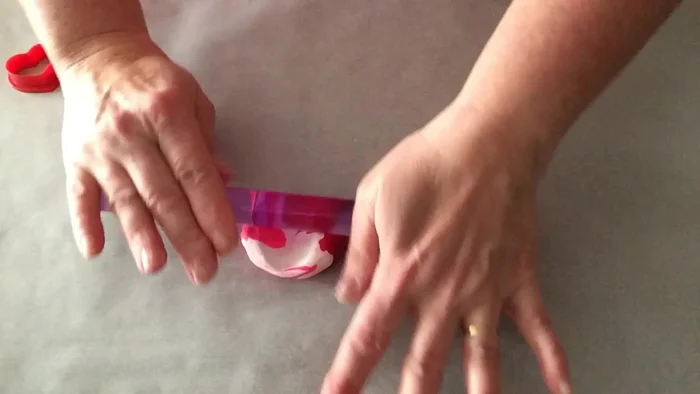
- Roll the clay colors into canes (snakes) and combine them, twisting to create a marbled effect.
- Roll out the combined clay to a thickness of less than 1/8 inch.
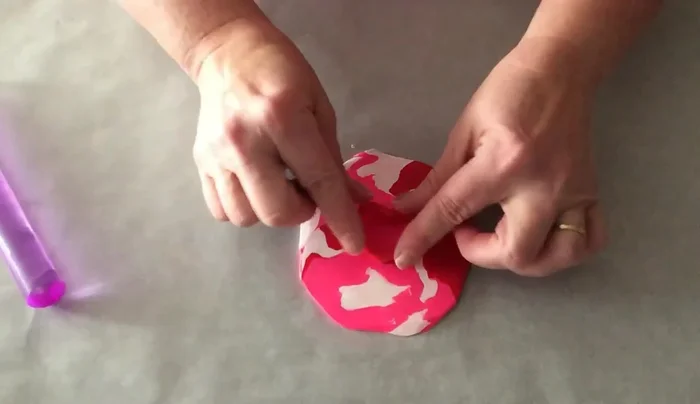
Prepare the clay Cut and shape the buttons
- Use cookie cutters to cut out desired shapes.
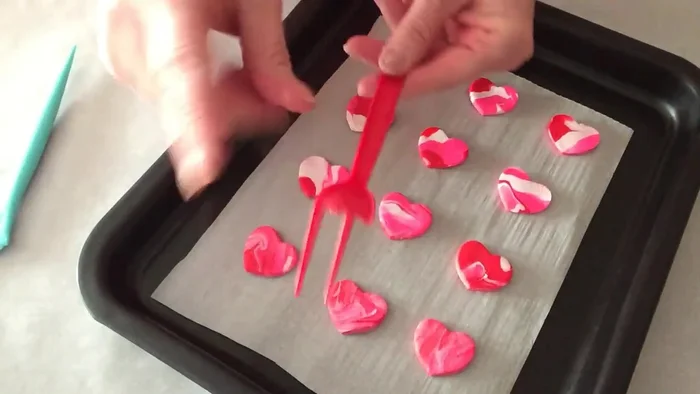
Cut and shape the buttons Make the button holes
- Use a tool (fork, toothpick, etc.) to make holes in the buttons.
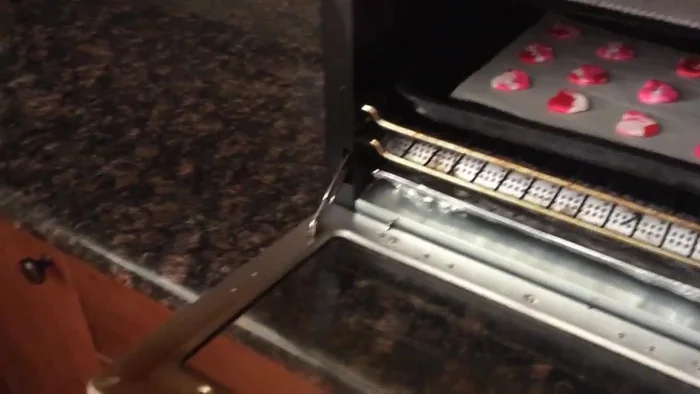
Make the button holes Bake the buttons
- Bake buttons at 275°F (135°C) for 15 minutes.
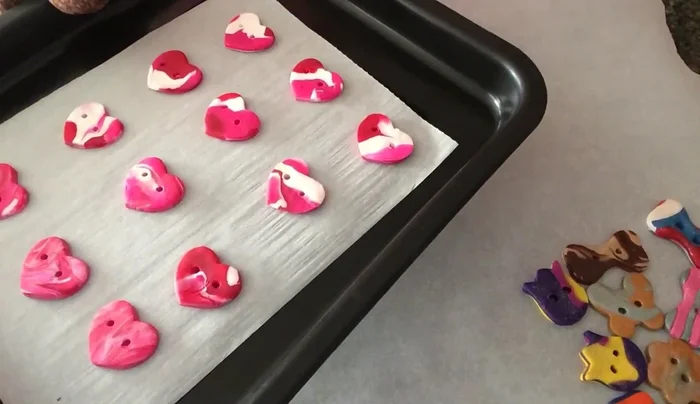
Bake the buttons Cool and finish the buttons
- Let buttons cool completely (at least 24 hours).
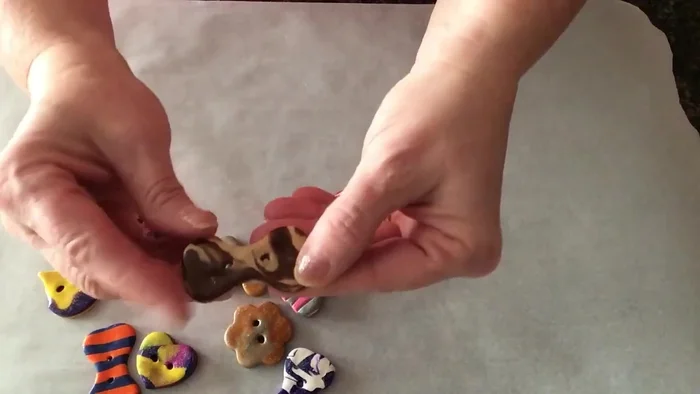
- Apply nail polish (clear or glitter) to add a glossy or sparkly finish.
Cool and finish the buttons
Read more: Hang Your Clay Creations: The No-Hole Hanger Method
Tips
- Using parchment paper prevents clay residue from sticking to your baking sheet and counter.
- Clean hands prevent dirt and oils from contaminating the clay.
- The thickness of your clay affects baking time. Thinner buttons bake faster.
- Allow buttons to cure for 24 hours before glazing for best results.
- Use a toothpick to enlarge holes if necessary after baking.