Polymer clay offers endless creative possibilities, and crafting adorable miniature animals is a particularly rewarding experience. Today, we'll be tackling a charming creature: the black bear! This tutorial will guide you through the process of making a captivating little black bear charm, perfect for adding a touch of whimsical woodland charm to your jewelry, bags, or keychains. From shaping its tiny body and adorable face to adding those distinctive little ears and claws, we'll cover every step in detail.
With its glossy black fur and endearingly round features, this black bear charm is surprisingly simple to create, even for beginners. We'll use readily available polymer clay tools and techniques to bring this cute critter to life. Ready to get your hands messy and create something truly adorable? Let's dive into the step-by-step instructions and begin sculpting your own miniature black bear charm!
Preparation and Safety Guidelines
- Fimo clay (black and ecru)
- Tile
- Rolling pin
- Needle tool
- Xacto knife
- Pasta machine
- 4mm round beads
- Super glue
- Paper clips
- Stylus
- Blush
- Polymer clay needs to be baked according to the manufacturer's instructions to harden. Baking at the wrong temperature or for the wrong time can result in a charm that is brittle or doesn't harden properly.
- Always bake polymer clay in a well-ventilated area. The fumes produced during baking can be harmful if inhaled.
- Polymer clay can get very hot during baking. Use oven mitts or gloves to handle the baking dish and the finished charm carefully.
Step-by-Step Instructions
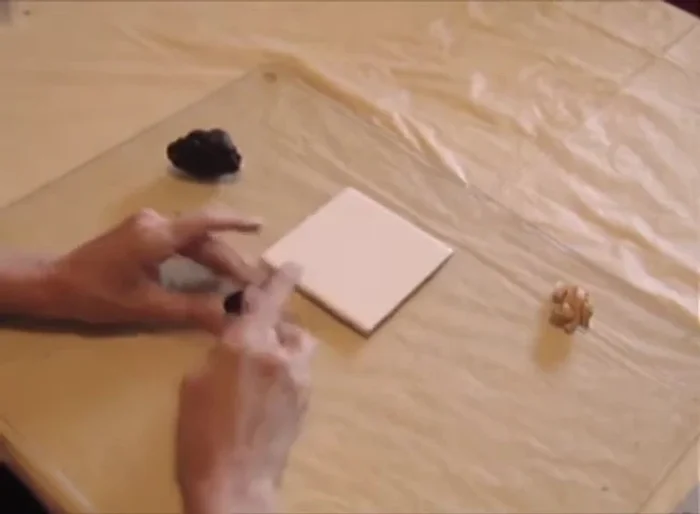
Create the Bear's Body
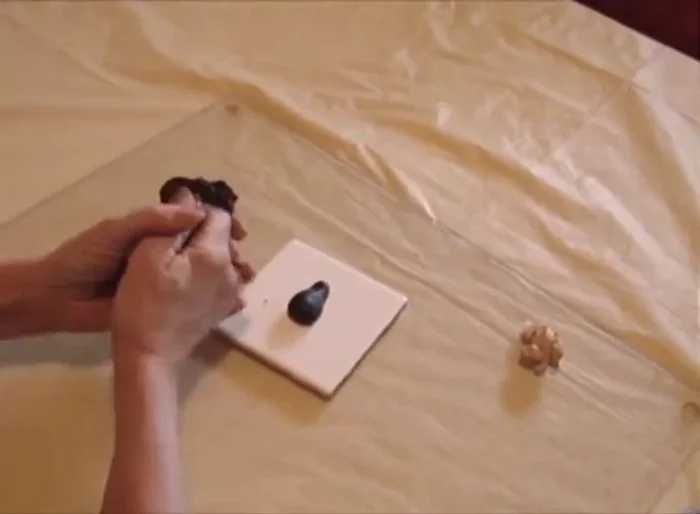
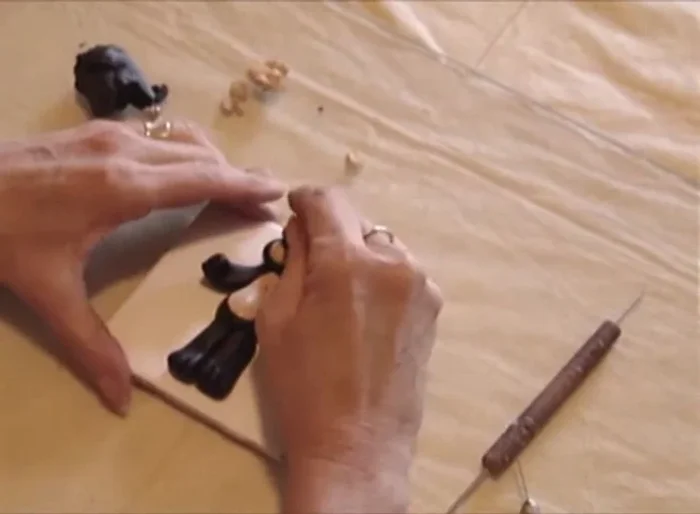
- Roll out a ball of black clay and shape it into a fat body for the bear.
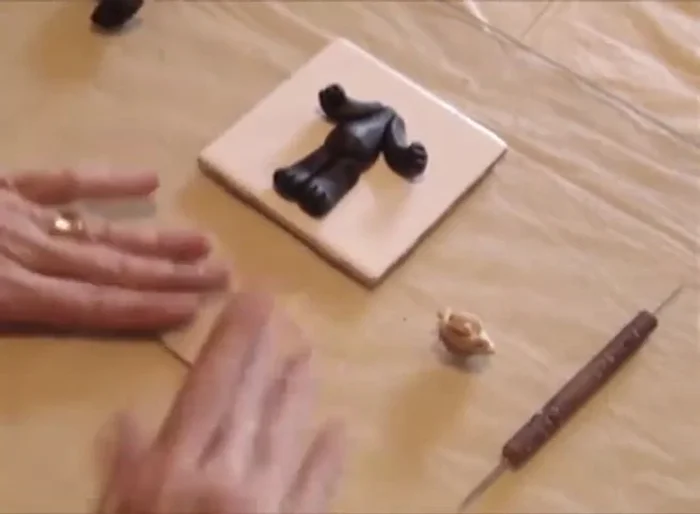
- Make four legs using small balls of black clay, roll them into cylinders, and attach them to the body. Bend the bottoms to create feet.
- Create two front paws using small balls of black clay, roll them into cylinders, and attach them to the body. Use the needle to create claw marks.

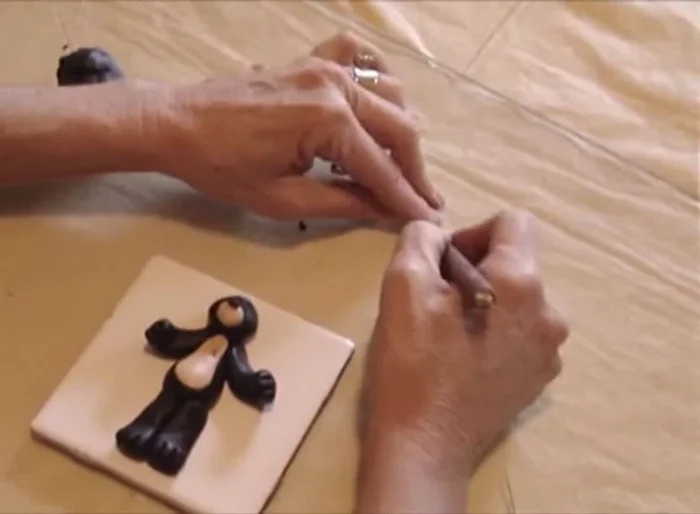
Create the Bear's Body Add the Belly
- Use the pasta machine to create a thin sheet of ecru clay. Cut an egg shape and place it on the bear's body to form the belly.
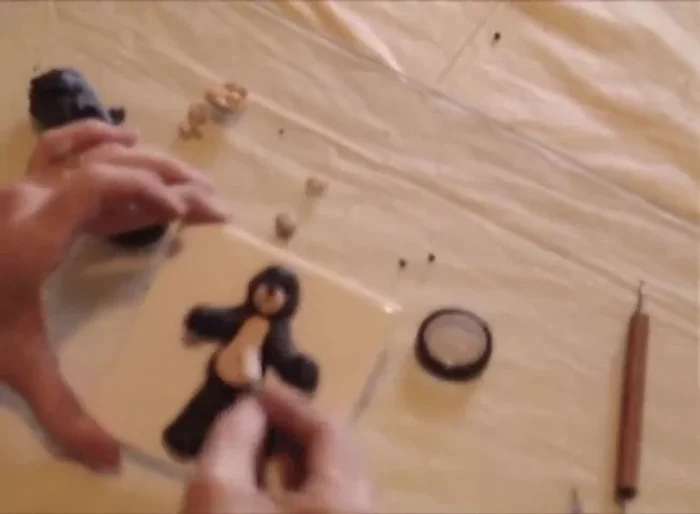
Add the Belly Shape the Head and Face
- Make a head using a ball of black clay and attach it to the body. Create a muzzle from a small ball of ecru clay and attach it to the face.
- Add a small black ball for the nose.
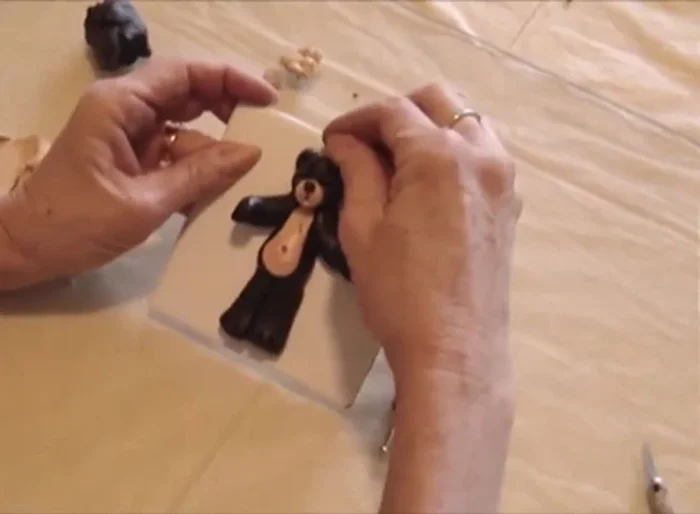
Shape the Head and Face Add Facial Features
- Insert two 4mm round beads for the eyes. Use the needle to make indentations for the eyebrows and mouth.
Add Facial Features Add Ears and Blush
- Add blush to the belly for color. Make two small balls of black clay for ears and attach them to the head, shaping them with the stylus.
Add Ears and Blush Attach Hanging Hook
- Insert cut paper clips as hooks for hanging. Apply super glue to secure the hooks before baking.
Attach Hanging Hook

Read more: Hang Your Clay Creations: The No-Hole Hanger Method
Tips
- Using black clay will stain your hands. Consider washing your hands between colors.
- Always start by rolling the clay into a ball before shaping it.
- Use a needle to add details like claws and eyebrows.
- Apply super glue to the metal hooks before baking to ensure they stay in place.