Polymer clay offers endless creative possibilities, and crafting a vibrant banner is a fantastic way to showcase its versatility. Forget complicated techniques and lengthy drying times; this guide unveils the fastest and easiest method for making a stunning polymer clay banner, perfect for beginners and seasoned crafters alike. Imagine transforming simple clay shapes into a personalized decorative piece, adding a unique touch to your home, party, or event. From choosing your colors and designs to the final assembly, this project is remarkably straightforward.
This streamlined approach minimizes fuss and maximizes fun, allowing you to create a beautiful banner in a fraction of the time typically required. Ready to get started and bring your creative vision to life? Let's dive into the step-by-step process that will have you proudly displaying your handmade polymer clay banner in no time.
Preparation and Safety Guidelines
- Polymer clay
- Blade (small and flexible tissue blade)
- Lollipop sticks
- Acrylic roller or pasta machine
- Ceramic tile or nonstick surface (glass recommended)
- Alphabet stamp or acrylic paint
- White acrylic paint
- Glue
- Clear coat spray or varnish
- Paper
- Sandpaper (320, 600, 1200 grit)
- Always work in a well-ventilated area. Polymer clay fumes can be harmful if inhaled in large quantities.
- Bake clay according to the manufacturer's instructions. Overbaking or underbaking can ruin your project.
- Polymer clay can get very hot during baking. Use oven mitts to handle baked pieces and avoid touching hot surfaces.
Step-by-Step Instructions
Prepare the Clay
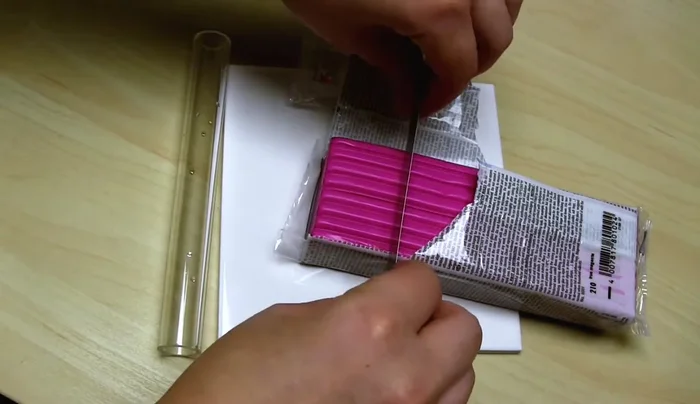
- Estimate and prepare the clay amount. Warm up and condition the clay using your preferred method (pasta machine is faster).

Prepare the Clay Shape the Banner
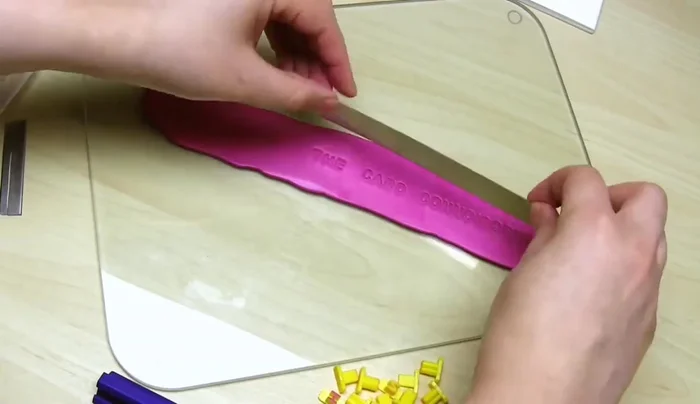
- Roll the clay into a long sausage shape (at least as long as your desired banner). Use an acrylic roller and lollipop sticks to achieve even thickness.
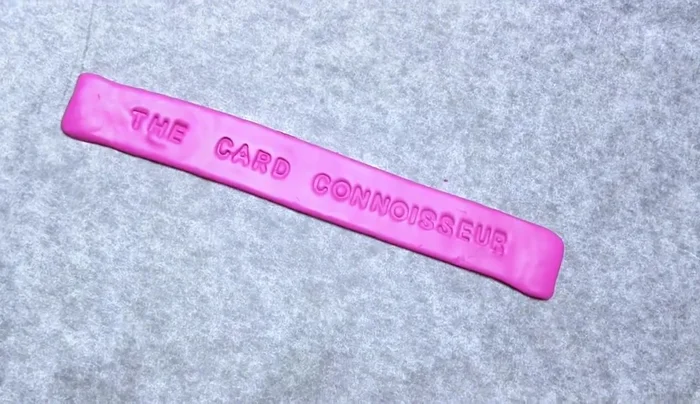
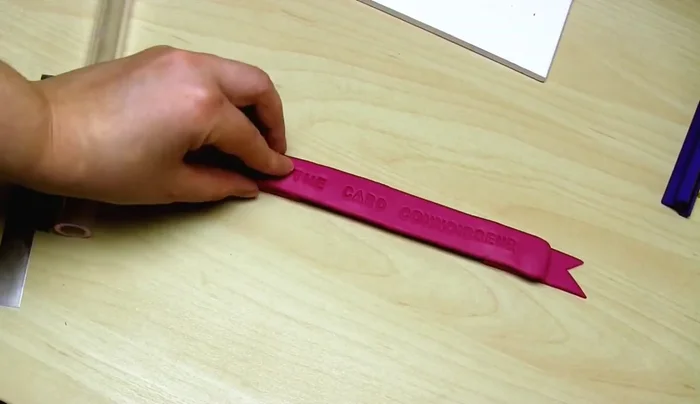
- Imprint your message (backwards) using an alphabet stamp. If using an alphabet stamp, press it about halfway into the clay.
- Cut a rectangle around the imprinted message using a long, thin blade. Remove excess clay, smooth the edges, and carefully transfer to a baking surface.
Shape the Banner Bake the Banner Section
- Bake the main banner section following package instructions (add 10 minutes for extra strength).
Bake the Banner Section Create and Bake End Pieces
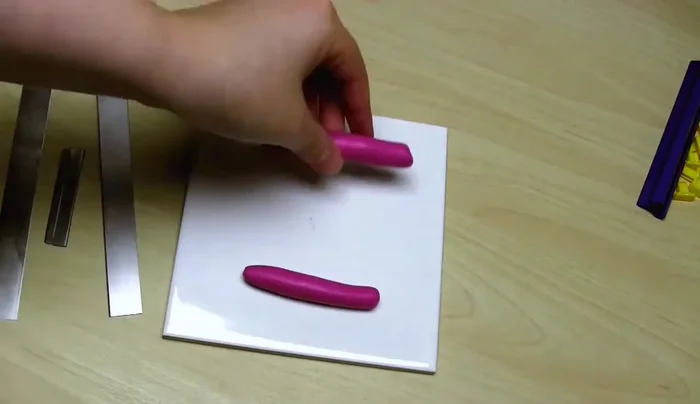
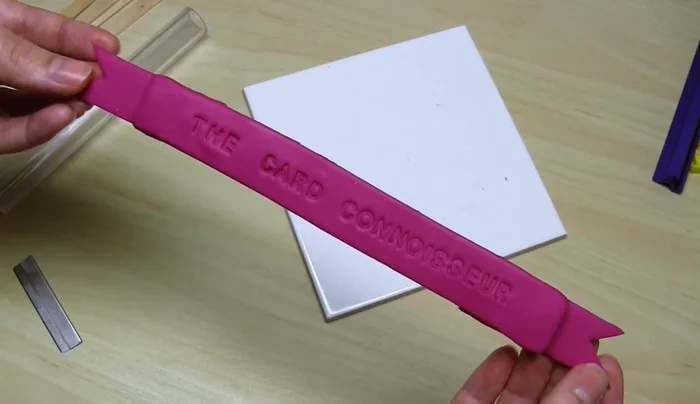
- Create the two end pieces. Condition the remaining clay, make two sausage shapes. Cut a straight edge, fold it back on itself, press down except on the fold. Add a small clay sausage to the straight edge. After baking the main section, use it as a guide to cut the end pieces to the same width. Add ribbon effect, bake.
Create and Bake End Pieces Assemble the Banner
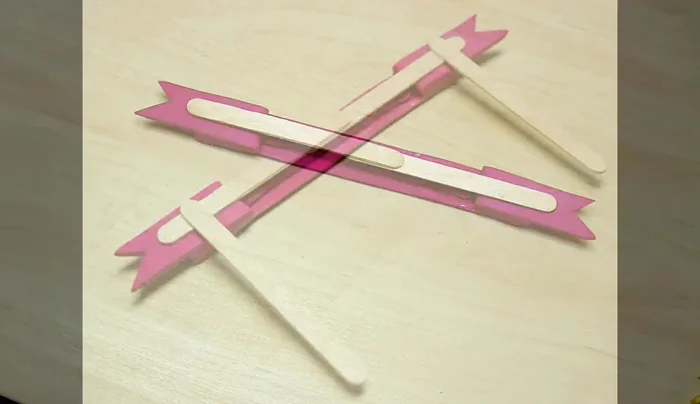
- Assemble the banner. Optionally add a clay strut to the back for extra strength. Attach end pieces using clay, fill in gaps, smooth with fingers. Bake.
Assemble the Banner Paint and Finish
- Paint the imprinted letters. Use a kitchen towel method to quickly fill the imprints and wipe away excess.
- Sand the banner with sandpaper (320, 600, 1200 grit) for a smooth finish. Add a protective layer of varnish (optional).
Paint and Finish Attach Hanging Hardware
- Glue on lollipop sticks or dowels for attaching to a surface.
Attach Hanging Hardware


Read more: Hang Your Clay Creations: The No-Hole Hanger Method
Tips
- Use a pasta machine for faster clay conditioning and even thickness.
- Spell your message backward when stamping.
- Use a glass work surface for more space.
- Add extra baking time (10 minutes) to ensure the clay is strong.
- Use lollipop sticks to support the banner during baking.