Get ready for a burst of fruity fun with this easy Play-Doh project! We're diving headfirst into creating delicious-looking apples, cherries, grapes, and bananas, all made from the vibrant, moldable magic of Play-Doh. This simple craft is perfect for kids of all ages, requiring minimal materials and offering maximum creative expression. Forget expensive store-bought toys; with a few basic colors and a little imagination, you can transform your playtime into a colorful fruit stand. Imagine the satisfying squish of the dough between your fingers, the joy of shaping each piece, and the pride in displaying your edible-looking (but definitely not for eating!) creations.
This guide provides a step-by-step process for sculpting each fruit, complete with helpful tips and tricks to ensure your Play-Doh masterpieces are as realistic as possible. Let's get started and learn how to make these irresistible Play-Doh fruits!
Preparation and Safety Guidelines
- Play-Doh (various colors: red, green, purple, orange, brown, yellow, pink, black, white)
- Play-Doh knife
- Rolling pin
- Adult supervision is required at all times, especially with young children, to prevent accidental ingestion of Play-Doh.
- Ensure the play area is clean and free of any choking hazards, as small Play-Doh pieces could pose a risk if swallowed.
- Wash hands thoroughly before and after playing with Play-Doh to maintain hygiene.
Step-by-Step Instructions
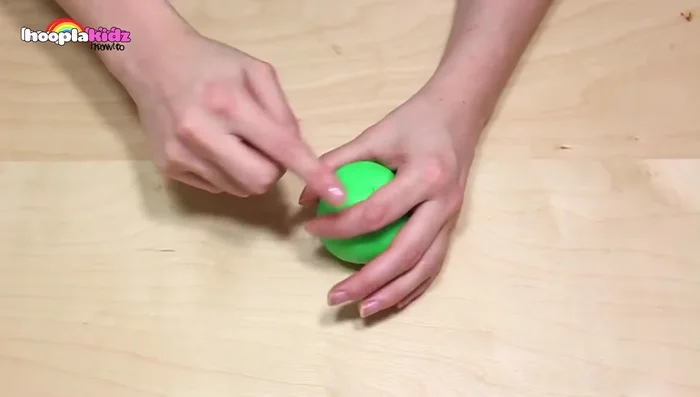
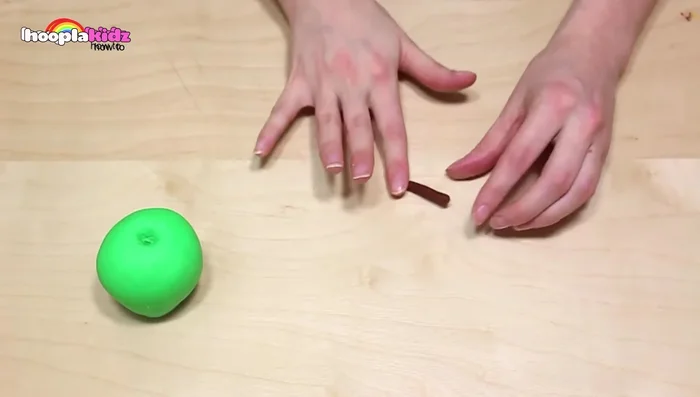
Prepare the Apples
- Roll light green Play-Doh into an apple shape. Use the knife to create a hole for the stem and an indentation at the bottom.
- Roll a small piece of brown Play-Doh into a stem shape. Cut a leaf shape from dark green Play-Doh and add indentations with the knife. Attach both to the apple.

Prepare the Apples Create the Cherries
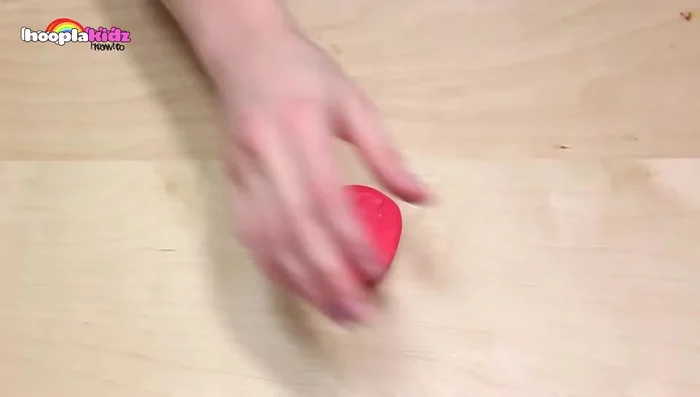
- Roll two balls of dark red Play-Doh. Create indentations at the top. Roll a thin strip of dark green Play-Doh, fold it in half, and insert each end into the cherry tops. Add a leaf.
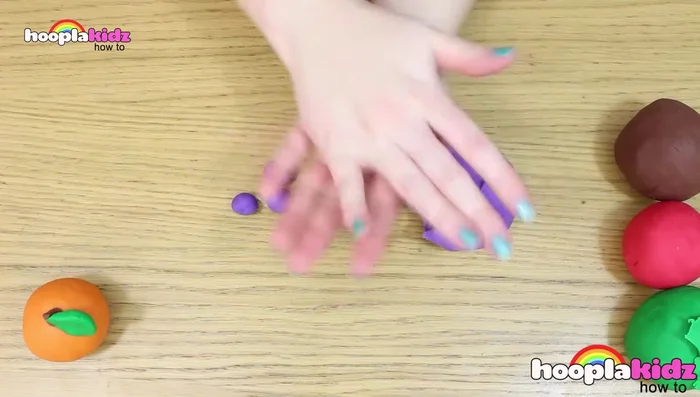
Create the Cherries Make the Grapes
- Roll many small balls of purple Play-Doh. Stick them together. Create a stem from brown Play-Doh and add green leaves.
Make the Grapes Shape the Banana
- Roll yellow Play-Doh into a banana shape, tapering the ends. Add brown spots and a brown end using brown Play-Doh.
Shape the Banana Construct the Watermelon (Bonus)
- Roll out pink Play-Doh into a triangle shape. Mix white, light green, and dark green Play-Doh for a marbled rind effect. Attach the rind to the pink section, then add black pips with black Play-Doh.
Construct the Watermelon (Bonus)


Read more: Hang Your Clay Creations: The No-Hole Hanger Method
Tips
- Use the edge of the Play-Doh knife to create realistic indentations and details on your fruits.
- Smooth down any cracks or lumps for a neat finish.
- A rolling pin helps to flatten and shape the fruits easily.