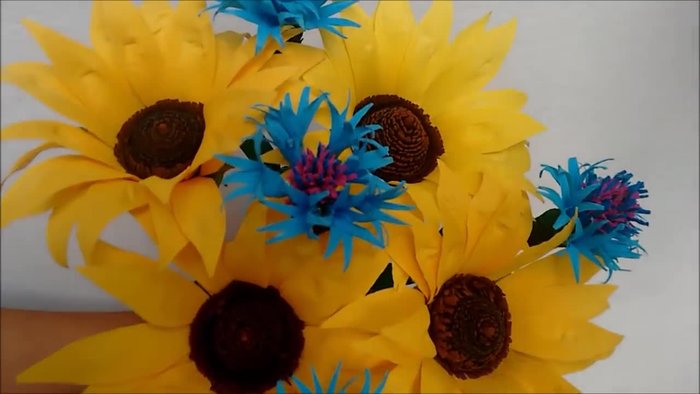
Transform ordinary paper into extraordinary blooms with this comprehensive guide to creating stunning DIY paper flowers! Forget expensive floral arrangements; learn to craft breathtaking paper masterpieces that will add a touch of elegance and vibrant color to any occasion, from weddings and birthdays to everyday home décor. Whether you’re a seasoned crafter or a complete beginner, this tutorial will equip you with the skills to create realistic-looking flowers that will impress. Imagine the possibilities – delicate paper roses, cheerful sunflowers, or even whimsical fantasy blooms, all crafted by your own hands.
Forget the florist and unleash your inner artist! This guide provides easy-to-follow instructions and helpful tips to help you achieve professional-looking results. Get ready to explore a world of paper crafting possibilities, experimenting with different paper types, colors, and techniques to personalize your floral creations. Let's dive into the step-by-step process and start crafting your own stunning paper flowers today!
Preparation and Safety Guidelines
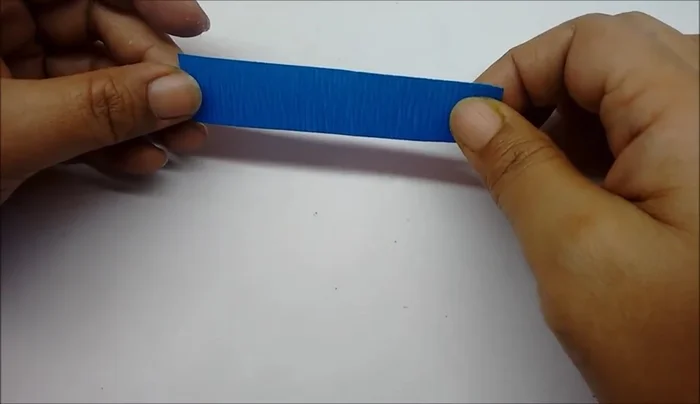
- Blue tape or blue paper strip
- Thick wire
- Thin wire
- Green color tape
- Crepe papers (green, dark blue, light blue, dark pink)
- Glue
- Pencil
- Scissors
- Use sharp tools like scissors and craft knives with caution. Always cut away from yourself and supervise children.
- Be mindful of small parts, especially when crafting with younger children. Keep these parts away from mouths to prevent choking hazards.
- If using adhesives like hot glue, ensure adult supervision and use appropriate safety measures to avoid burns.
Step-by-Step Instructions
Prepare Flower Petals and Other Components
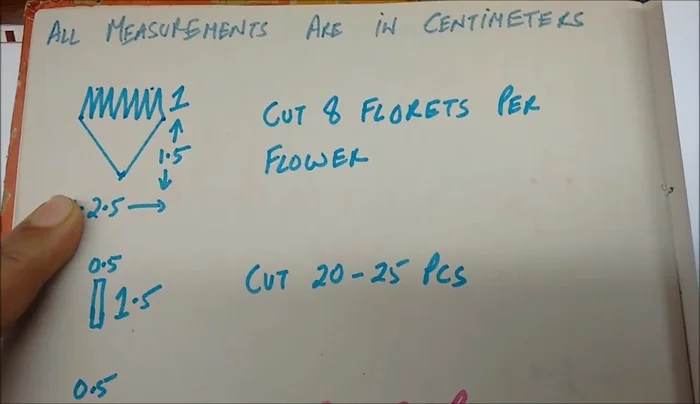
- Cut out flower petal pieces according to the given measurements (1.5cm base, 2.5cm wide, 1cm florets; cut 8 pieces per floret).
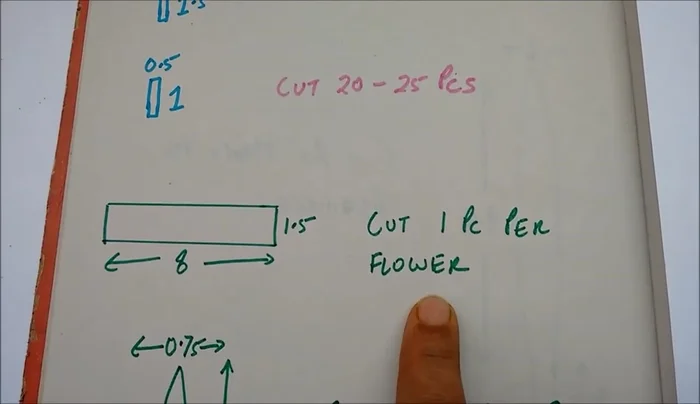
- Cut out stamen pieces (0.5cm x 1.5cm; 20-25 pieces) and sepal pieces (1cm x 0.5cm; 20-25 pieces).
- Cut out one sepal piece (8cm x 1.5cm) and two leaf pieces (8cm long, 0.75cm wide at the top, 1cm wide at the base).

Prepare Flower Petals and Other Components Create Individual Florets
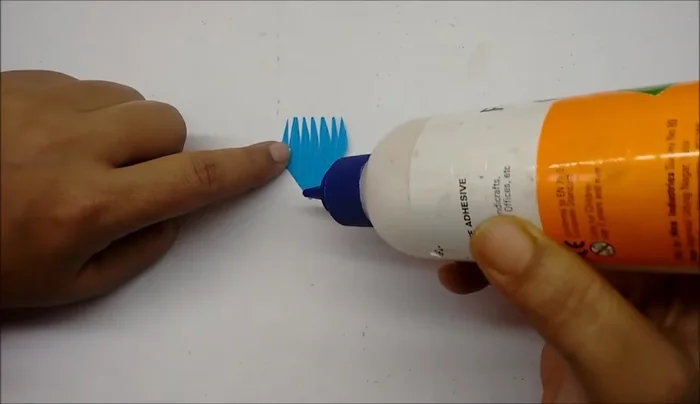
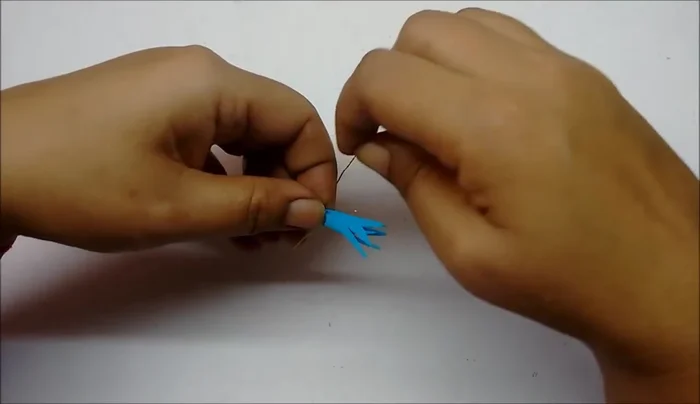
- Apply glue to one side of a floret petal, fold it around a pencil, and then fold the other side to form a funnel shape. Secure with thin wire.
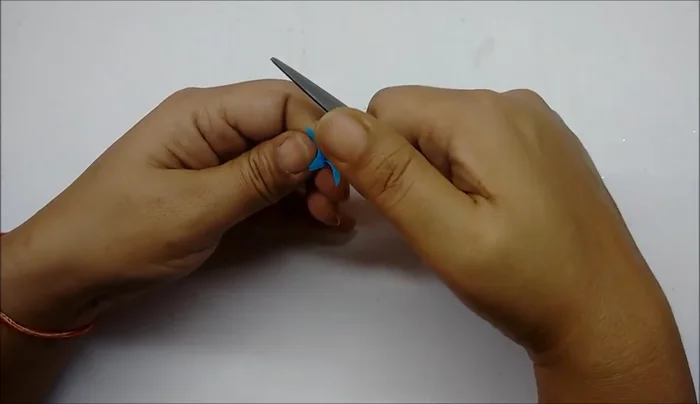
- Wrap floral tape around the base of the floret to secure the wire. Curl the petals outwards using scissors.
Create Individual Florets Assemble the Stamen
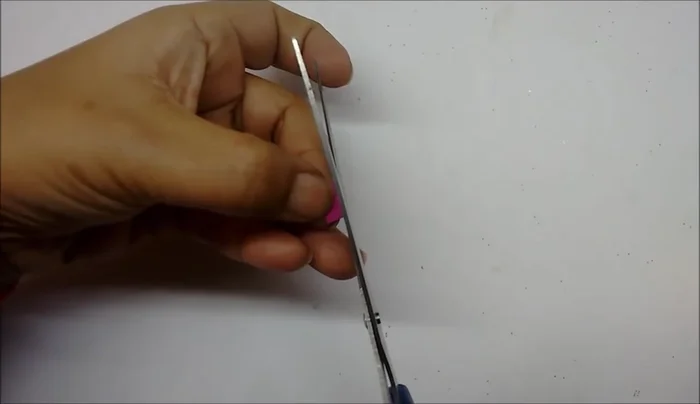
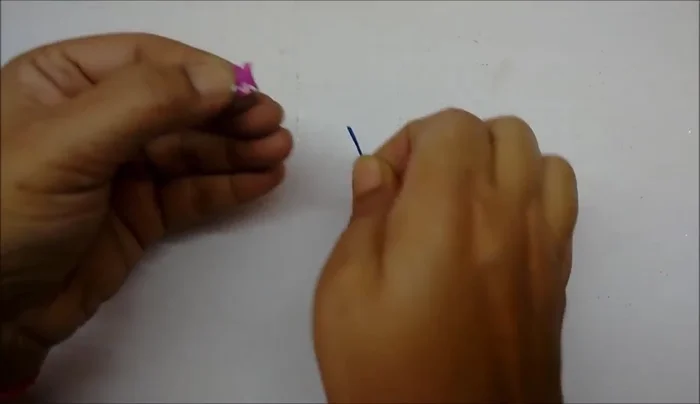
- Roll a 1.5cm long blue piece into a thin wire to create the stamen's center.
- Cut thin slits in a 1cm long pink piece, curl the edges outwards, and apply glue to the uncurled side.
- Attach the rolled blue piece, then the pink piece around it.
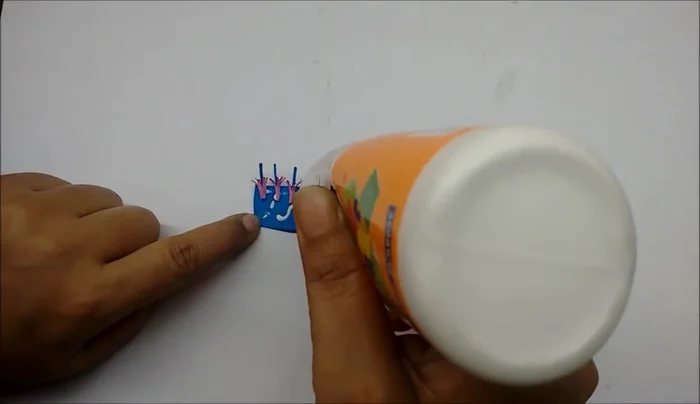
- Prepare a glue strip (8cm long, 1.5cm wide) from blue paper. Attach the stamens to the strip.
Assemble the Stamen - Attach the prepared stamen strip to a thick wire to create the center of the flower.
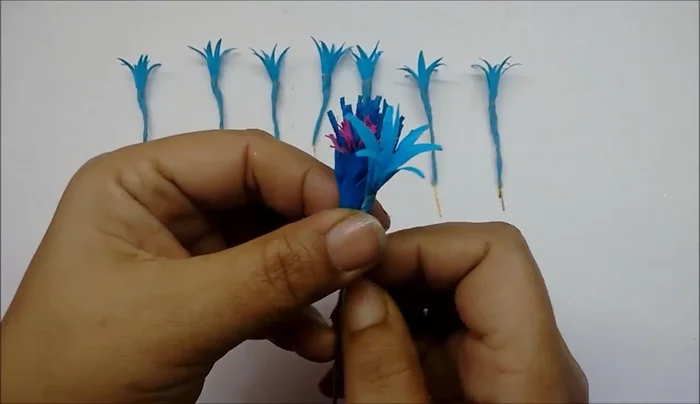
Assemble the Stamen Assemble the Flower Center
- Attach eight florets to the thick wire, winding them around the same spot to create a central cluster.
- Tie the base of the florets tightly to give the flower shape.
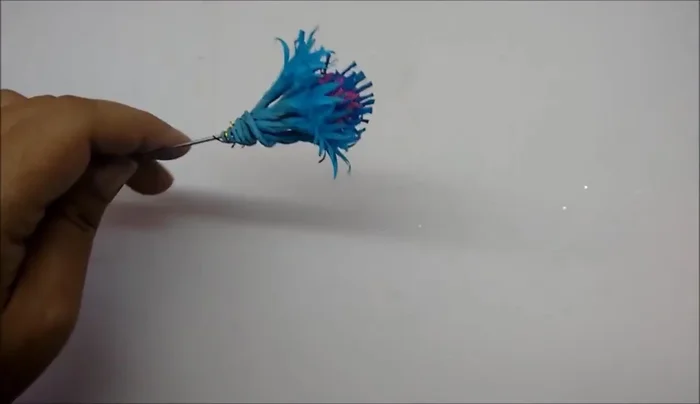
Assemble the Flower Center Prepare and Attach Sepals
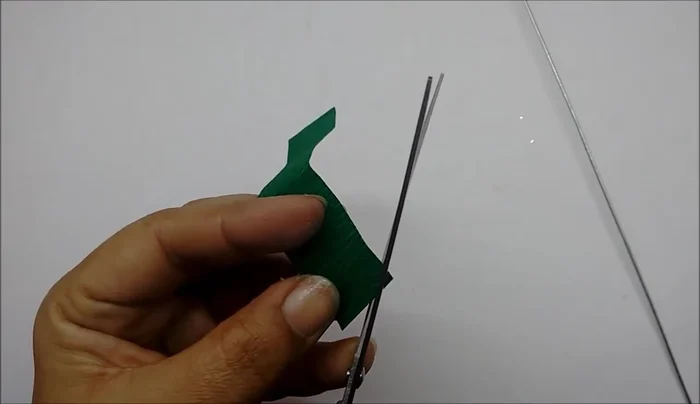
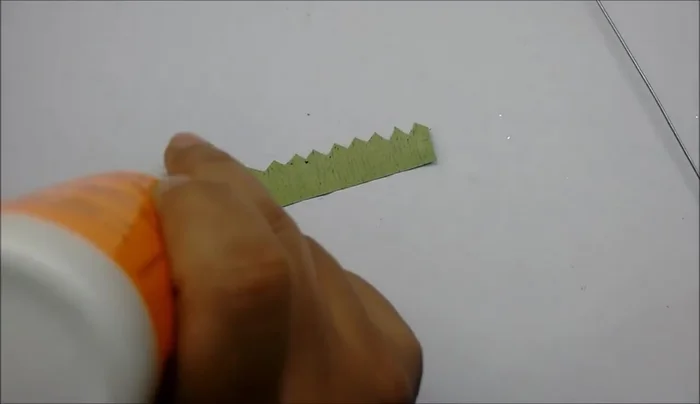
- Cut small triangles along the length of a green strip, color the edges, and stretch the piece.
- Glue and wrap the sepals around the base of the flower, starting from the bottom and going up.
Prepare and Attach Sepals Attach Leaves and Final Touches
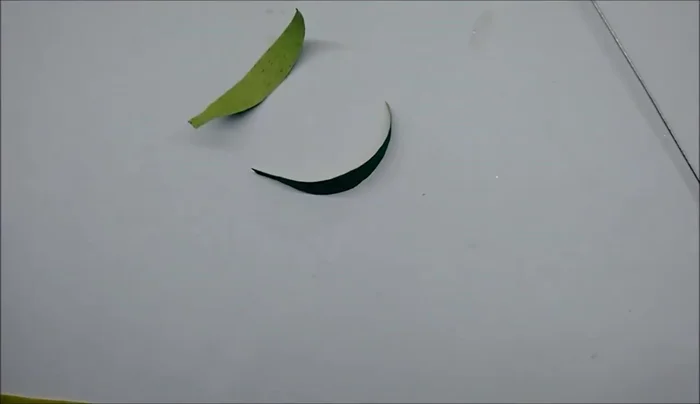
- Curl the leaves slightly using scissors, wind green tape around the base of the flower, and attach the leaves to the tape.
Attach Leaves and Final Touches
Read more: Easy Origami Paper Box Tutorial: Step-by-Step Guide
Tips
- Use a pencil to help shape the floret petals.
- Stretch the floral tape while winding it to ensure a tight and secure wrap.
- Curl the petals outwards gently to achieve a natural look.