Add a touch of delicate elegance to your wedding day or a special occasion with this charming DIY realistic paper clay cherry blossom hairband. Forget expensive, mass-produced accessories – create a unique, personalized piece that perfectly complements your bridal style or any celebratory outfit. This tutorial guides you through crafting a stunning hairband adorned with exquisitely detailed cherry blossoms, using readily available materials and simple techniques. The delicate beauty of these blossoms, sculpted from paper clay, offers a captivating and surprisingly realistic effect, far exceeding the charm of typical artificial flowers.
Imagine the compliments you'll receive as you wear this handcrafted masterpiece! This DIY project, ideal for brides-to-be or anyone with a passion for crafting, is surprisingly achievable, even for beginners. From preparing the paper clay to assembling the final design, we'll walk you through each step of creating your own breathtaking cherry blossom hairband. Let's get started with the step-by-step instructions below!
Preparation and Safety Guidelines
- Floral tape
- 24 gauge floral wire
- Flower stamens
- High-quality paper clay (Clay Craft Deco recommended)
- Tiny scissors
- Toothpick
- Soft pastels
- Acrylic paints (red and yellow)
- Brown floral tape
- Cheap hairband with hooks
- Paper clay can be messy. Work over a protected surface like newspaper or a plastic sheet to avoid staining your workspace.
- Paper clay can dry out quickly. Keep unused clay covered with a damp cloth to maintain its workability.
- Always ensure adequate ventilation when working with paper clay, especially if you're using any additional paints or sealants.
Step-by-Step Instructions
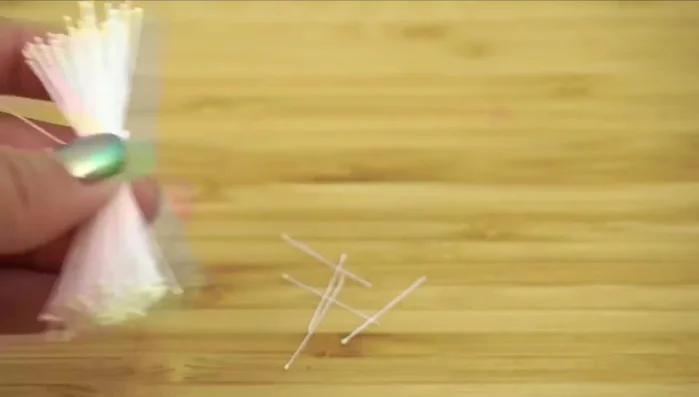
Prepare Flower Stamens
- Pull out 6-7 stamens, cut them, and attach them to a wire using floral tape.

Prepare Flower Stamens Create Cherry Blossom Petals
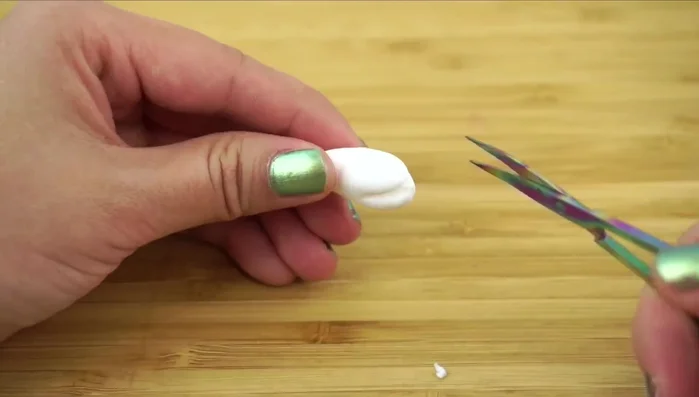
- Make a teardrop shape with paper clay, cut it into five sections, and gently push the petals outwards. Flatten and thin the petal edges using a toothpick and rolling motion.
Create Cherry Blossom Petals Shape and Sculpt Petals
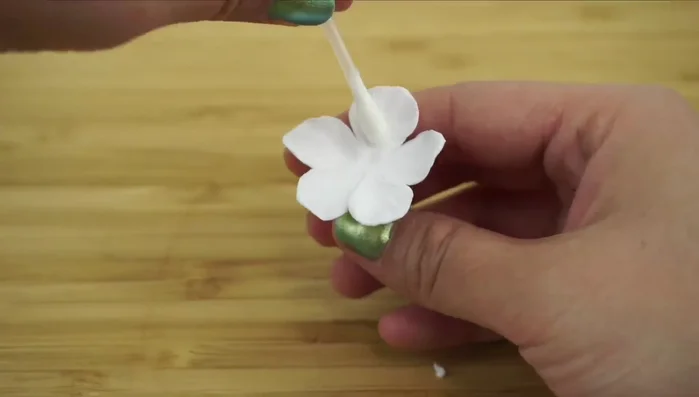
- Use a small round object to sculpt the petals, twist or bend them, and snip off tiny triangles at the petal ends.
Shape and Sculpt Petals Assemble the Cherry Blossom
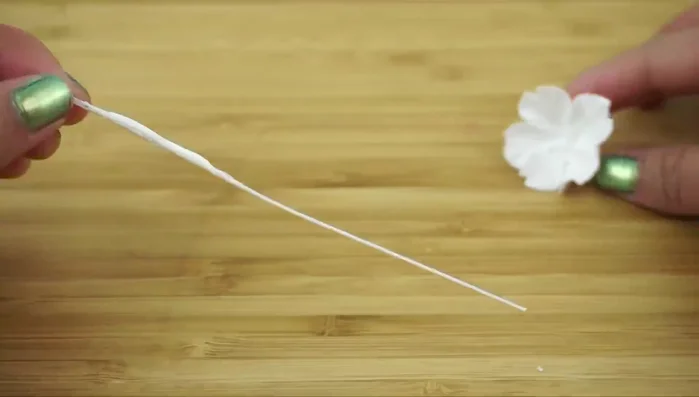
- Apply glue below the stamens, insert the stem into the flower center, and squeeze the base closed. Remove excess clay.
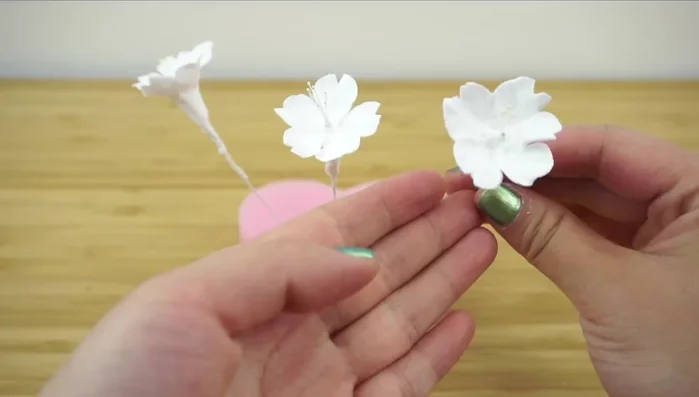
Assemble the Cherry Blossom Dry the Cherry Blossoms
- Stick the flower in a sponge to dry.
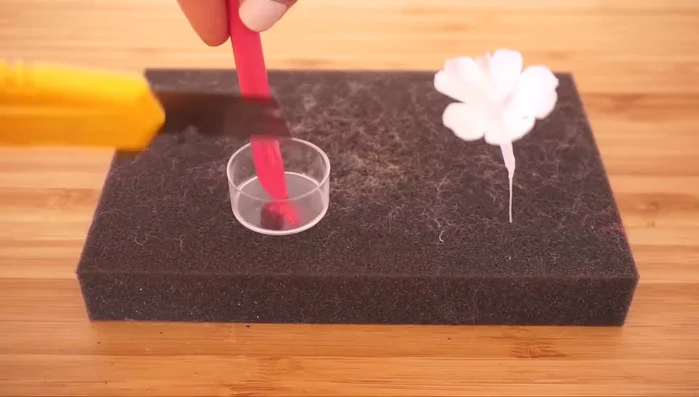
Dry the Cherry Blossoms Add Color and Detail
- Use soft pastels to add color to the petals, and acrylic paints to create streaky orange pollen on the stamens. Use brown and green pastel dust on the stem.
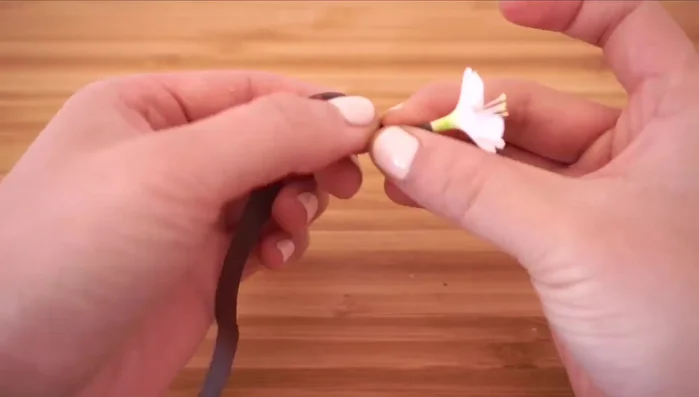
Add Color and Detail Attach to Hairband
- Wrap thin strips of brown floral tape around the stem and attach the flowers to a light, velvety hairband.
Attach to Hairband
Read more: Hang Your Clay Creations: The No-Hole Hanger Method
Tips
- Floral tape is best; washi tape can be a substitute but is thicker and less flexible.
- Use high-quality paper clay designed for flower making.
- Arrange blossoms in slightly irregular clusters for a natural look.
- Match the hairband color to your hair for a seamless blend.