Paper bags are ubiquitous – convenient for shopping, gifting, or even crafting. But have you ever considered how quickly and easily you can make your own? Forget expensive, pre-made options; this guide unveils the secrets to crafting your own personalized paper bags in a flash. From simple lunch bags to stylish gift carriers, the possibilities are as limitless as your creativity. Whether you're a seasoned crafter or a complete beginner, you'll be surprised at how straightforward and rewarding this project can be.
Forget complicated tutorials and time-consuming methods. This DIY project prioritizes speed and simplicity, providing you with a stunningly effective result in minutes. Let's dive into the step-by-step process, equipping you with all the knowledge and techniques you need to create your very own, perfectly customized paper bags.
Preparation and Safety Guidelines
- Paper (square or rectangular)
- Glue (tape glue recommended)
- Always supervise children when using scissors or other sharp objects.
- Be mindful of the type of paper you use; thinner paper may tear easily.
- Avoid using excessively sharp tools to prevent accidental cuts or injuries.
Step-by-Step Instructions
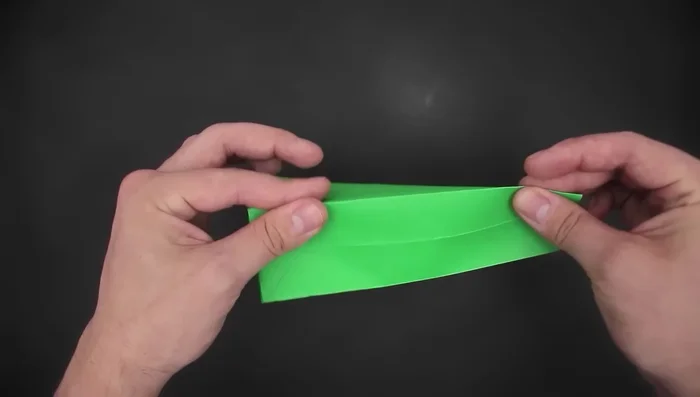
Create the Cylinder
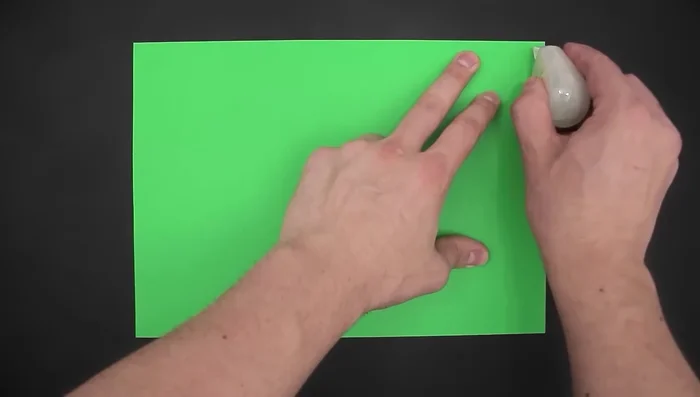
- Apply glue to one side of the paper.
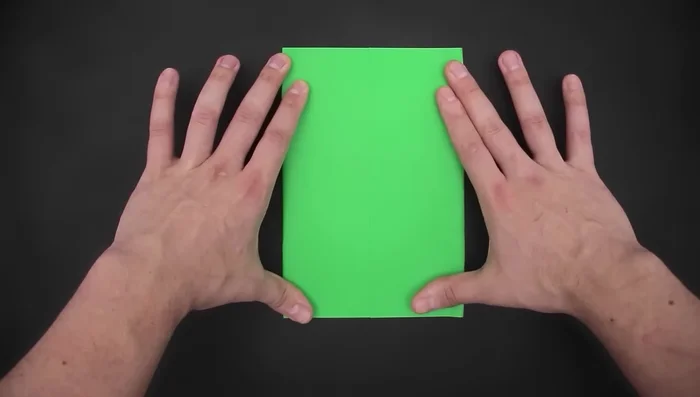
- Hold the paper and bring the other side on top of the glued side to form a cylinder.
- Flatten the sides of the cylinder into a rectangle.

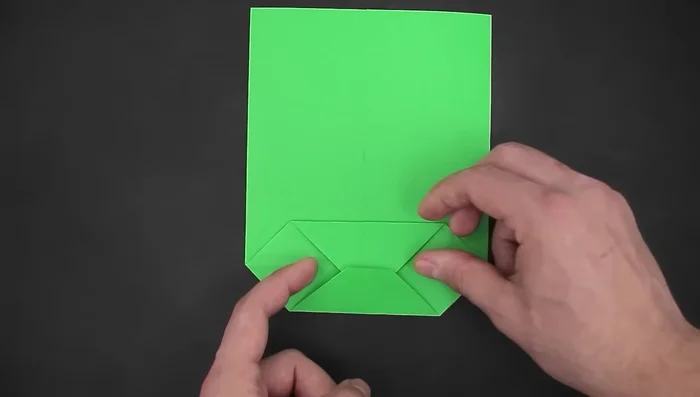
Create the Cylinder Shape the Bottom
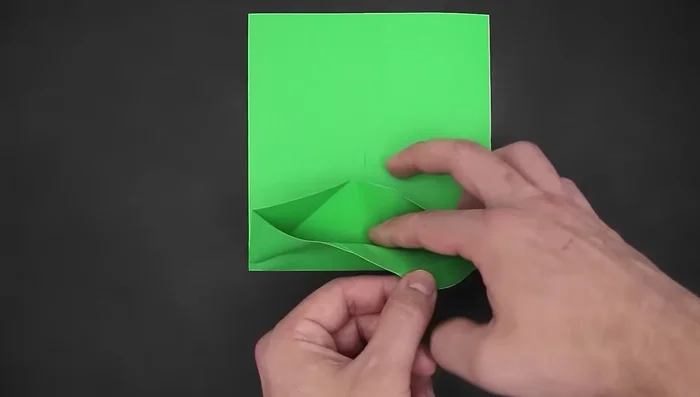
- Fold the bottom side upwards.
- Fold the bottom corners downwards, then unfold.
- Open the folded bottom section and flatten the corners.
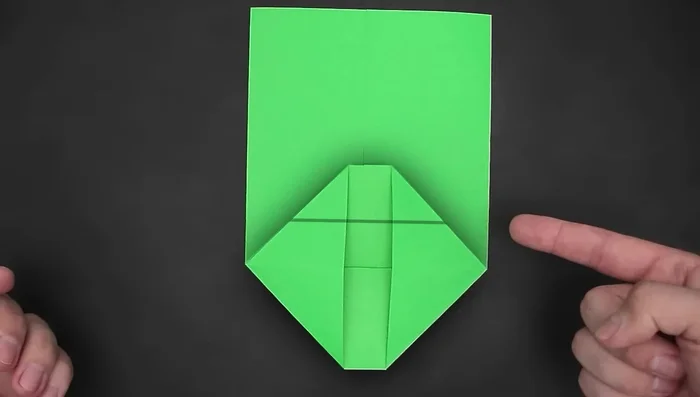
- Fold the top side down, slightly beyond the middle.
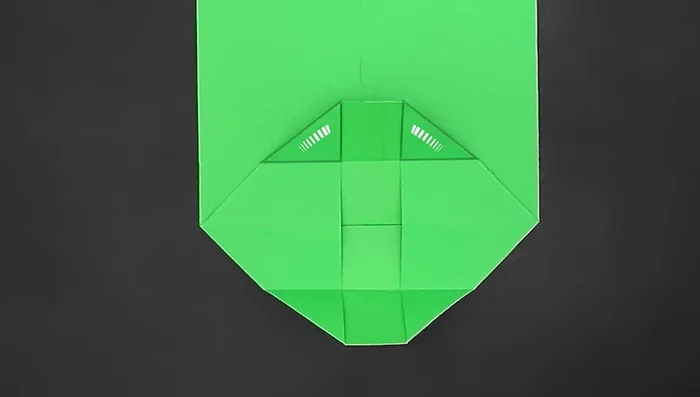
Shape the Bottom - Fold the bottom part similarly to the top.
- Unfold both top and bottom sections.
Shape the Bottom Seal the Top and Bottom
- Apply glue to the two top triangles and fold the top down.
- Apply glue to the four spaces at the bottom, and attach the other side.
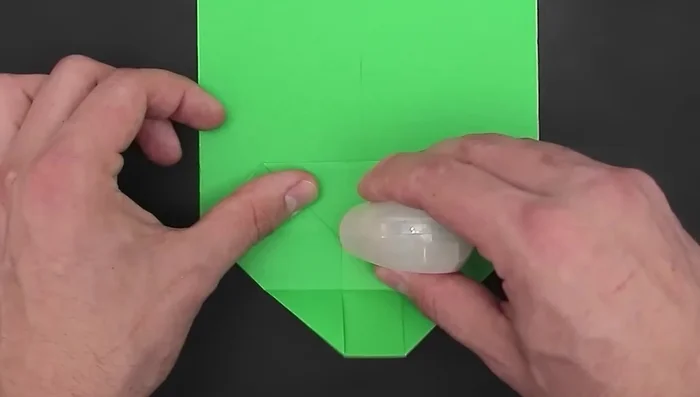
Seal the Top and Bottom Form the Sides
- Fold the two bottom side using the corners of the small squares as guides.
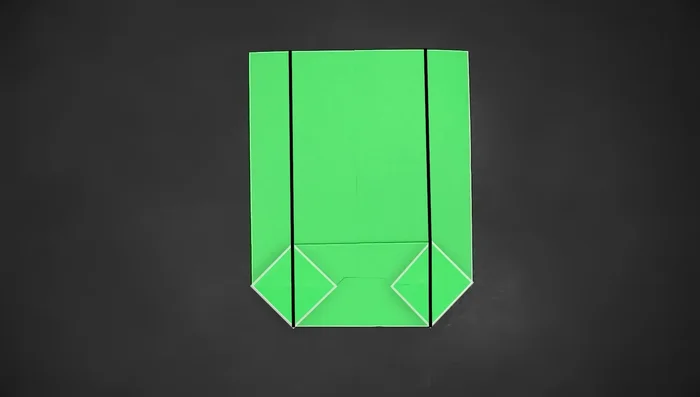
Form the Sides Finish and Open
- Unfold the paper, insert your hand, and open the bag.
- Shape the bag into a proper rectangle.
Finish and Open Close the Top (Optional)
- (Optional) Fold the top lid down to close the bag.


Read more: Easy Origami Paper Box Tutorial: Step-by-Step Guide
Tips
- Use tape glue for faster drying.
- Start with a half-size sheet of paper for easier handling.