Creating lifelike sculptures often hinges on the detail of the eyes, and polymer clay offers a fantastic medium for achieving realistic results. The glassy sheen, subtle variations in color, and intricate textures of a human eye are notoriously challenging to replicate, but with the right techniques and a patient hand, you can craft incredibly convincing eyeballs that will bring your sculptures to life. Mastering this skill opens up a world of expressive possibilities, allowing you to imbue your creations with emotion and personality far beyond what a simple painted dot could achieve.
This tutorial will guide you through a step-by-step process of painting realistic polymer clay eyeballs, covering everything from preparing the clay to achieving that crucial, luminous quality. We'll explore the specific color mixing strategies and painting techniques needed to capture the subtle nuances of light reflection and shadow that make an eye appear truly real. Let's delve into the intricacies of creating these captivating miniature masterpieces.
Preparation and Safety Guidelines
- Polymer clay
- Acrylic paints
- Fine detail brush (Rosemary & Co. recommended)
- Water
- Varnish (bake-able preferred)
- Always work in a well-ventilated area. Polymer clay fumes can be harmful if inhaled.
- Use oven-safe tools and surfaces. Avoid using metal tools directly on the clay in the oven as they can cause discoloration or damage.
- Cure polymer clay according to the manufacturer's instructions. Incomplete curing can result in soft, sticky, or fragile eyeballs.
Step-by-Step Instructions
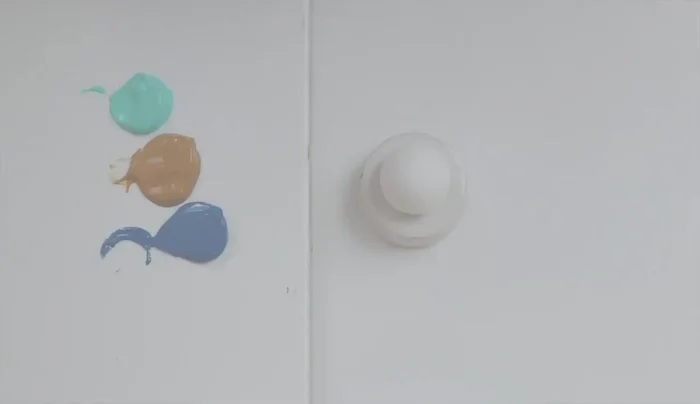
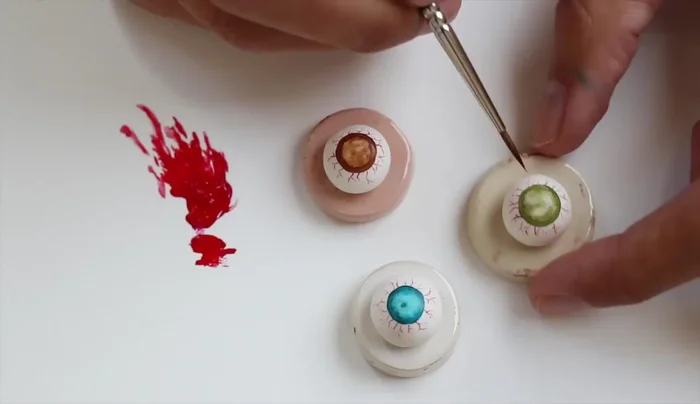
Prepare and Bake
- Prepare white polymer clay eyeballs and pre-bake them.

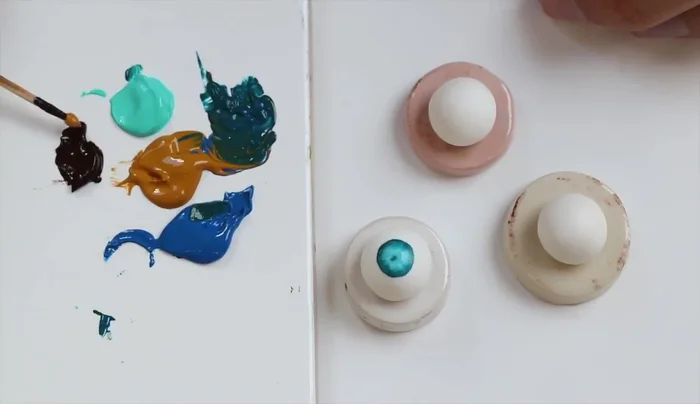
Prepare and Bake Base Iris Color
- Start painting the iris with a darker color for the outer circle, gradually mixing lighter shades towards the center.
- Add a little bit of ochre to the paint mixture for a more natural look.
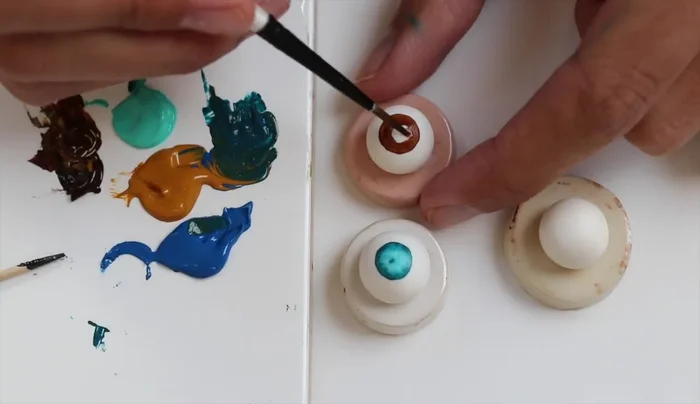
Base Iris Color Pupil and Veins
- Paint the pupil (the black hole in the middle).
- Add thin veins around the iris using a high-quality fine detail brush.
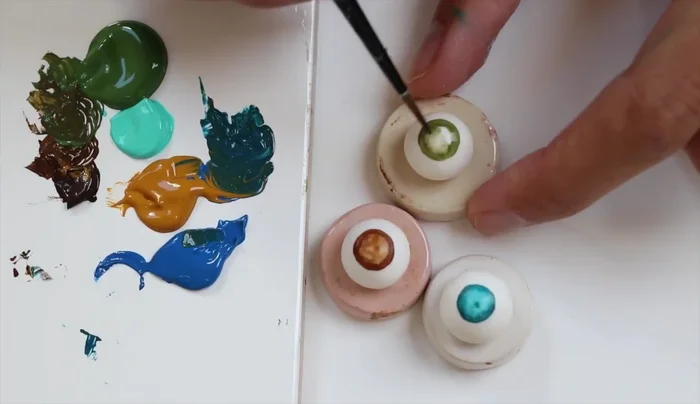
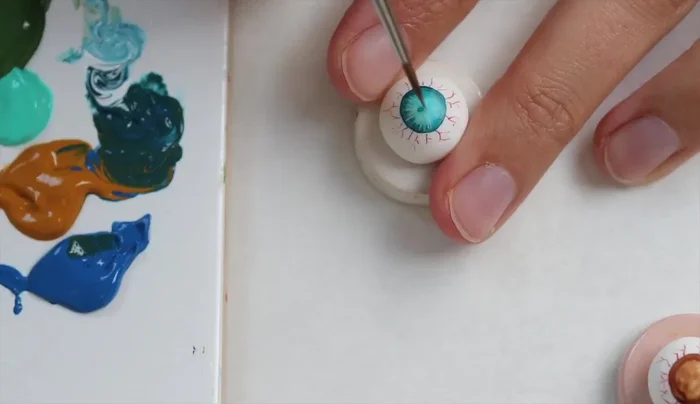
Pupil and Veins Dry and Detail Iris
- Let the paint dry completely.
- Draw lines from the outside to the inside of the iris, mixing random shades to create depth and realism. Use reference pictures for guidance.
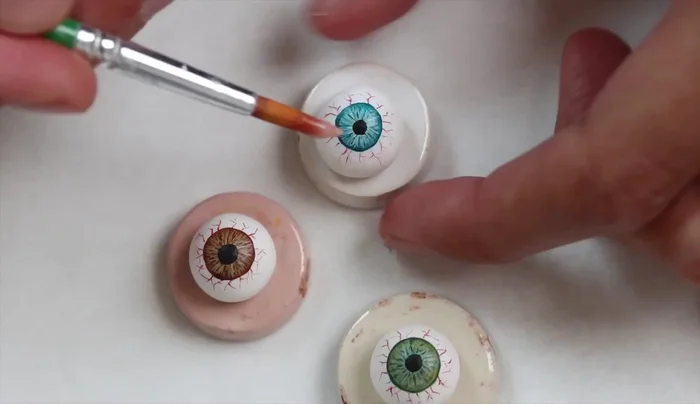
Dry and Detail Iris Final Varnish
- Add varnish after the paint is fully dry (ensure your varnish is bake-able, or varnish at the very end if not).
Final Varnish

Read more: Hang Your Clay Creations: The No-Hole Hanger Method
Tips
- Use a high-quality fine detail brush for painting the thin veins. A brush intended for miniature painting is ideal.
- Use reference pictures to help you achieve a realistic look.
- The pupil can be adjusted in size to create different expressions in the eyes.