The captivating gleam of polished steel, the warm glow of burnished brass, the cool sheen of brushed aluminum – metallic surfaces possess a unique allure that can elevate any artwork. Capturing this realistic metallic luster, however, presents a significant challenge for even experienced artists. The subtleties of reflection, highlights, and shadows, coupled with the variations in surface texture, demand a precise and nuanced approach. Successfully rendering metal convincingly requires a deep understanding of light interaction and a masterful control of your chosen medium.
This step-by-step guide will equip you with the knowledge and techniques needed to transform your paintings from dull to dazzling. We'll explore various methods, from understanding the foundational principles of light and shadow on metallic surfaces to mastering specific painting techniques for achieving that coveted realism. Prepare to unlock the secrets of metallic luster and take your artwork to the next level.
Preparation and Safety Guidelines
- Digital Painting Software (e.g., Photoshop, Clip Studio Paint)
- Graphics Tablet (optional but recommended)
- Always work in a well-ventilated area when using paints and solvents. Inhaling fumes can be harmful to your health.
- Wear appropriate safety gear, including a respirator mask, eye protection, and gloves, to protect yourself from paint and solvent exposure.
- Dispose of paint and solvents properly according to local regulations. Never pour them down the drain.
Step-by-Step Instructions
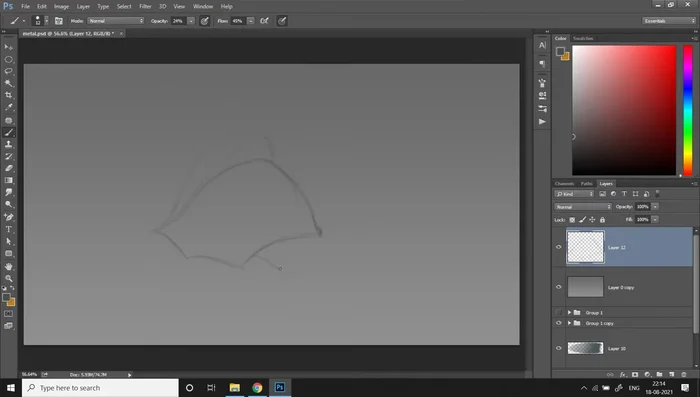
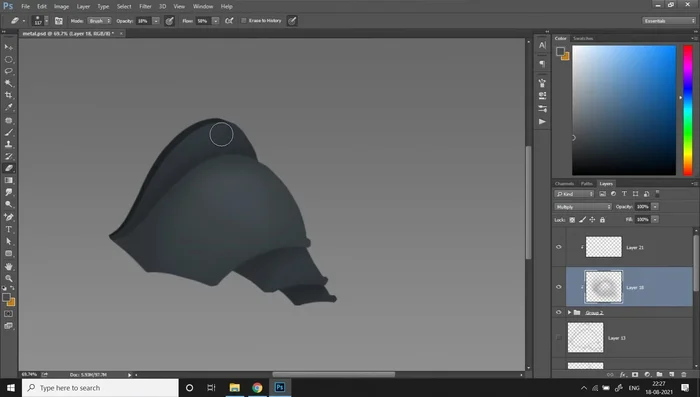
Sketching and Base Colors
- Sketch the main shape of the metallic object (e.g., knight's armor). Consider volume and thickness for realism.
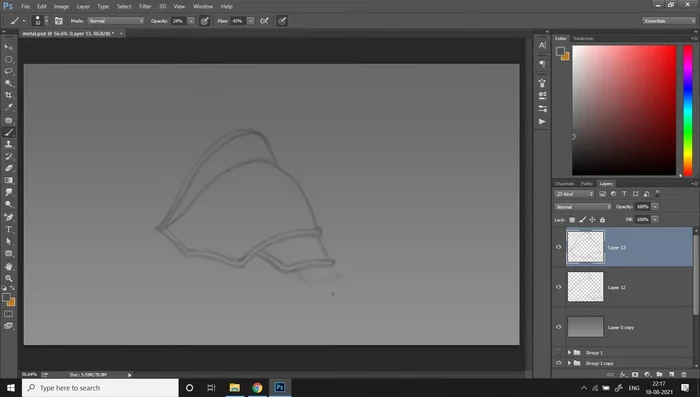
- Create a cleaner sketch on a new layer, adding more details like volume and thickness.
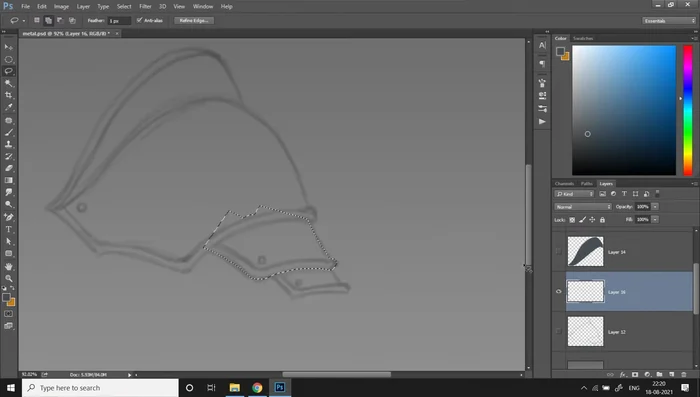
- Fill in solid flat base colors for all segments on separate layers. Use the lasso tool and keyboard shortcut (ctrl+backspace).

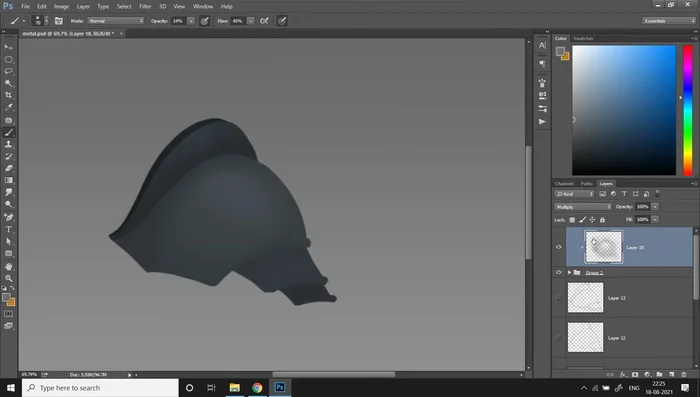
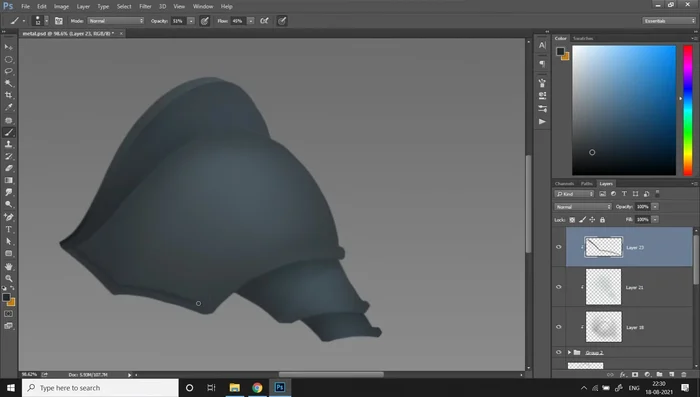
Sketching and Base Colors Initial Shading and Highlights
- Add color and value variation to each segment using levels adjustment (ctrl+L) to distinguish them.
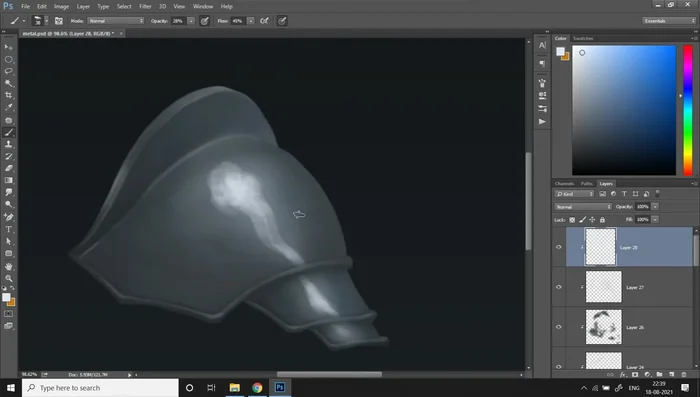
- Create a clipping mask layer set to multiply blending mode. Paint gradient shadows and ambient occlusion around contact areas with a low-opacity soft round brush.
- Add hard shadows on separate layers to contrast with soft occlusion, focusing on areas where armor plates overlap.
- Create a layer set to overlay blending mode. Use a low-opacity soft round brush and a light, desaturated color to paint passive highlights on main plates.
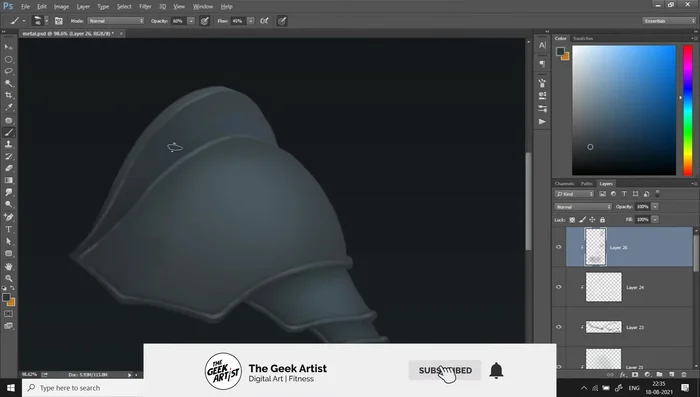
Initial Shading and Highlights Defining Edges and Highlights
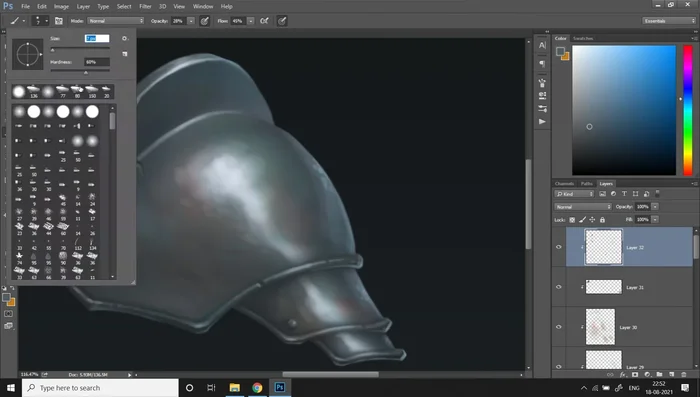
- Define beveled edges with a darker shade of the base color, then add highlights with a lighter color for an extruded look.
- Add reflective highlights on sharp corners with a bright color to enhance the solid look.
- Use a textured brush to add a rougher, uneven metallic look, mimicking molding by fire and pressure. Maintain low-contrast gradients.
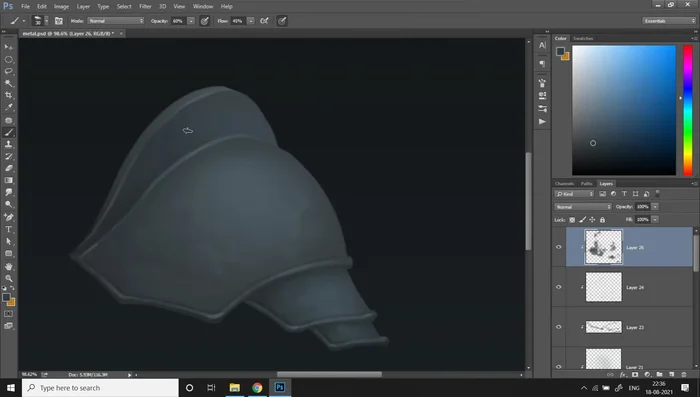
Defining Edges and Highlights Refining Highlights and Light Sources
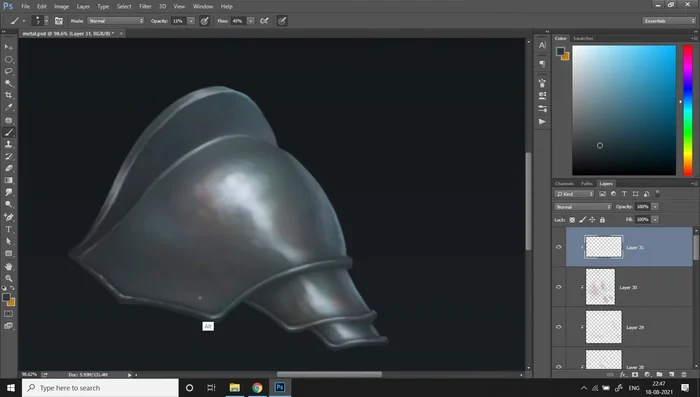
- Paint a reflective glow using a soft round brush and a bright whitish color along a central line.
- Add sharper, stronger highlights with a much brighter color using a hard round brush, focusing on extruded edges and corners. Smudge for variation.
- Add reflective highlights in darker areas using a different bright color (e.g., blue) to simulate a backlight and enhance realism.
Refining Highlights and Light Sources Adding Realism and Wear
- Add rust using an overlay layer and dull orangish/greenish/bluish colors for patches of rust and wear. Adjust opacity for control.
- Add cracks, scratches, and dents to show wear and tear, varying the color and intensity of the scratches based on highlight areas.
Adding Realism and Wear Final Adjustments
- Make a final levels adjustment to enhance contrast.
Final Adjustments


Read more: 7 Top Paint Color Trends for 2024: A Complete Guide with Free Downloadable Resource
Tips
- Understanding Luster: Luster is the key to making metal look like metal. It's the reflective shine that makes the texture pop.
- Value Transition Graph: For shiny metal, the value transition graph will have a sharp peak denoting the brightest highlight, unlike the smooth curve of less reflective materials.
- Clipping Masks: Use clipping masks to efficiently apply effects to all segments simultaneously.
- Blending Modes: Utilize blending modes (multiply, overlay) for effective shadow and highlight application.
- Vary Brush Opacity and Size: Adjust brush opacity and size to achieve smooth transitions and control over detail.