Want to refresh your car's look without breaking the bank? A simple yet effective way to achieve a dramatic change is by painting your side mirrors. This seemingly minor detail can significantly impact your vehicle's overall aesthetic, adding a pop of color or a subtle accent that perfectly complements your style. Whether you're looking to match a new paint job, introduce a contrasting element, or simply repair minor scratches and blemishes, repainting your side mirrors is a surprisingly achievable DIY project. This is especially true if you are already comfortable with handling basic painting tasks.
Forget expensive professional detailing services; this guide empowers you to tackle this project yourself, saving you money and providing a satisfying sense of accomplishment. This inexpensive and relatively quick project can significantly improve your car's look. Ready to get started transforming your ride? Let's dive into the step-by-step guide below, outlining the process from preparation to the final protective coat.
Preparation and Safety Guidelines
- Screwdriver
- Red Scotch Brite
- Adhesion Promoter
- Primer
- Sandpaper
- Wax and Grease Remover
- Paint (Gloss Black)
- Clear Coat
- Compressed Air
- Tack Cloth
- Spray Gun
- Thinners
- Always work in a well-ventilated area. Spray paint fumes are harmful.
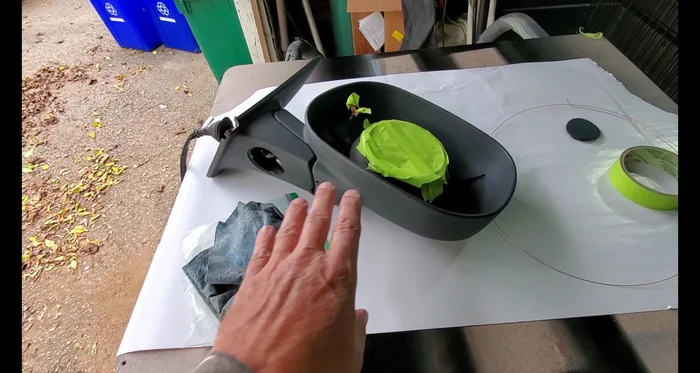
- Protect surrounding areas with masking tape and newspaper to prevent overspray.
- Use appropriate personal protective equipment (PPE), including gloves, eye protection, and a respirator mask.
Step-by-Step Instructions
Mirror Removal
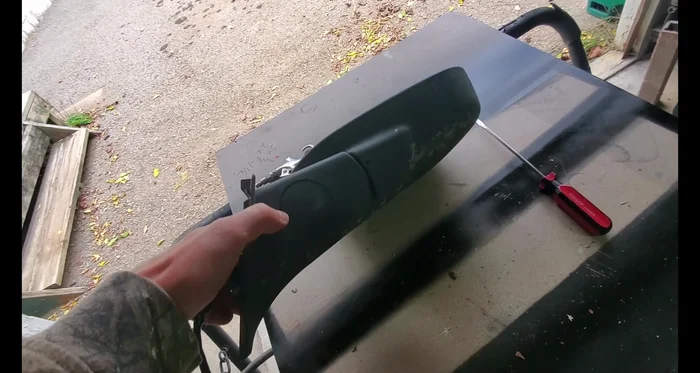
- Remove the mirror assembly. It should simply pop off using a screwdriver.

Mirror Removal Cleaning and Preparation
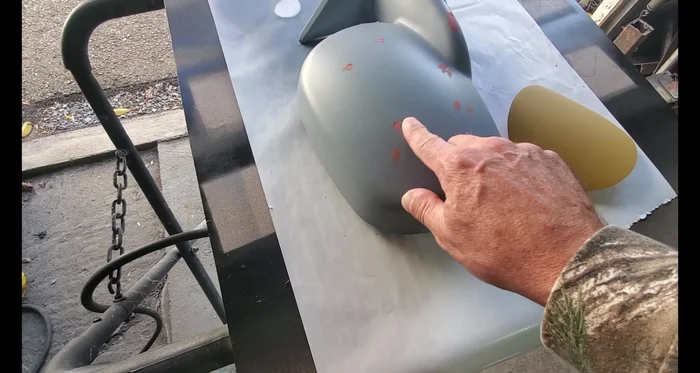
- Clean the mirror thoroughly. Wash, rinse with clean water, and blow dry with compressed air. Remove any loose debris.
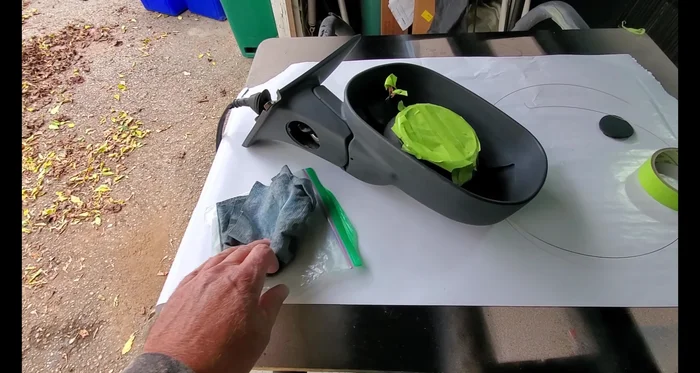
- Scuff the plastic surface with red Scotch Brite to improve paint adhesion.
Cleaning and Preparation Adhesion Promoter
- Apply a light coat of adhesion promoter and let it sit for about half an hour.
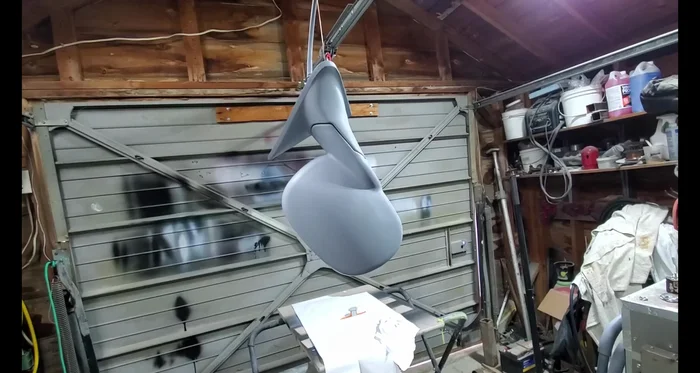
Adhesion Promoter Priming (Initial Coats)
- Apply several light coats of primer, allowing each coat to dry before applying the next. Because the weather is cool, it's recommended to bring the part inside to warm up and dry.
Priming (Initial Coats) Smoothing and Refinement
- Sand the primed surface with 320 sandpaper to remove any texture imperfections.
- Apply two more coats of primer, sanding with 600 grit sandpaper between coats for a smooth finish.
- Clean the surface with wax and grease remover.
Smoothing and Refinement Base Coat Application
- Apply multiple light coats of base coat paint (gloss black in this case).
Base Coat Application Drying and Curing
- Allow the paint to fully dry and cure. (A week is recommended in cooler temperatures)
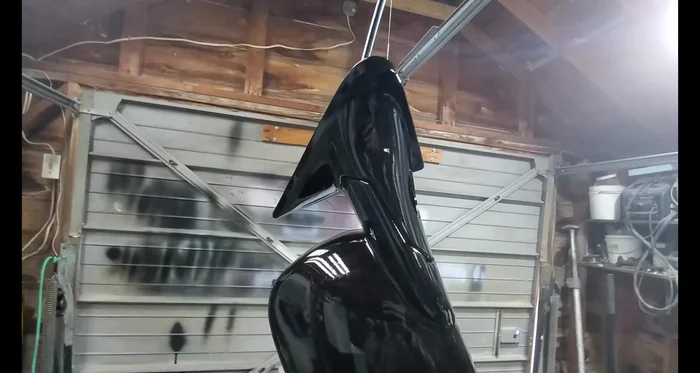
Drying and Curing Clear Coat Application
- Apply clear coat for protection and shine.
Clear Coat Application Mirror Glass Installation
- Install the new mirror glass. Follow the instructions provided with the replacement glass.
Mirror Glass Installation


Read more: 7 Top Paint Color Trends for 2024: A Complete Guide with Free Downloadable Resource
Tips
- Work on smaller pieces indoors on colder days to allow for better drying and prevent paint issues.
- Bring your painting supplies indoors on cold days to keep them at optimal working temperature.
- Apply multiple thin coats of paint and primer to avoid runs and ensure even coverage. Allow adequate drying time between coats, especially in cooler temperatures.