Origami, the ancient Japanese art of paper folding, offers a captivating blend of creativity and precision. With just a square sheet of paper and a little patience, you can transform a simple flat surface into intricate and beautiful three-dimensional shapes. One of the most popular and accessible origami projects for beginners is the elegant origami swan. Its graceful curves and iconic silhouette make it a rewarding project for those new to paper folding, regardless of age or experience. The satisfying process of folding and shaping the paper into its final form is both meditative and surprisingly simple.
This easy step-by-step tutorial will guide you through the creation of your very own origami swan, even if you've never attempted origami before. Each step is clearly explained and illustrated to ensure a smooth and enjoyable experience, turning you from a complete novice into a swan-folding artisan. Let's dive into the process and begin creating your beautiful origami swan!
Preparation and Safety Guidelines
- Paper (square-shaped knocking paper)
- Use sharp creases to ensure a clean fold and avoid tearing the paper. Press firmly along each fold line as you go.
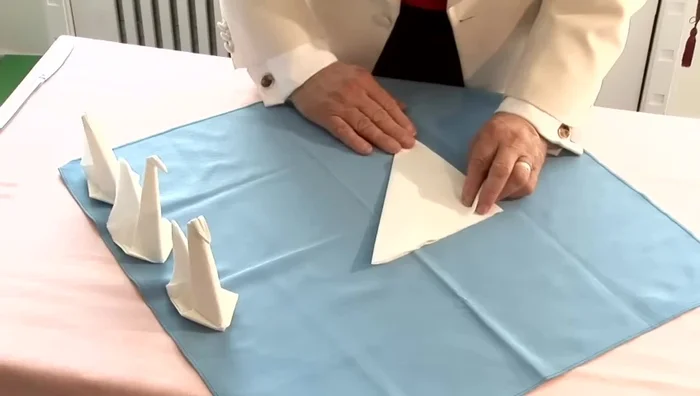
- Start with a square piece of origami paper. Using the wrong size or shape will make the model difficult or impossible to complete.
- If you get lost, refer back to the diagrams or video tutorials frequently. Don't be afraid to start over if needed. Practice makes perfect!
Step-by-Step Instructions
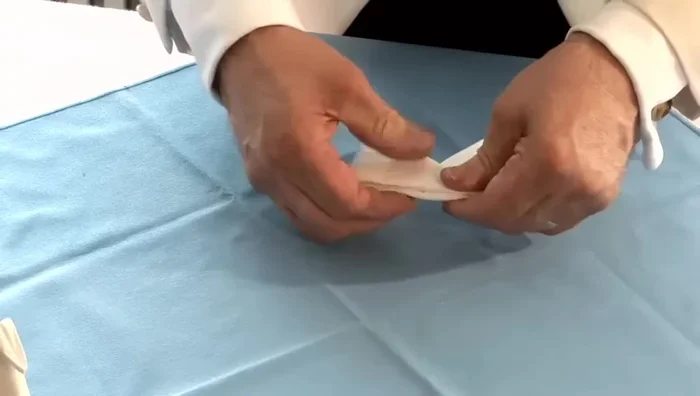
Prepare the Paper
- Start with a square piece of knocking paper.
- Fold the paper in half to create a crease line. This line is crucial for shaping the swan.

Prepare the Paper Create the Body Shape
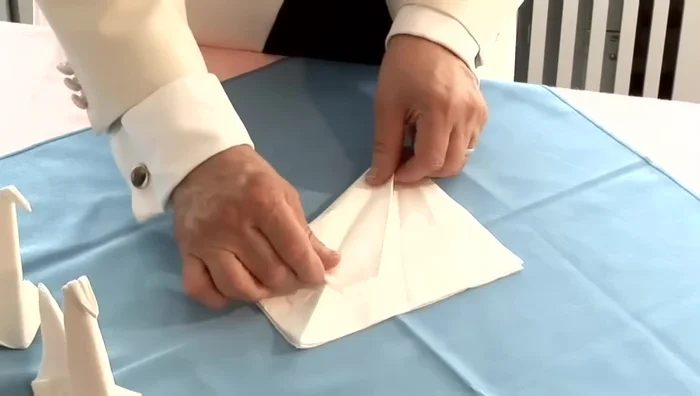
- Open the paper and fold it into thirds, creating three equal sections.
- Fold the bottom section up to the top, slightly overlapping.
- Fold the top section down to create the back of the swan. Use the initial crease line as a guide.
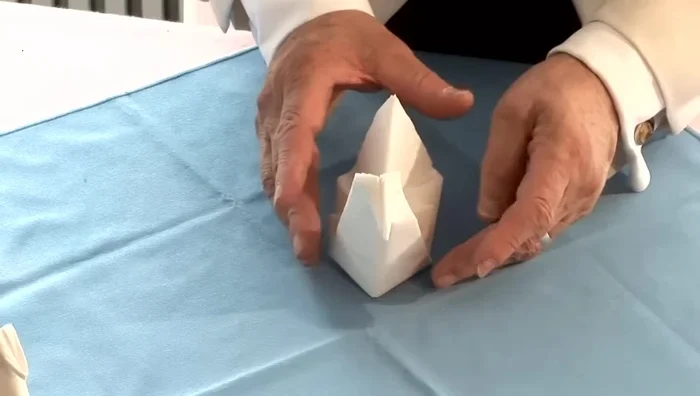
Create the Body Shape Form the Base
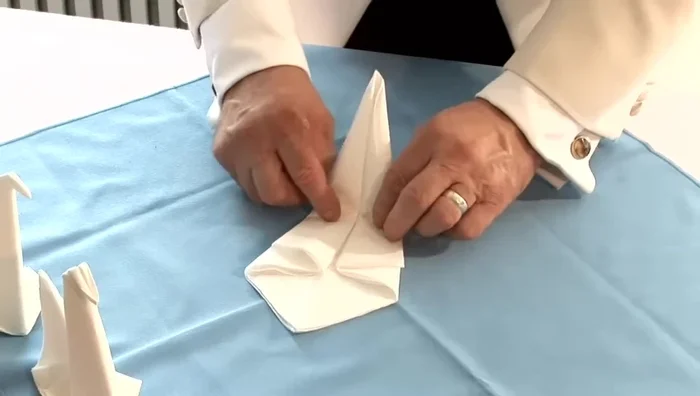
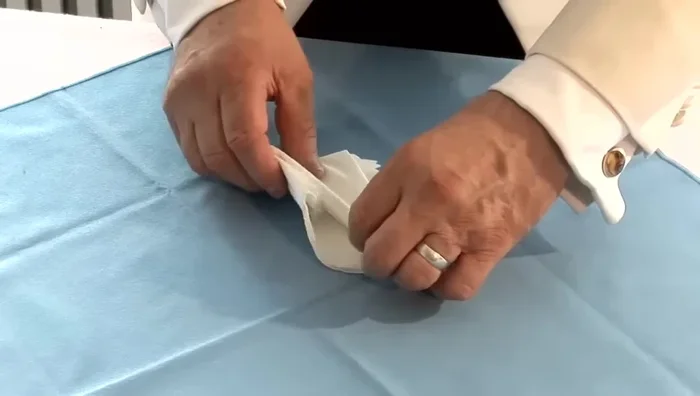
- To create a stable base, fold up the bottom corners of the swan and then fold them to create a secure base.
- Repeat step 6 on the other side to create a base.
Form the Base

Read more: Easy Origami Paper Box Tutorial: Step-by-Step Guide
Tips
- Ensure your hands are clean when handling the paper.