Looking for a unique and charming decoration to brighten your home or add a festive touch to your holiday season? Look no further than this delightful DIY origami star wreath! This project is perfect for crafters of all skill levels, requiring only paper and a little patience to create a stunning, handcrafted piece. Forget expensive store-bought decorations; this wreath offers a satisfyingly creative outlet and a beautiful, personalized result that will impress your friends and family. Imagine the warm glow of fairy lights nestled amongst the intricately folded stars, adding a touch of magic to any room.
Creating your own origami star wreath is easier than you might think! This step-by-step tutorial will guide you through each stage of the process, from folding the individual stars to assembling the wreath and adding the finishing bow. Get ready to unleash your inner artist and craft a beautiful, one-of-a-kind decoration – let's begin!
Preparation and Safety Guidelines
- Origami paper (4-inch squares)
- Scissors
- Tape
- Use sharp scissors with caution, keeping fingers away from the blades. Adult supervision is recommended, especially for children.
- If using glue, apply it in a well-ventilated area and avoid contact with skin and eyes. Follow the glue manufacturer's instructions.
- Small origami stars may present a choking hazard to young children. Keep the finished wreath out of reach of small children.
Step-by-Step Instructions
Creating a Single Origami Star
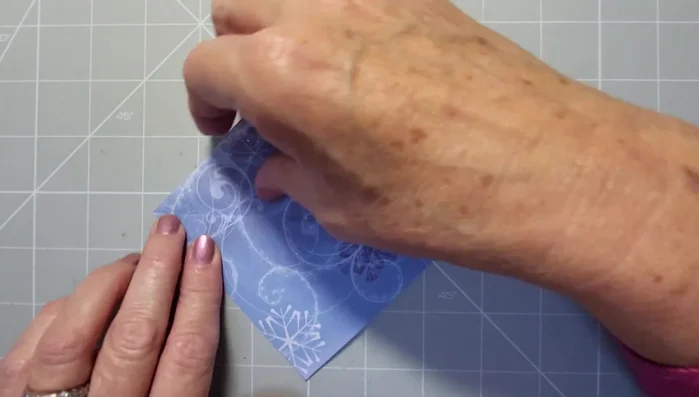
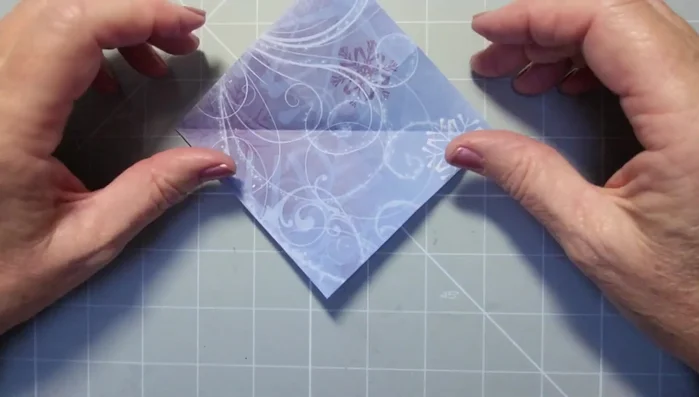
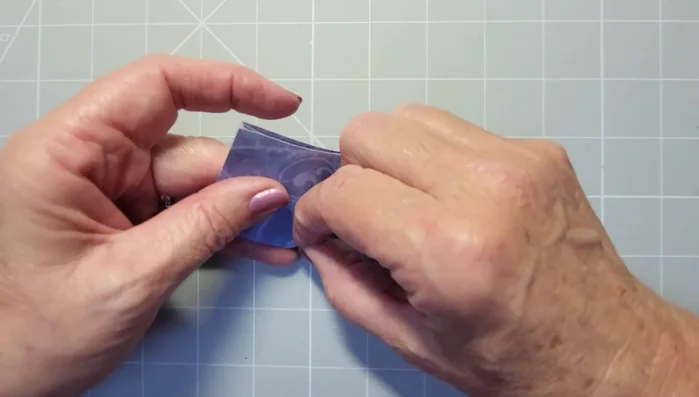
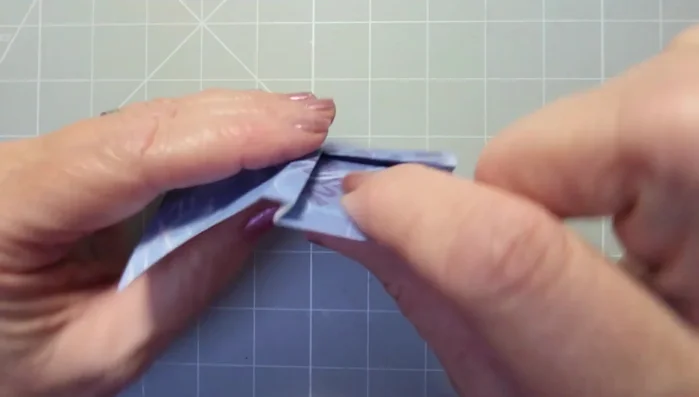
- Fold the origami paper point to point, creating a crease.
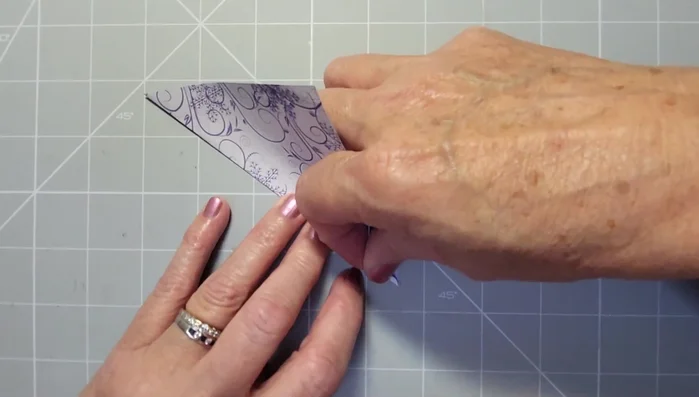
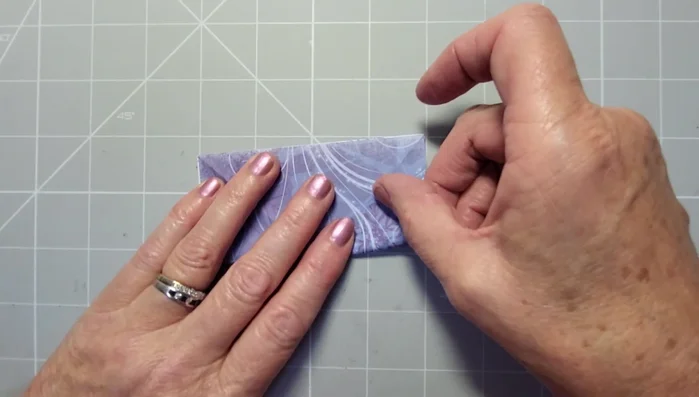
- Fold the left point down to the center line, then fold the top flap up.
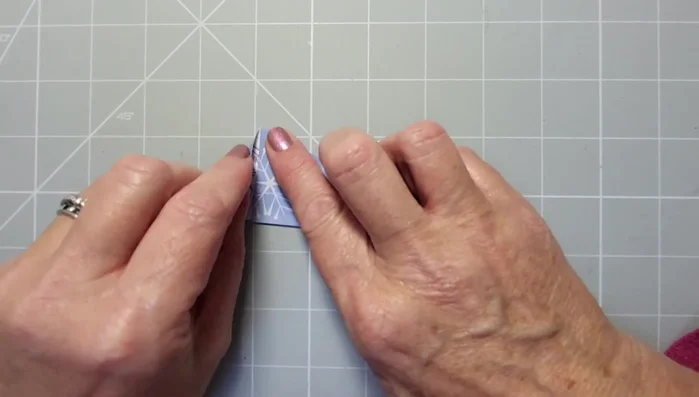
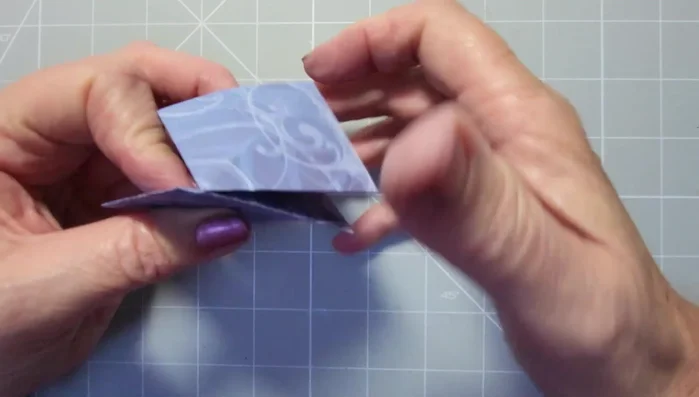
- Repeat step 2 on the right side. Ensure the edges meet perfectly.
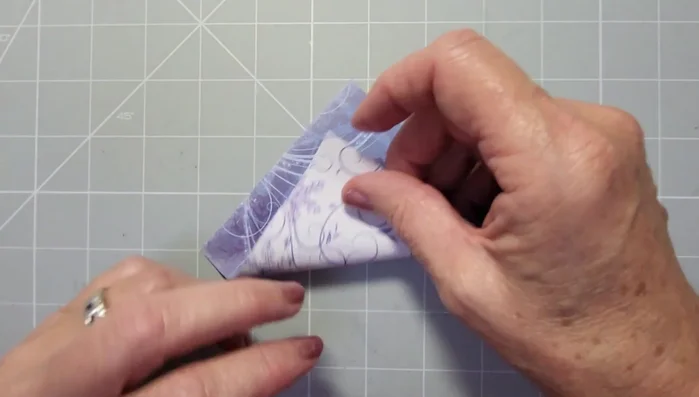
- Bring the bottom triangle towards you, aligning the edges and reinforcing the crease.

Creating a Single Origami Star Making Multiple Origami Stars
- Repeat steps 1-4 to create seven more origami star units.
Making Multiple Origami Stars Assembling the Origami Star Wreath
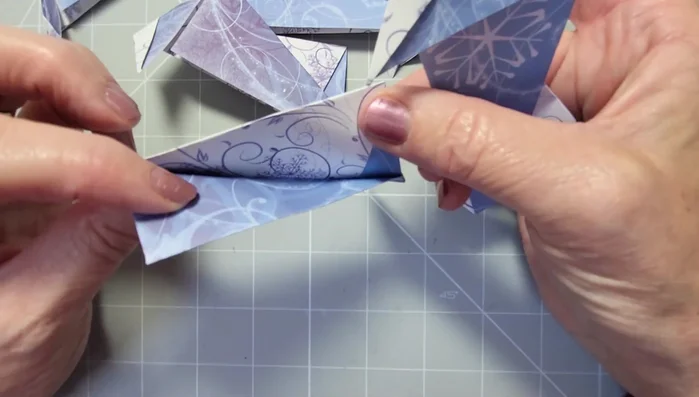
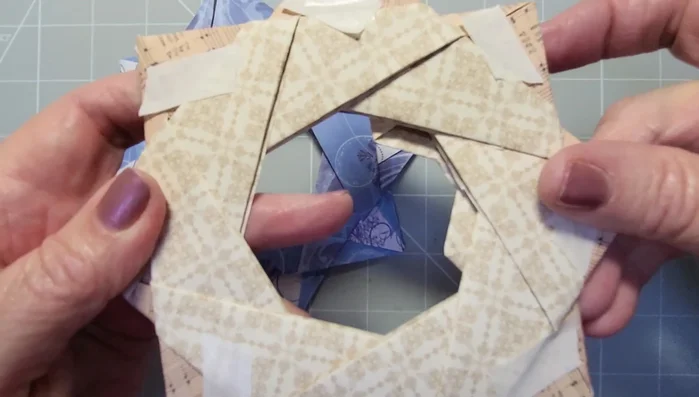
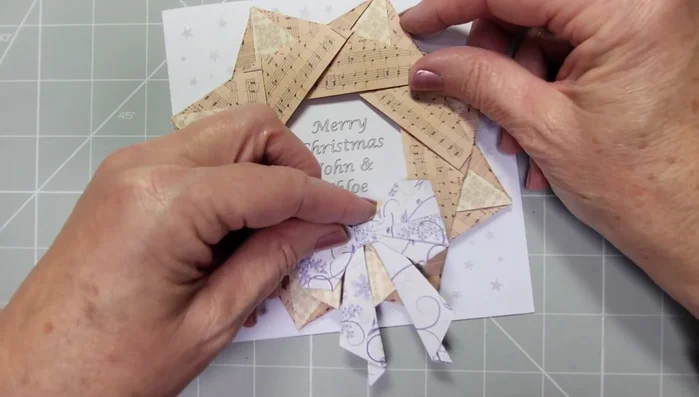
- Interlock the origami stars, tucking each unit into the pocket of the previous one.
- Secure the wreath by taping the folded-over sections.
Assembling the Origami Star Wreath Creating the Origami Bow - Initial Folds
- For the bow, fold the origami paper point to point in both directions, creating diagonal creases.
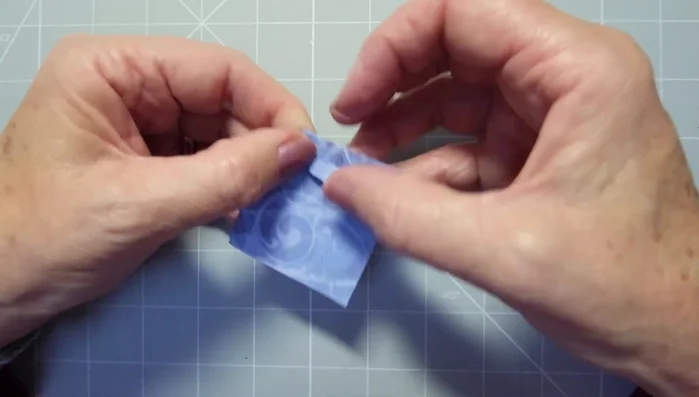
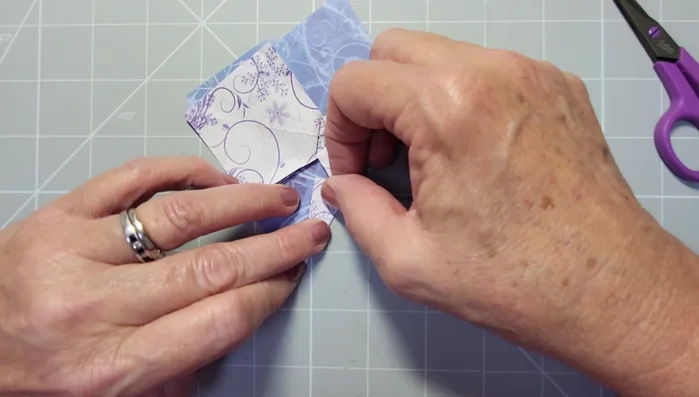
- Fold the side edges towards the center, creating a smaller square.
- Fold one diagonal in half, bringing the blue sides together. Push down to create a point.
- Pinch and fold the closed side over to the center line, creating a crease.
Creating the Origami Bow - Initial Folds - Repeat the fold on the other side. Then, open it up, reinforce the square shape by pinching the corners and folding inwards.
Creating the Origami Bow - Initial Folds Shaping the Origami Bow
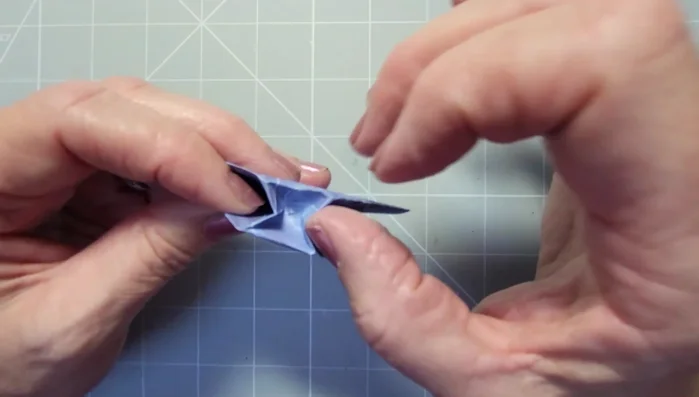
- Push the top point into the center, squashing the sides together to create a bow shape.
- Fold the bottom points down to the center line and reinforce the folds.
- Cut along the z-shaped line at the back of the bow to create two diamond shapes.
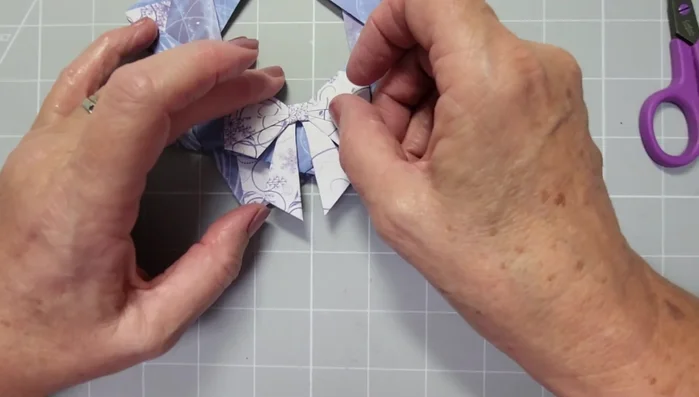
- Fold the points of the diamonds into the center to create the bow loops.
Shaping the Origami Bow Finishing the Bow and Wreath
- Trim the bow to the desired length.
- Attach the bow to the completed origami star wreath.
Finishing the Bow and Wreath


Read more: Easy Origami Paper Box Tutorial: Step-by-Step Guide
Tips
- Using double-sided paper allows for a nice color contrast between the wreath and the bow.
- If using patterned paper, ensure consistent placement of the pattern for uniformity.
- Tape the back of the wreath to secure the interlocked stars and allow for adjustments.
- Make sure to completely cover the white parts of the paper when folding the origami stars, as this will show on the final card.
- Reinforce creases well for a neat and crisp finish.