Origami, the ancient Japanese art of paper folding, offers a captivating world of intricate designs and surprising transformations. From simple cranes to complex creatures, the possibilities seem endless, often intimidating beginners who believe only advanced techniques are achievable. But fear not! Even with limited experience, you can create stunning origami masterpieces. This guide focuses on a particularly charming and accessible project: the easy origami star. This deceptively simple design is perfect for beginners and a rewarding introduction to the joys of paper folding.
This step-by-step tutorial will guide you through the process of creating your own beautiful origami star, requiring only a square piece of paper and a little bit of patience. With clear instructions and accompanying images, you’ll be amazed at how quickly you can transform a flat sheet of paper into a delightful three-dimensional star. Let's begin!
Preparation and Safety Guidelines
- Square piece of paper
- Scissors
- Use sharp, clean scissors to avoid cuts. Adult supervision is recommended, especially for young children.
- Be patient! Origami takes practice. Don't get discouraged if your first few attempts aren't perfect.
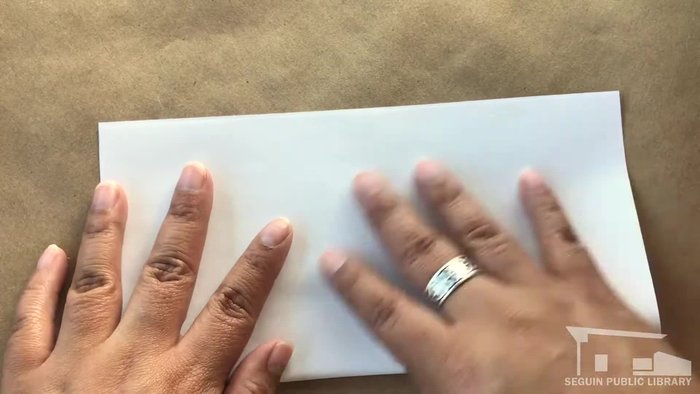
- Start with a square piece of paper. The size will determine the size of your star, but using a square is crucial for the folds to work correctly.
Step-by-Step Instructions
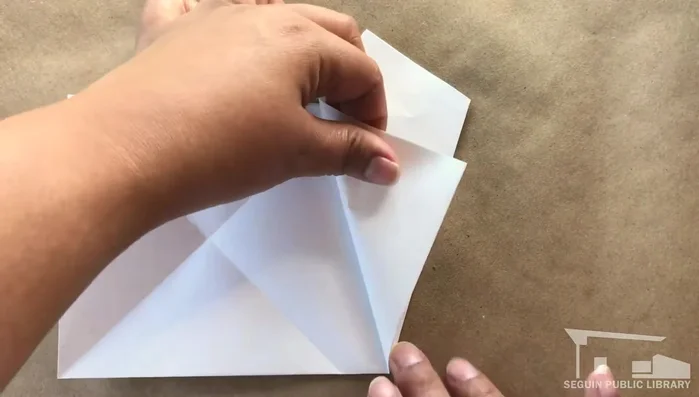
Initial Creases
- Fold the square in half.
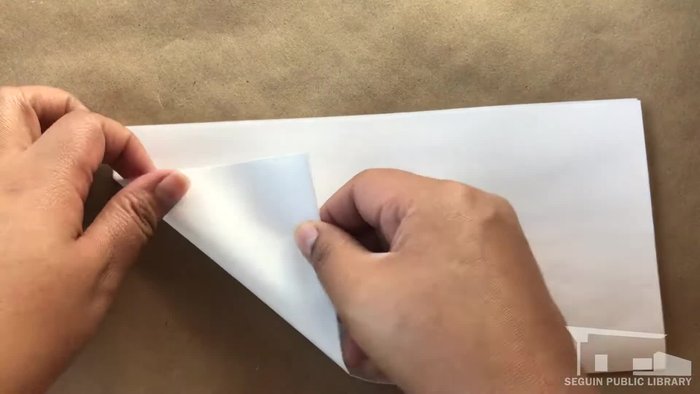
- Fold one corner up to meet the edge, forming a triangle. Open it back up.
- Fold the opposite corner to form another triangle. Open it to reveal an 'X'.
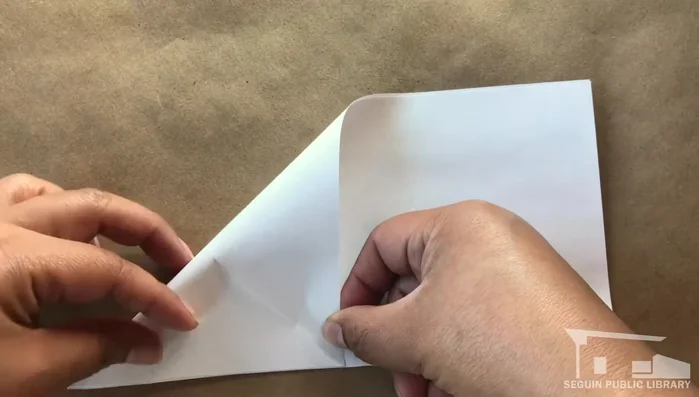
- Line up the unfolded corner with the 'X' and crease.

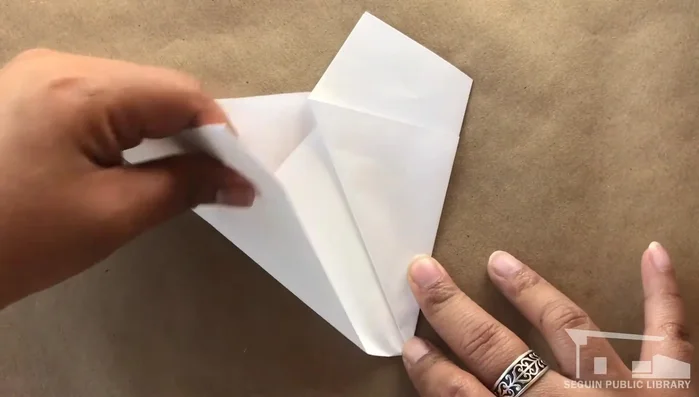
Initial Creases - Fold that corner back to the edge and crease.
- Fold the bottom edge of the other side to match the last fold and crease.
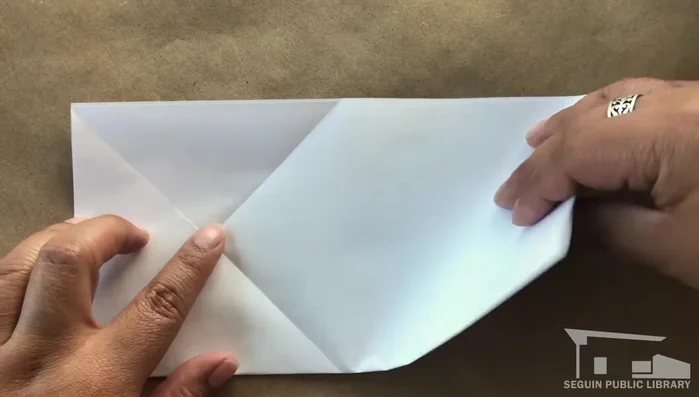
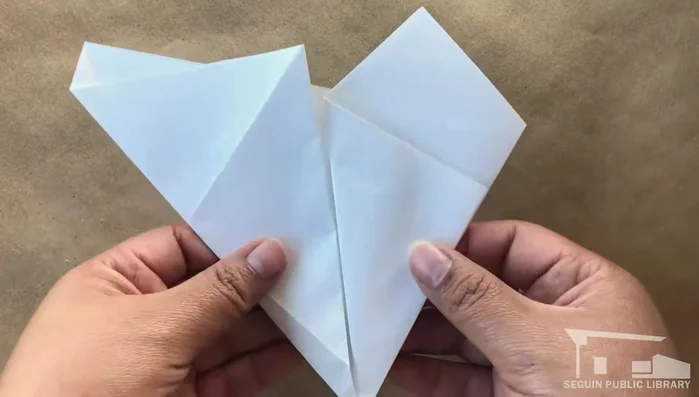
Initial Creases Forming the Pentagon
- Fold both triangles back-to-back.
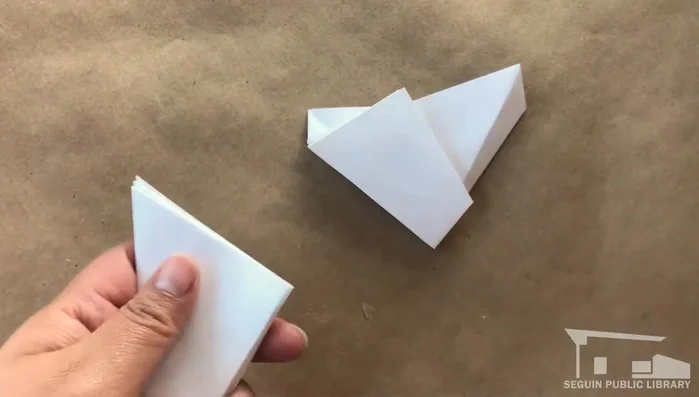
- Cut along the front edge of the three large panels to form a pentagon.
Forming the Pentagon Preparing the Pentagon Sides
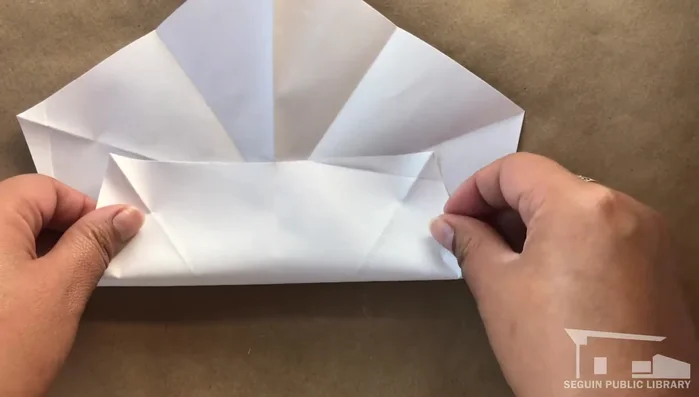
- Carefully line up one edge of the pentagon so corners meet the side points, aligning middle creases.
- Repeat step 9 on the remaining four sides.
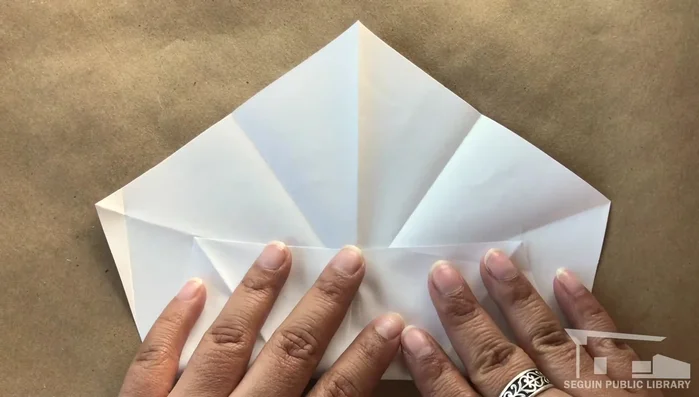
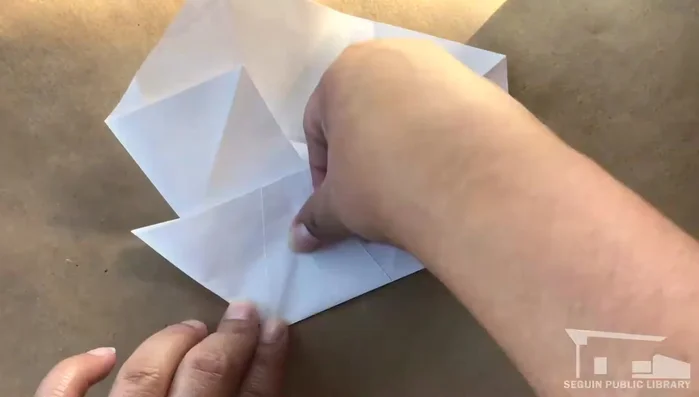
Preparing the Pentagon Sides Folding the Pentagon Points
- Fold two creased sides up to the line made in step 9.
- Pinch the pentagon point and lay it flat, pointing clockwise.
- Repeat step 12 on each remaining point, folding clockwise.
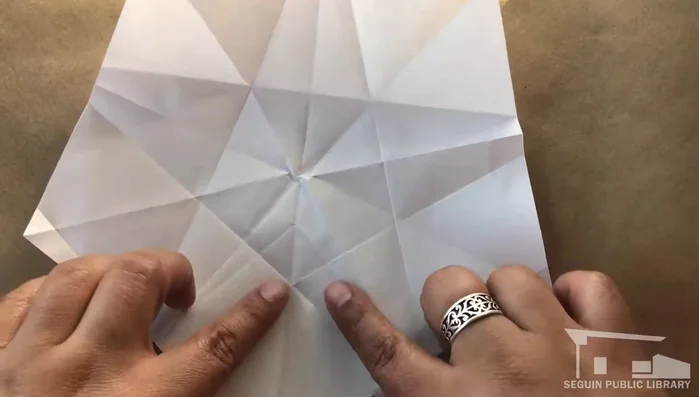
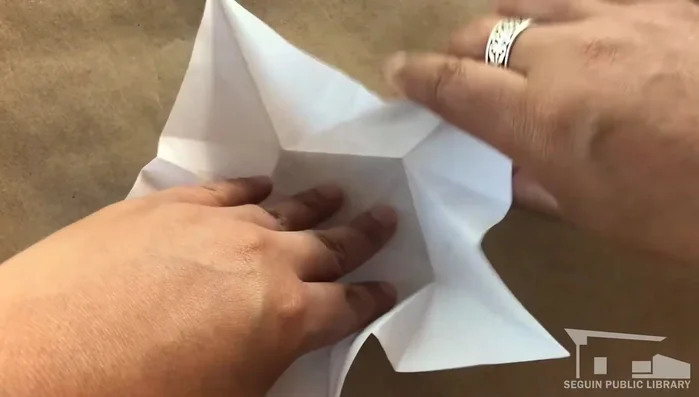
Folding the Pentagon Points Completing the Star
- Work clockwise around the pentagon, pinching and collecting corners inward to form a star.
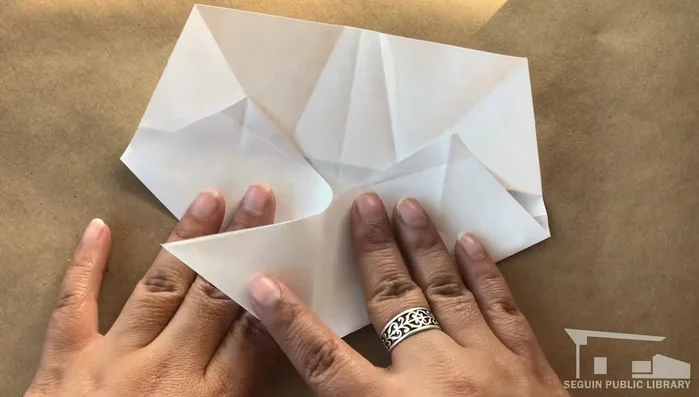
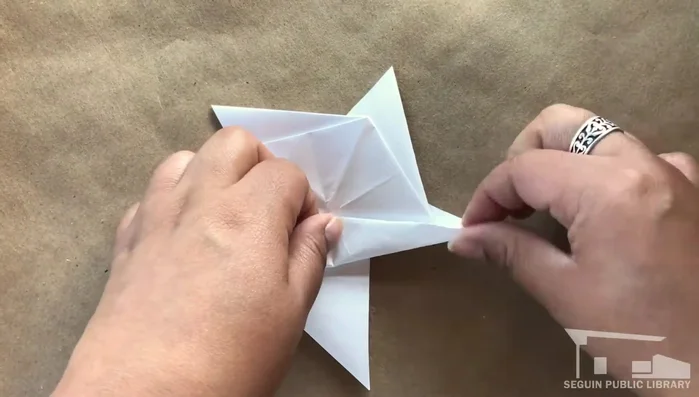
- Press flat, flip over. Fold each point of the back pentagon toward the center, aligning with the peak.
Completing the Star
Read more: Easy Origami Paper Box Tutorial: Step-by-Step Guide
Tips
- Creasing well is crucial for easy star formation.
- The last peak might require extra effort to tuck.