Origami, the ancient Japanese art of paper folding, offers a captivating blend of creativity and precision. From intricate cranes to simple shapes, the possibilities are endless, and the rewarding feeling of transforming a flat sheet of paper into a three-dimensional object is truly unique. Today, we're focusing on a particularly fun and accessible project: the Origami Snapper. This charming little creation is perfect for beginners, requiring only a single square sheet of paper and a few simple folds. It's a fantastic way to introduce yourself to the world of origami, or to simply enjoy a quick and satisfying craft project.
The Origami Snapper's delightful snapping action, a result of cleverly placed creases, makes it an engaging and surprisingly addictive little toy. Whether you're looking for a fun activity for kids, a quick break from work, or a simple yet impressive origami piece to add to your collection, this tutorial is for you. Let's dive into the step-by-step instructions and create your own satisfying Origami Snapper!
Preparation and Safety Guidelines
- 8 1/2 by 11 inch printer paper
- Sharpies or markers
- Optional: glue
- Use sharp, clean scissors to prevent injuries. Always cut away from yourself.
- Adult supervision is recommended, especially for young children. Small parts pose a choking hazard.
- Be mindful of your fingers when folding. Take your time and avoid rushing to prevent cuts or paper cuts.
Step-by-Step Instructions
Initial Folds
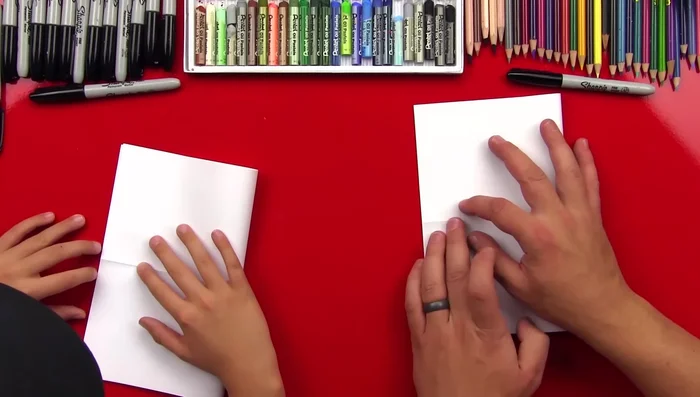
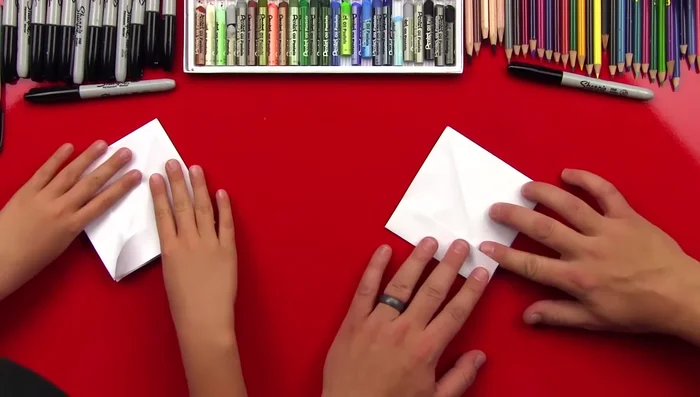
- Fold the paper in half lengthwise, then in half widthwise, creating crisp creases.
- Open the paper and fold it in half the opposite way, ensuring crisp creases.

Initial Folds Forming the Hat Base
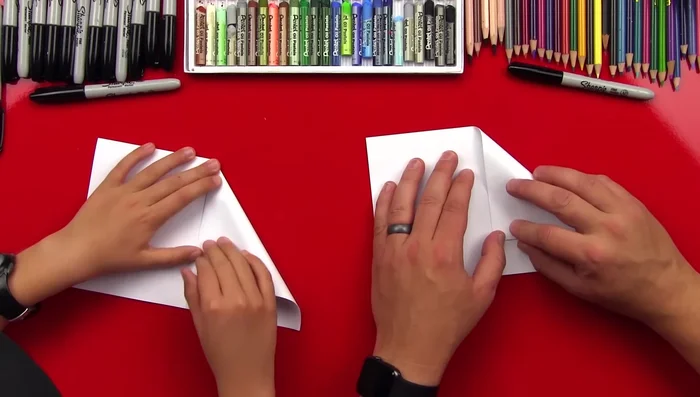
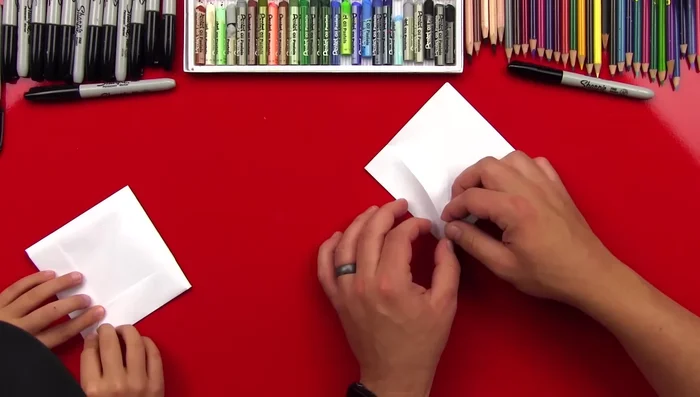
- Fold the top corners down to meet the center crease.
- Fold the top flap up to form a hat shape.
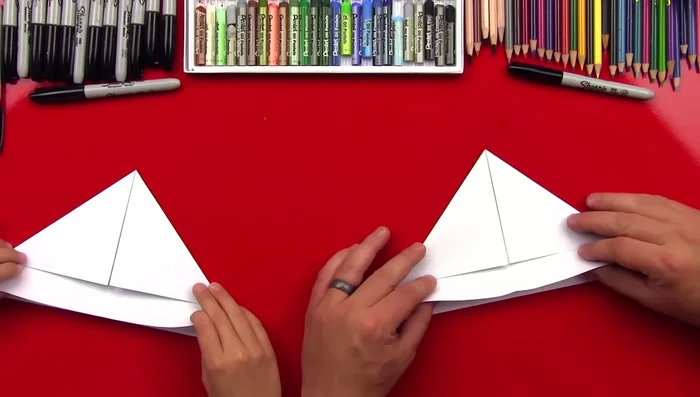
- Fold the bottom edges up, aligning them with the center crease.
Forming the Hat Base Creating the Snapper Body
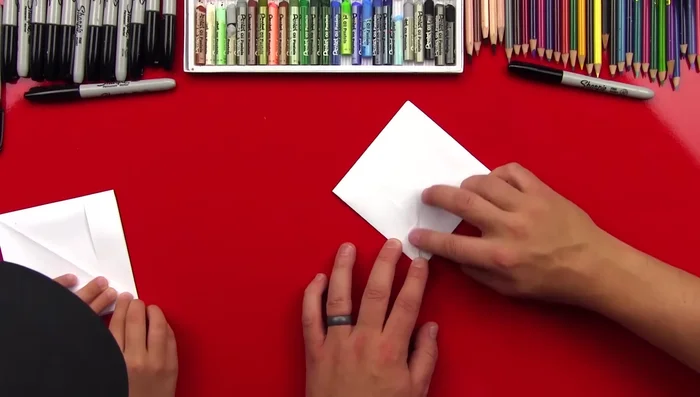
- Open the hat, flatten, and create new creases by folding the bottom corners across to the center.
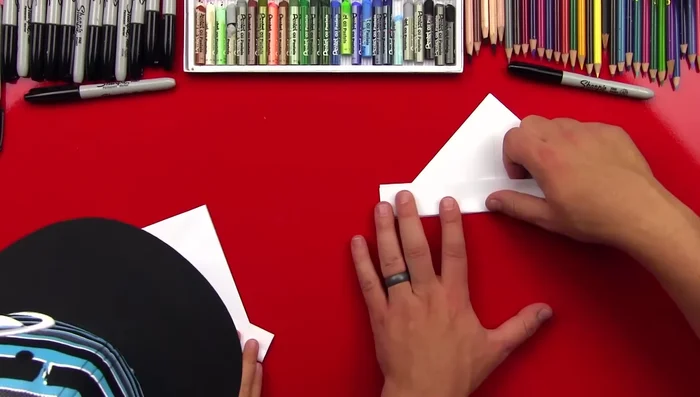
- Reverse the folds from step 6, tucking the edges inward.
- Repeat steps 6 and 7 on the opposite side.
Creating the Snapper Body Marking and Drawing the Teeth
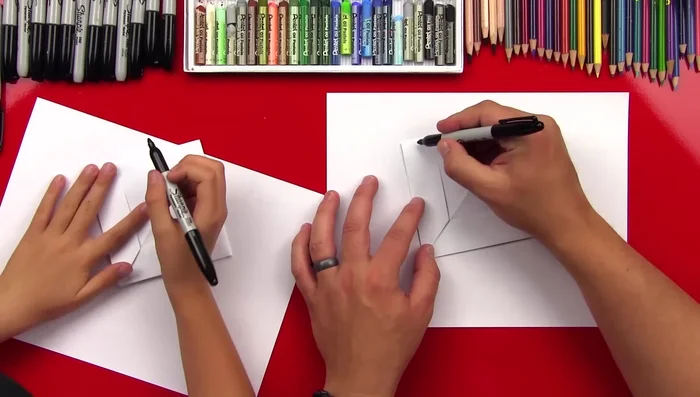
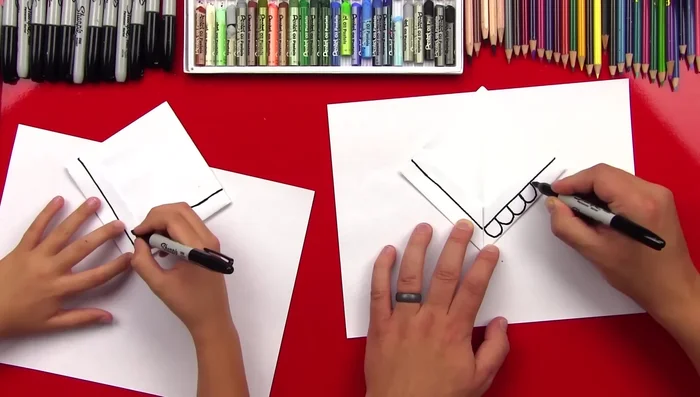
- Using a separate piece of paper, draw lines halfway down each flap to mark the placement of the 'teeth'. Transfer these markings to the snapper.
- Draw connected 'U' shapes near the top edge for the teeth, then color them in.
Marking and Drawing the Teeth Shaping the Head
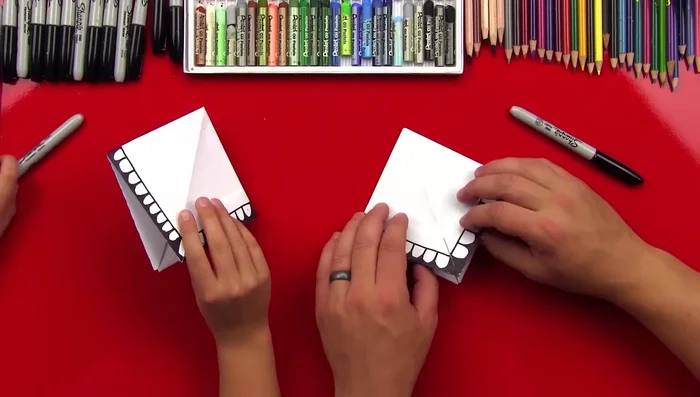
- Fold the top layer of each triangle up to the top, creasing well, and repeat on the other side.
Shaping the Head Adding Facial Features
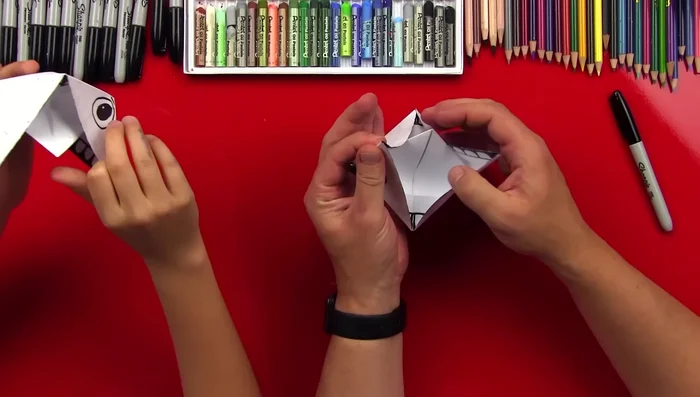
- Open the snapper slightly, then fold it down to form the mouth. Draw eyes and other details.
Adding Facial Features Finishing Touches
- Open the mouth, folding down the tongue flap and tucking the corner to keep it flat.
Finishing Touches


Read more: Easy Origami Paper Box Tutorial: Step-by-Step Guide
Tips
- Make sure your folds are crisp and precise for a better-looking final product.
- Pause or rewind the video if needed to follow along.
- Get creative with colors and designs to personalize your snapper!
- Consider using glue to secure the tongue and mouth flaps for extra stability.