Origami, the ancient Japanese art of paper folding, offers a captivating way to create beautiful and intricate designs. From simple cranes to complex animals, the possibilities are endless, and even beginners can experience the joy of crafting elegant pieces. Today, we'll focus on a classic and surprisingly simple creation: the origami rose. This delicate flower, often perceived as challenging, is remarkably easy to make with a little guidance and patience. The intricate beauty of the finished rose is well worth the effort, making it a perfect project for both newcomers to origami and seasoned enthusiasts looking for a quick and satisfying craft.
This tutorial provides a clear and concise, step-by-step guide to help you create your own stunning origami rose, regardless of your experience level. No special tools are needed, just a square sheet of paper and a willingness to follow the simple instructions. So, grab your paper and let's begin transforming a flat sheet into a blooming masterpiece; follow the steps below to unfold the beauty of this elegant origami rose.
Preparation and Safety Guidelines
- Square paper (20x20 cm recommended)
- Use sharp scissors carefully to avoid cuts. Adult supervision is recommended, especially for younger children.
- Be mindful of your fingers while folding. Take your time and avoid rushing to prevent accidental creases or injuries.
- If using paper with a coating (e.g., glossy paper), be aware it might be more difficult to fold sharply. Use a bone folder or similar tool for crisper creases if needed.
Step-by-Step Instructions
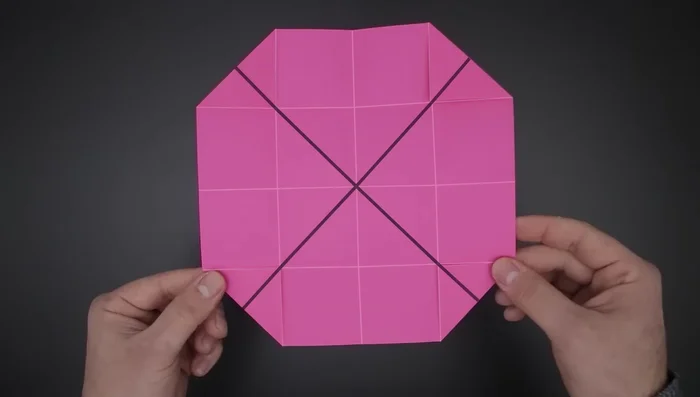
Initial Creases
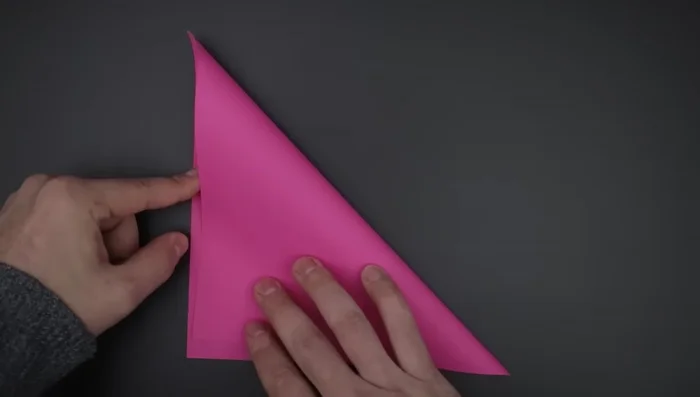
- Fold the paper in half along both diagonals, creating an 'X'.
- Fold the paper in half, bringing the right side to the left. Unfold.
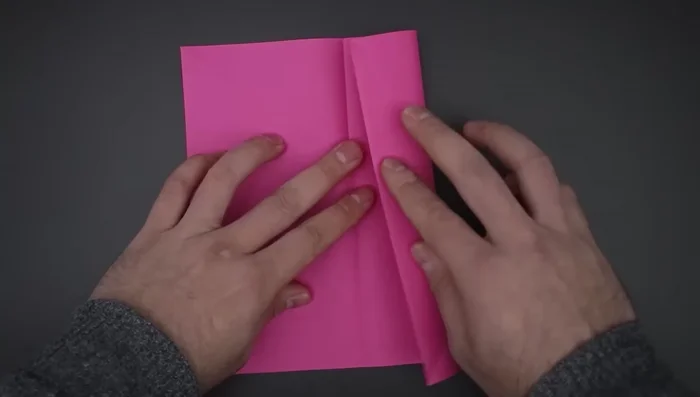
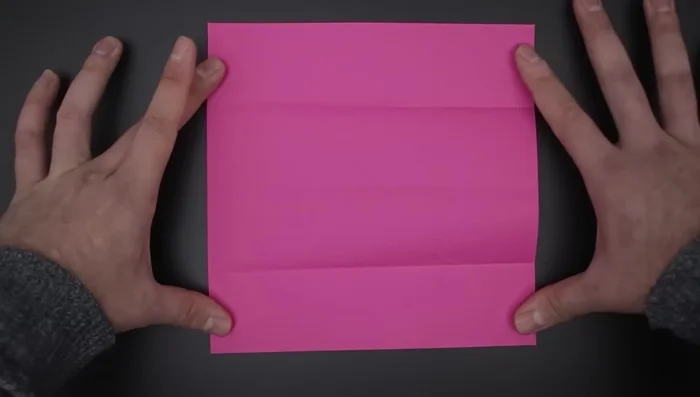
- Divide the paper into four sections by bringing both sides to the middle. Unfold.
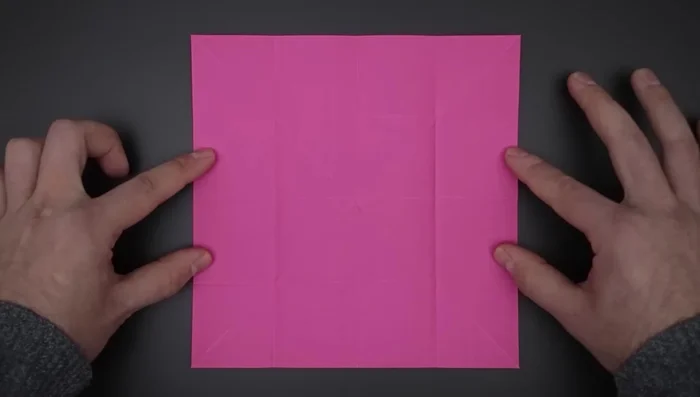
- Repeat step 3 to divide the paper into 16 smaller squares.

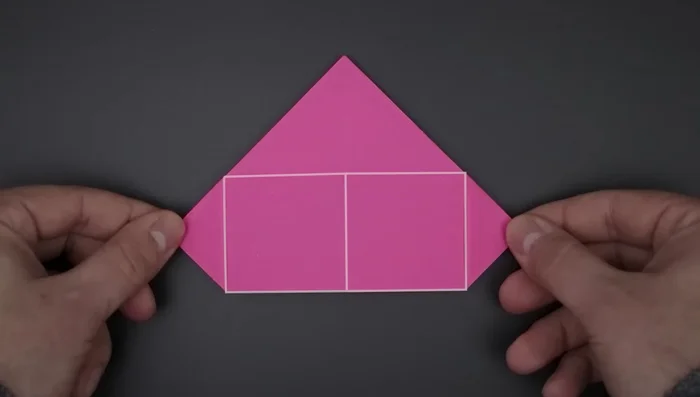
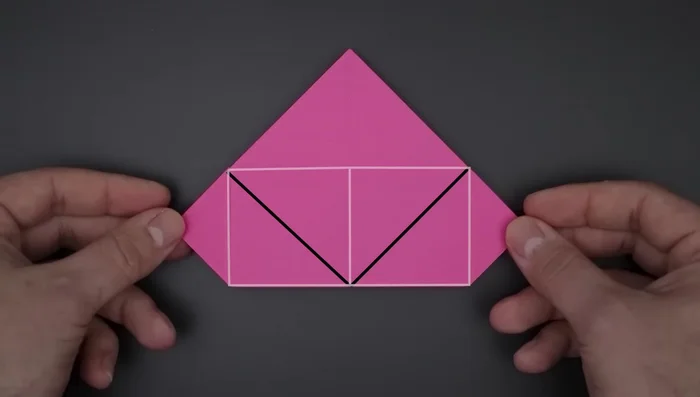
Initial Creases Forming the Base
- Fold the four corner squares diagonally.
- Close the paper using the four diagonal folds. Bring the four sides to the middle.
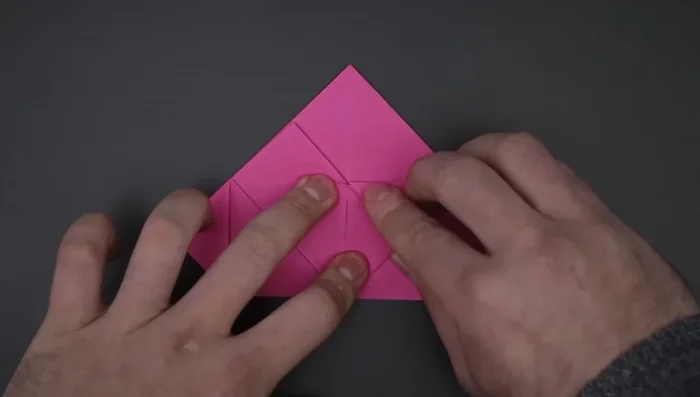
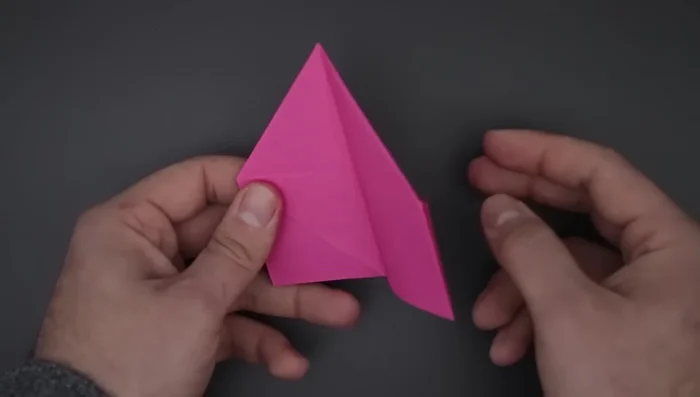
Forming the Base Shaping the First Side
- Fold the two squares at the bottom in half diagonally.
- Bring down the top triangles, unfold, and flatten to create flaps.
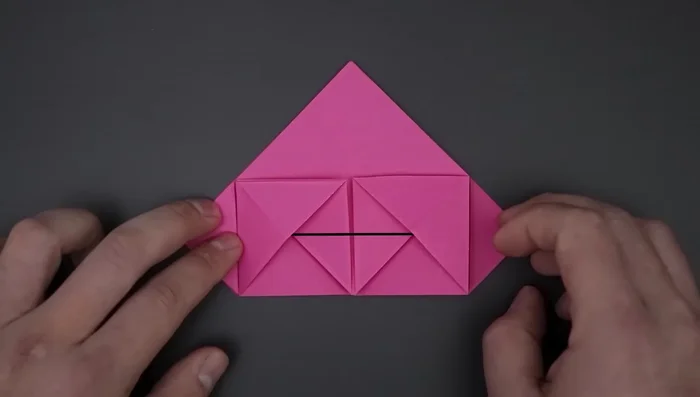
Shaping the First Side Mirroring the First Side
- Repeat steps 7 & 8 on the other side.
Mirroring the First Side Completing the Main Structure
- Fold the remaining card in the middle up, then turn over and repeat on the other side.
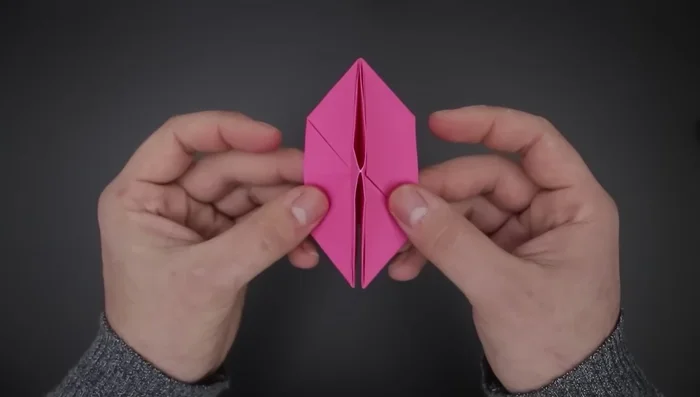
Completing the Main Structure Creating the Rose Shape
- Close the front and back sides. Fold the squares in half diagonally, then fold the remaining corner up. Repeat on the other side.
Creating the Rose Shape Opening and Shaping the Rose
- Open the small space at the bottom by pulling the sides of the paper. Bring the top and bottom sides together, marking the middle and shaping the triangles.
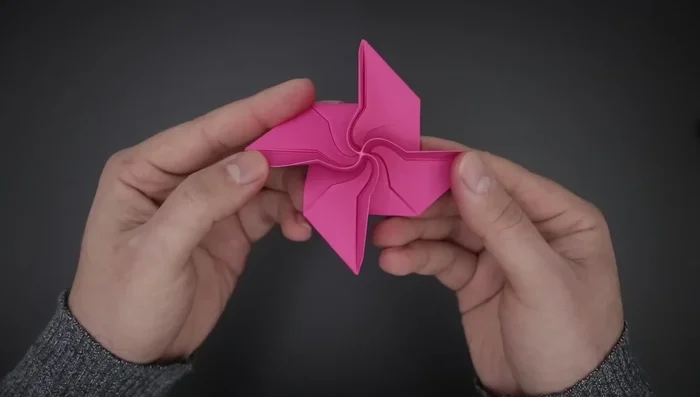
- Open the four flaps, creating a propeller shape.
- Rotate the paper in the middle, creating a spiral. Bend each side, following the same direction.
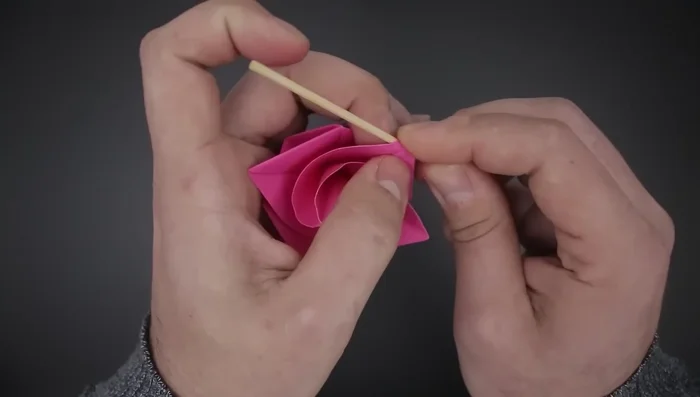
- Bend the corners of the petals to enhance the look.
Opening and Shaping the Rose


Read more: Easy Origami Paper Box Tutorial: Step-by-Step Guide
Tips
- Use paper with the same color on both sides for a better result.
- Pay close attention to steps 6, 11, and 12.