The elegant origami paper crane, a symbol of peace and hope, is more accessible than you might think. This deceptively simple-looking bird, with its delicate wings and slender neck, is a timeless craft enjoyed by people of all ages and skill levels. For centuries, the art of origami has captivated individuals with its ability to transform a flat square of paper into intricate three-dimensional shapes. While mastering complex origami designs requires practice and patience, creating a classic paper crane is surprisingly straightforward, even for beginners.
This guide provides a clear and concise step-by-step approach, perfect for those embarking on their origami journey or looking for a calming and rewarding craft project. We’ll walk you through each fold, ensuring you’ll be able to create your very own beautiful paper crane in no time at all. Get ready to unleash your creativity and follow the simple instructions below to begin your origami adventure.
Preparation and Safety Guidelines
- Square piece of paper
- Use sharp scissors carefully to avoid cuts. Adult supervision is recommended, especially for younger children.
- Be mindful of your folds. Precise folds are key to a well-formed crane. Don't rush the process.
- If you are struggling with a step, refer back to the diagrams or videos. It's okay to take breaks and start again.
Step-by-Step Instructions
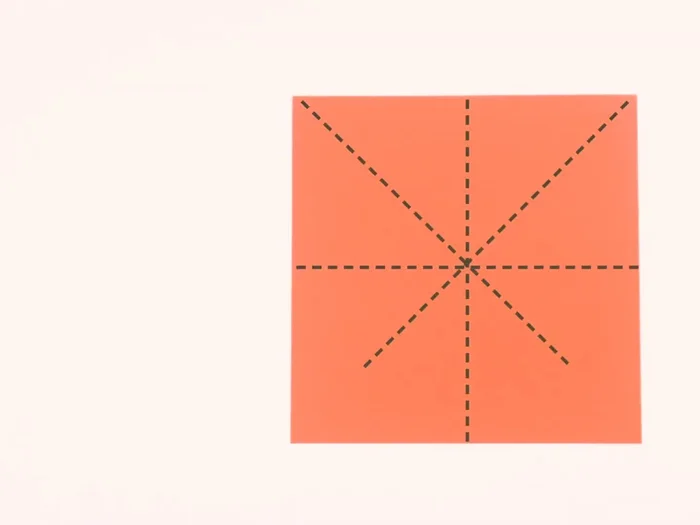
Initial Creases
- Fold the square paper in half vertically, then horizontally, and diagonally. Unfold after each fold.

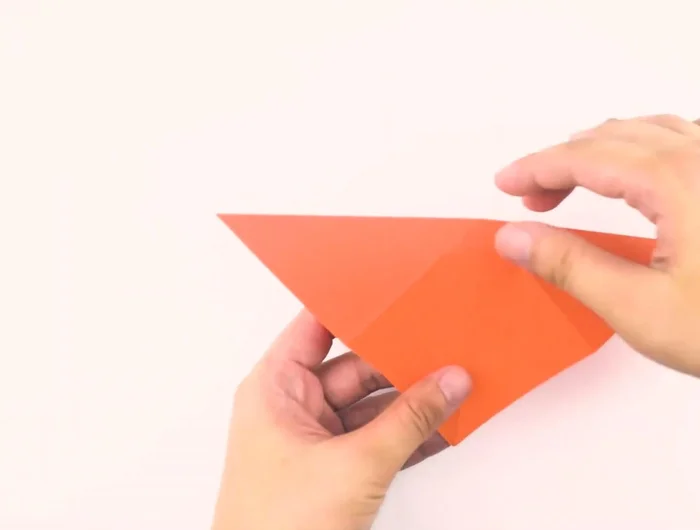
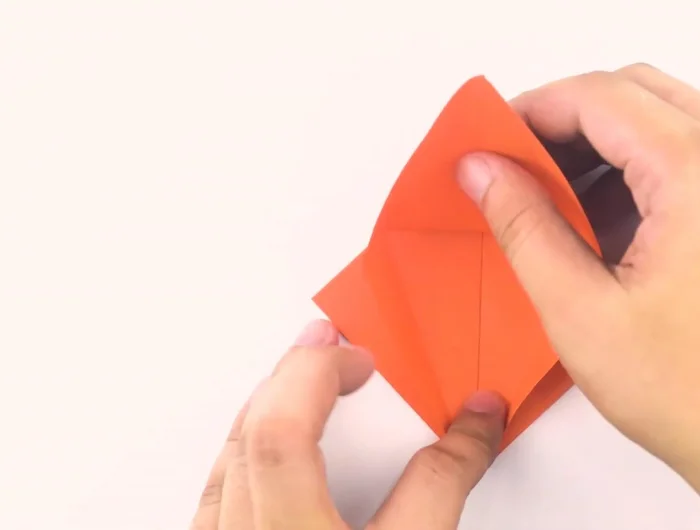
Initial Creases Forming the First Diamond
- Fold the top corners to the bottom, pressing the sides in to form a small diamond.
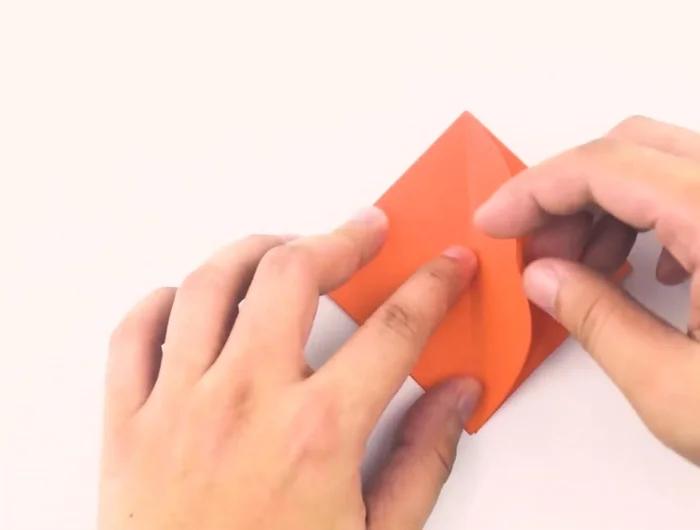
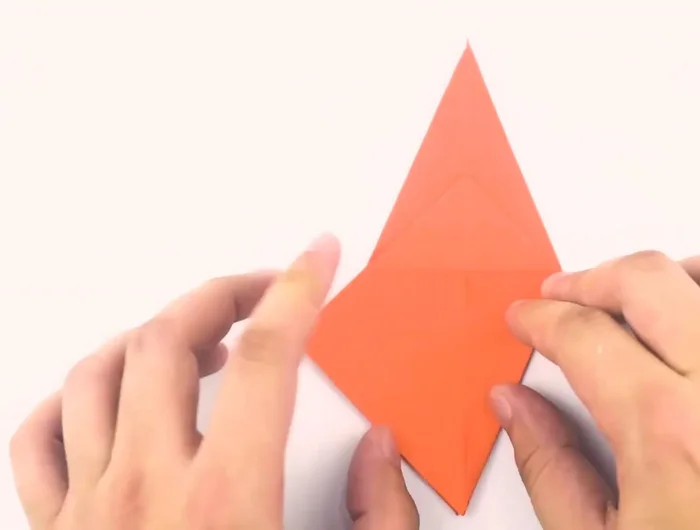
Forming the First Diamond Creating the Triangles
- Fold the bottom edge of the right upper layer to the center crease. Repeat on the left side.
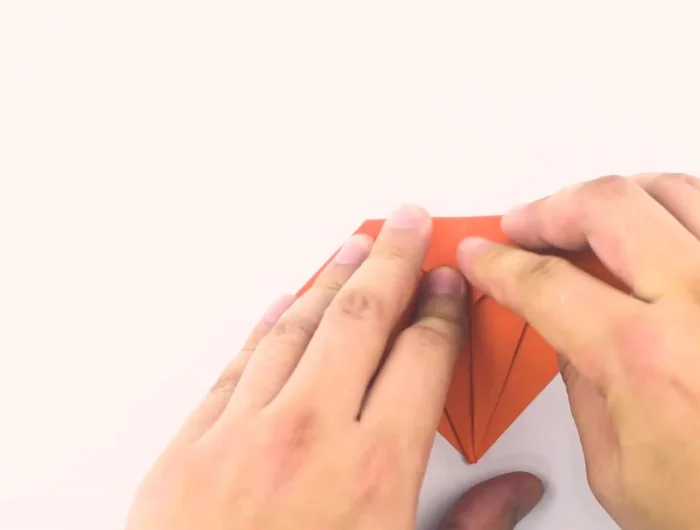
- Fold the top of the diamond down, aligning the crease with the horizontal line created by the previous triangles. Then unfold to return to the small diamond shape.
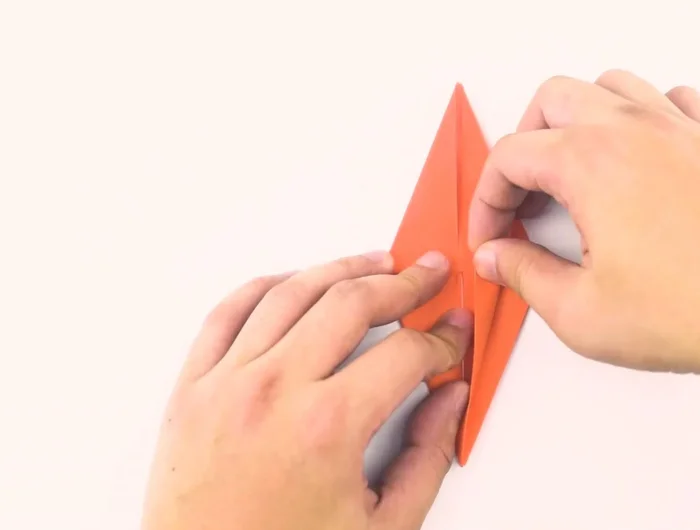
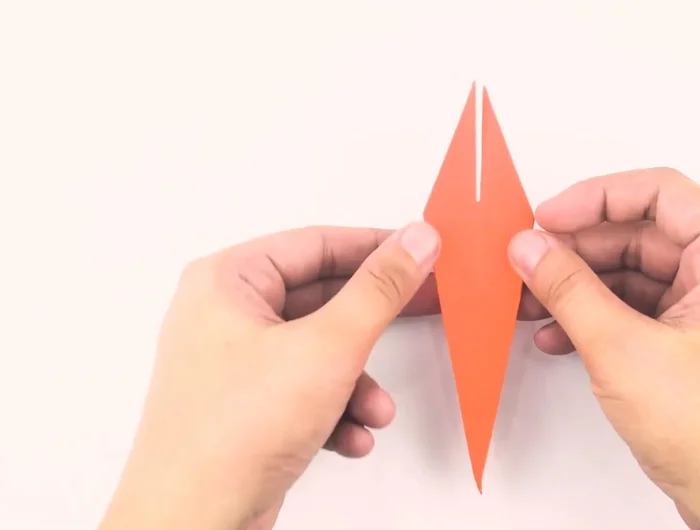
Creating the Triangles Creating the Long Diamonds
- Fold the topmost layer of the bottom point all the way up, letting the left and right flaps fold in naturally, creating a long narrow diamond.
- Flip the paper over and repeat the process to create another long skinny diamond.
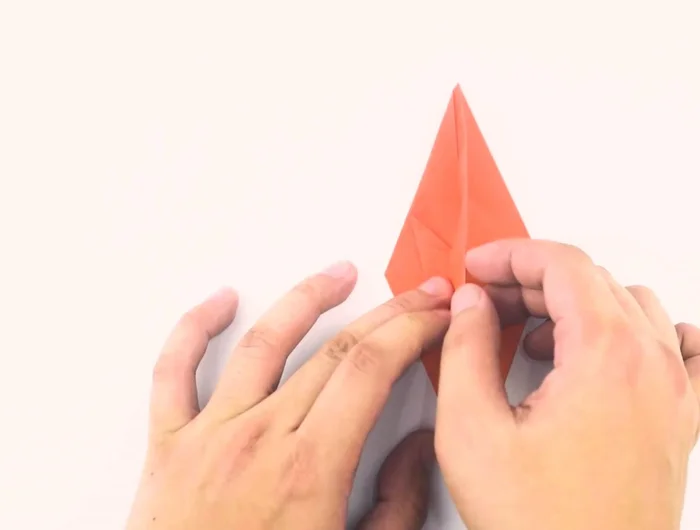
Creating the Long Diamonds Shaping the Body
- Fold the bottom outside edges of the upper layer on the right inwards toward the center. Repeat on the left side.
- Fold the entire right flap over the central line like turning a book page. Repeat on the other side.
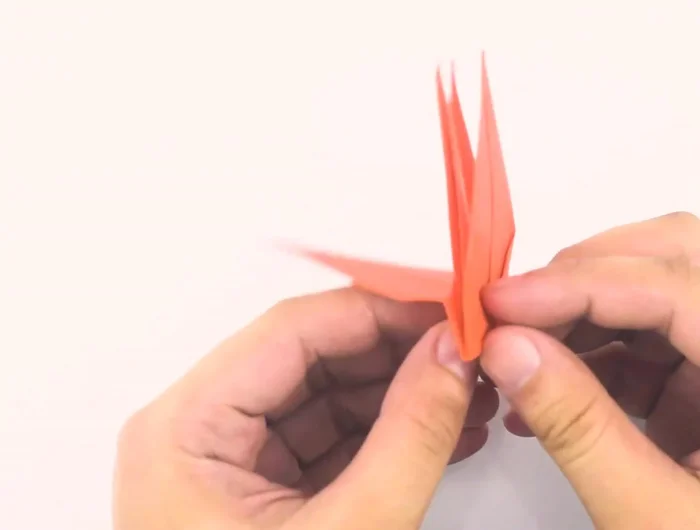
Shaping the Body Forming the Head and Tail
- Fold the upper layer of the bottom point up so the bottom tip touches the top points. Fold the right flap over to the left, and repeat on the other side.
Forming the Head and Tail Finishing Touches
- Fold wings down, then fold the tip of the head down and gently pull out the wings.
Finishing Touches
Read more: Easy Origami Paper Box Tutorial: Step-by-Step Guide
Tips
- N/A