The delicate paper crane, a symbol of hope and peace, holds a captivating allure for origami enthusiasts of all levels. While traditionally associated with intricate folding techniques requiring patience and precision, this guide unveils a surprisingly fast and easy method for creating your very own origami crane. Forget the frustration of complex diagrams and lengthy tutorials; we've streamlined the process, focusing on efficiency without sacrificing the elegant final result. This simplified approach makes it perfect for beginners, classroom activities, or anyone looking to quickly craft a beautiful and meaningful paper bird.
This accelerated method utilizes a clever sequence of folds to achieve the classic crane shape in minimal steps. Ready to transform a simple square of paper into a symbol of enduring hope? Let's dive into the step-by-step instructions, and in just minutes, you'll be proudly displaying your own origami crane.
Preparation and Safety Guidelines
- Perfectly square sheet of paper
- Use sharp creases: Properly creasing each fold is crucial for a neat and sturdy crane. Don't be afraid to use your fingernail or a bone folder to make crisp folds.
- Start with square paper: Using rectangular paper will result in a misshapen crane. Ensure your paper is a true square before beginning.
- Be patient and persistent: Origami takes practice. Don't get discouraged if your first few attempts aren't perfect. Take your time and refer to diagrams or videos if needed.
Step-by-Step Instructions
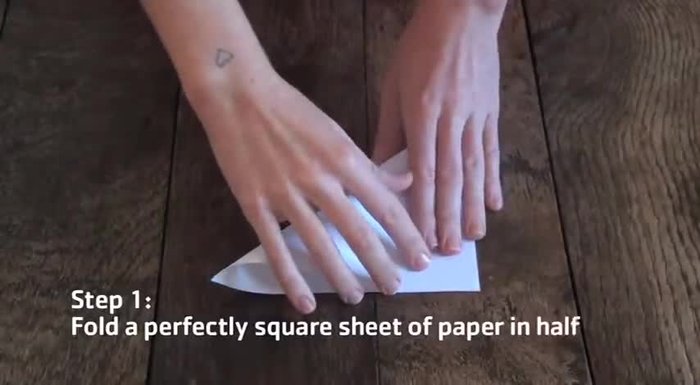
Initial Triangle Folds
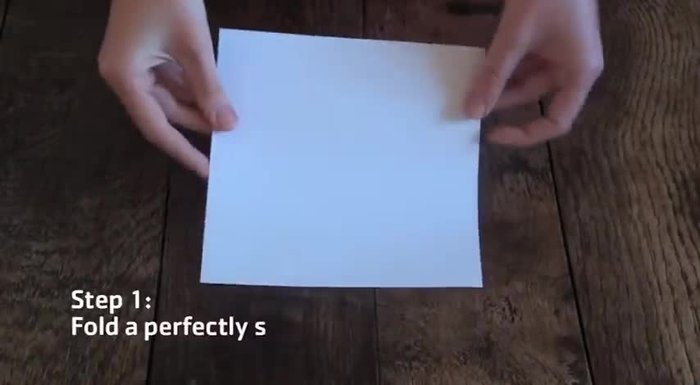
- Fold the square paper in half to form a triangle. Ensure the corners are pointed.
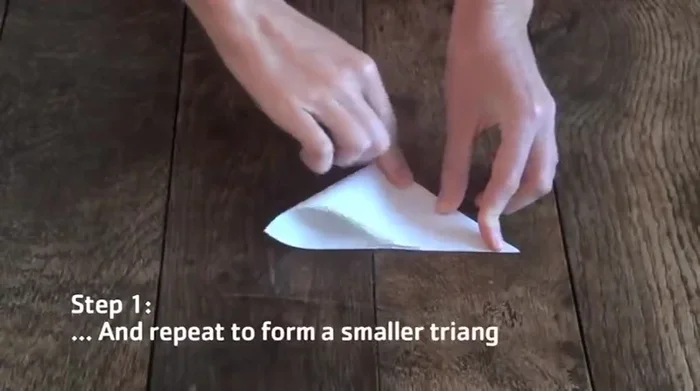
- Repeat the fold along the other diagonal to create a smaller triangle.

Initial Triangle Folds Creating the Base Square
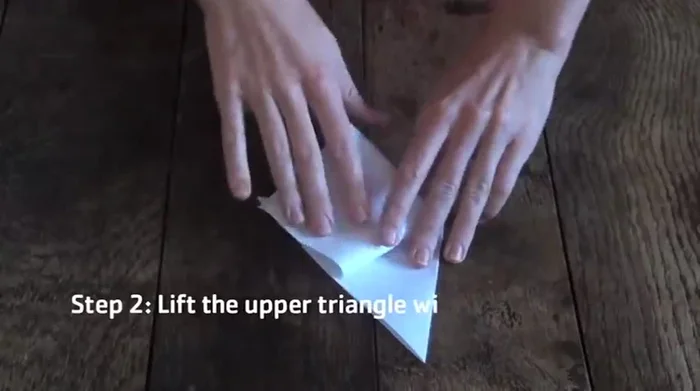
- Lift the upper triangle and fold it into a diagonal square, ensuring the opening is at the bottom edge. Turn the paper over and crease the center line in both directions.
- Repeat the fold to form another diagonal square.
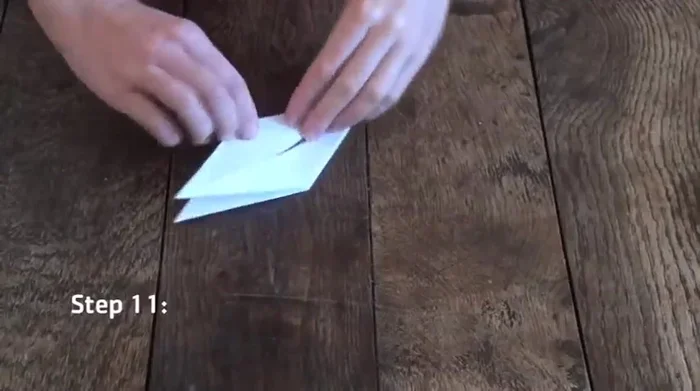
Creating the Base Square Forming the Kite Shape
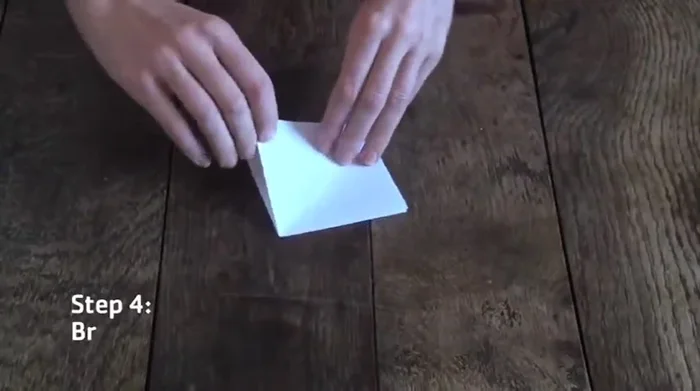
- Bring the top right corner to the middle, aligning the lower right edge with the crease. Repeat on the left side to create a 'cut' look at the top.
- Repeat the process on the other side, bringing the corner to the center and creating a kite shape.
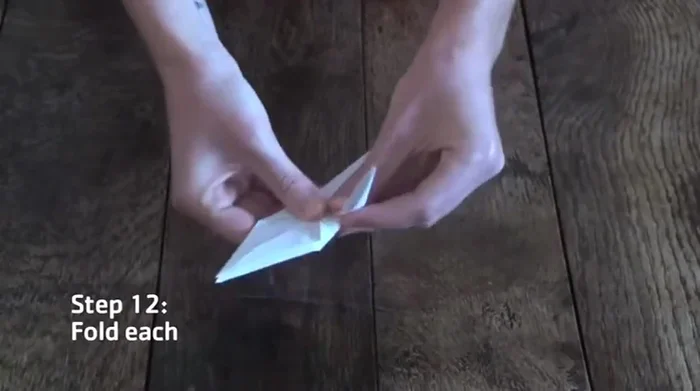
Forming the Kite Shape Preparing the Body
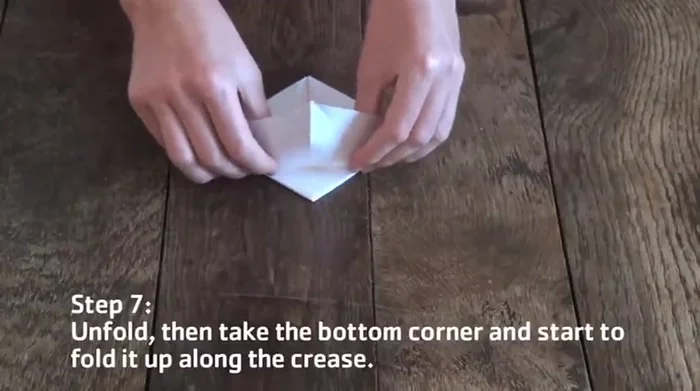
- Fold down the top corner, creasing along the horizontal line created by the previous steps. Unfold.
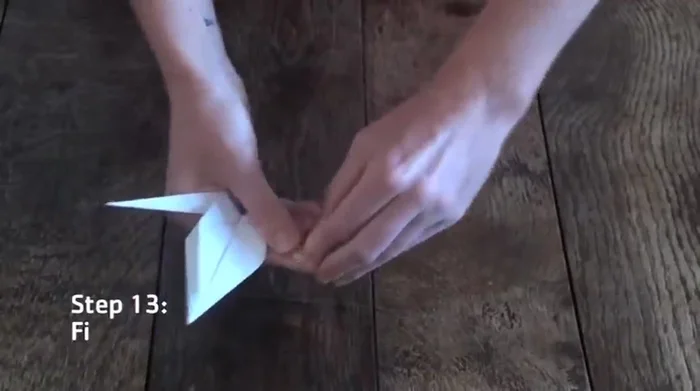
Preparing the Body Folding the Diamond Shape
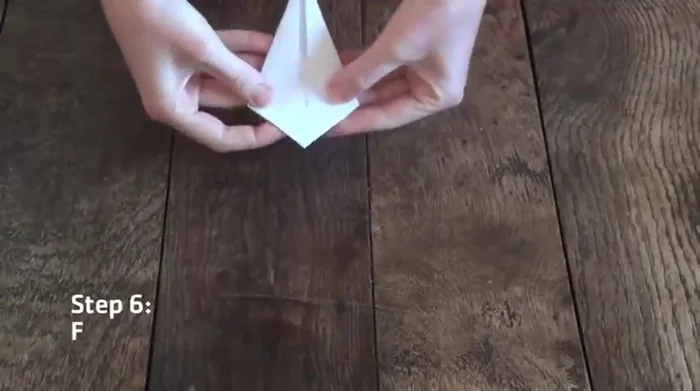
- Take the bottom corner and fold it up along the horizontal crease. Reverse the two diagonal creases on the upper flap by folding them in the opposite direction. Bring the outer edges to the middle to form a diamond shape.
Folding the Diamond Shape Shaping the Body
- Fold both edges to the center crease, ensuring the triangle is at the top. Repeat on the other side.
Shaping the Body Forming the Head and Tail
- Fold the top flap up to form the head and tail, then open them out along the crease to fold them in, with the head between the wings.
Forming the Head and Tail Creating the Beak
- Fold the tip of the head down to create the beak.
Creating the Beak
Read more: Easy Origami Paper Box Tutorial: Step-by-Step Guide
Tips
- Make sure your creases are sharp and precise for a cleaner-looking crane.
- Take your time and follow each step carefully; accuracy is key.