Paper boats! The quintessential childhood toy, conjuring images of sunny days and playful splashes. There's something magical about transforming a simple sheet of paper into a tiny vessel, ready to navigate imaginary seas. But you don't need complicated instructions or special tools to create your own fleet. This easy origami project is perfect for kids of all ages, fostering creativity and hand-eye coordination while providing hours of fun. Building a paper boat is a fantastic way to introduce children to the art of origami, a skill that can lead to countless other creative projects.
Forget complicated instructions and frustrating failures; this guide simplifies the process, making it accessible even for the youngest aspiring sailors. With just a few simple folds and a little bit of patience, your child will be proudly launching their very own handmade paper boat in no time. Ready to set sail? Let's dive into the easy step-by-step instructions below!
Preparation and Safety Guidelines
- Regular printer paper
- Adult supervision is required, especially for younger children, to prevent accidental cuts from the paper or scissors.
- Use blunt-tipped scissors to minimize the risk of injury. Always cut away from yourself and others.
- Ensure the work area is clear of obstacles to avoid trips and falls.
Step-by-Step Instructions
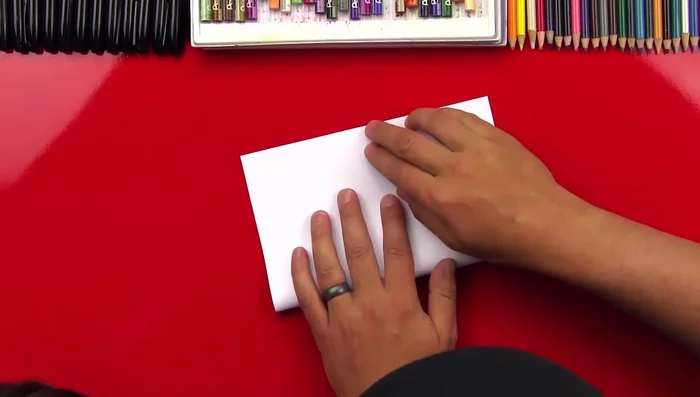
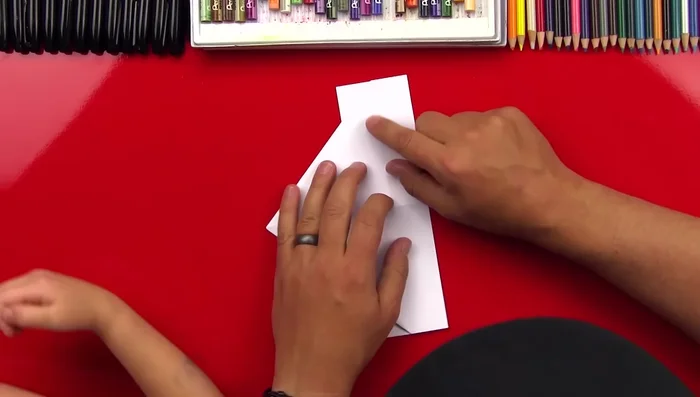
Initial Fold
- Fold the paper in half lengthwise.
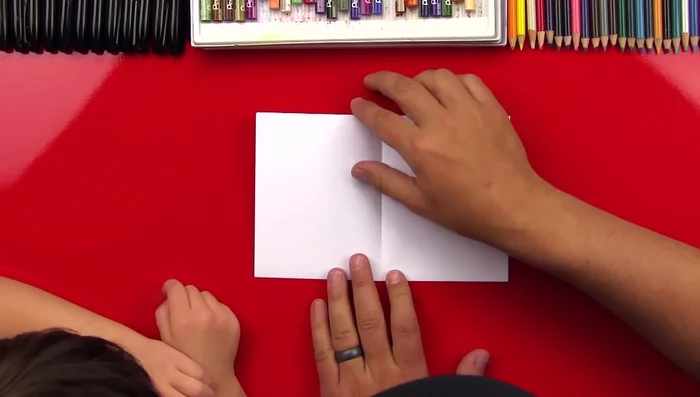
- Fold it in half again.

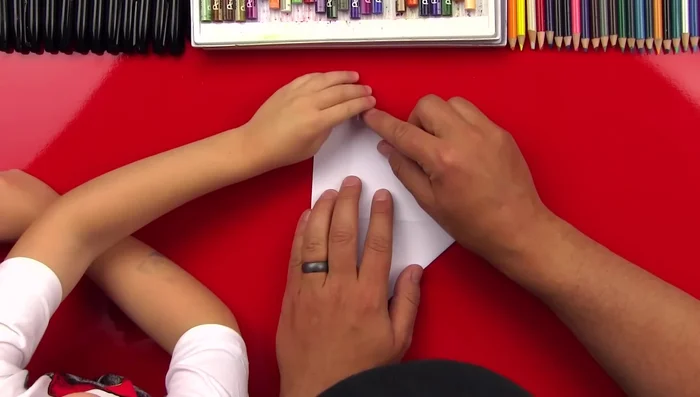
Initial Fold Create Base Shape
- Open the paper to reveal a creased rectangle. Fold the bottom edges to the center crease.
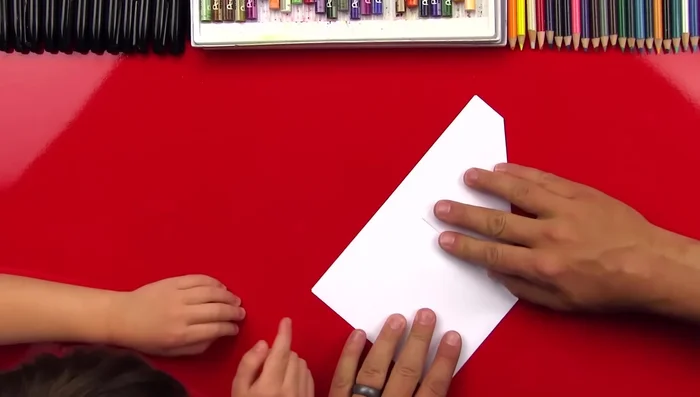
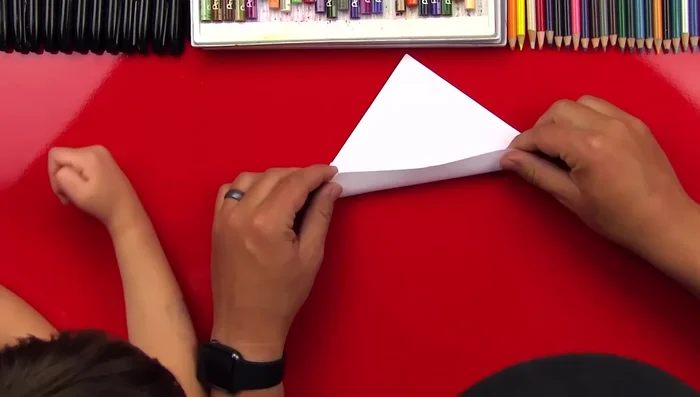
Create Base Shape Form Top Flaps
- Fold the top flaps down along the center crease.
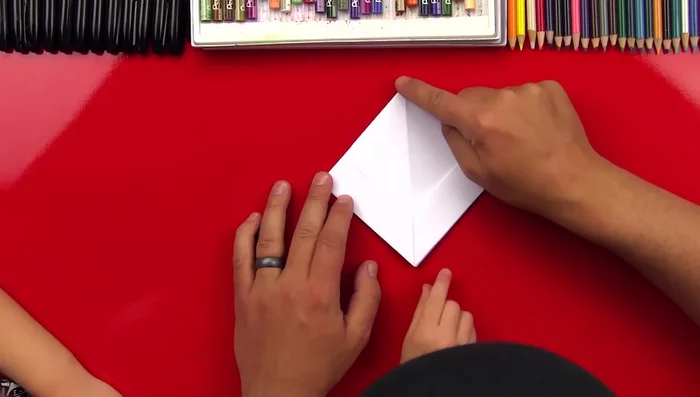
Form Top Flaps Create Triangles
- Fold the top layer down to create a smaller triangle on each side.
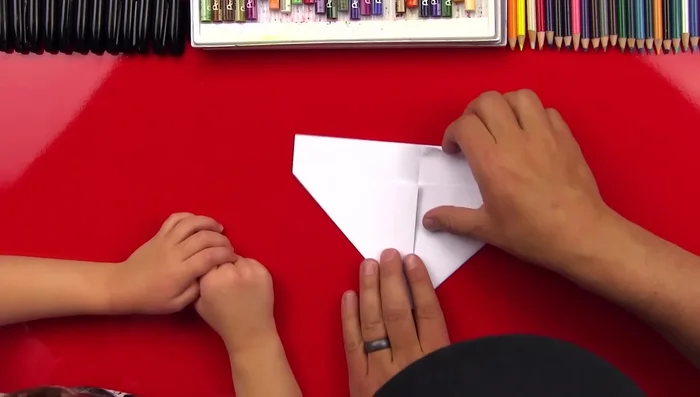
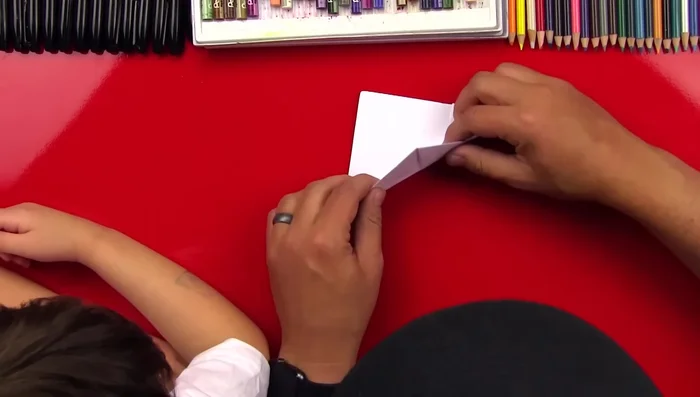
Create Triangles Fold Bottom Corners
- Flip the paper over. Fold the top corners down to the center.
- Repeat step 6 on the other side.
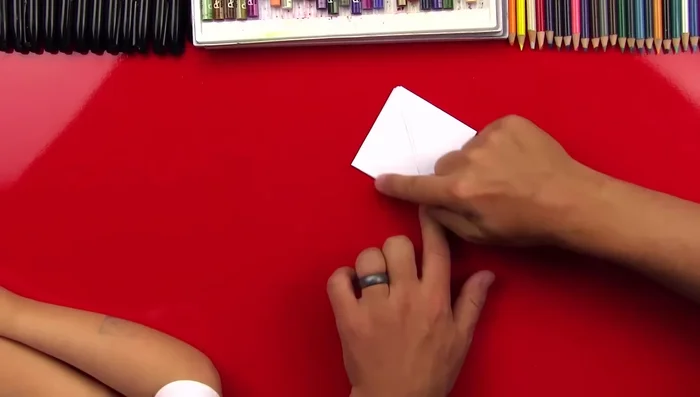
Fold Bottom Corners Fold Top Edge
- Fold the top edge up to match the other side.
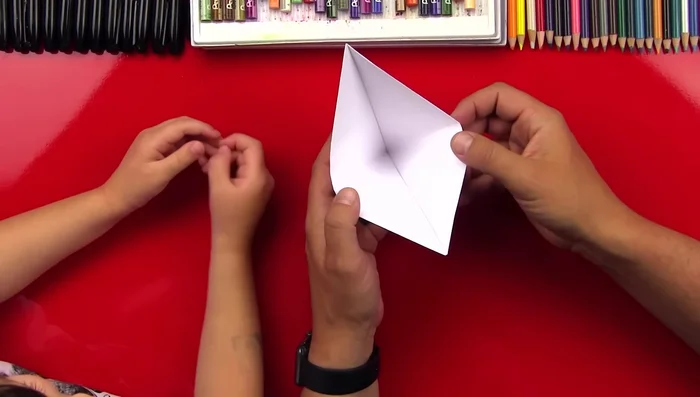
Fold Top Edge Form Diamond Shape
- Open the top layer to create a pocket shape. Fold the flaps down to create a diamond shape.
Form Diamond Shape Final Folds
- Fold the top corners up to the top corners of the diamond.
- Repeat step 10 on the other side.
Final Folds Reveal Boat
- Open up the final layer to reveal the finished boat.
Reveal Boat

Read more: Easy Origami Paper Box Tutorial: Step-by-Step Guide
Tips
- Make sure your paper isn't square; use a rectangular sheet.
- Crease all folds firmly for a stronger boat.
- For better floating results, use waterproof paper (like wax paper).