Origami, the ancient art of paper folding, offers a delightful way to create beautiful and intricate designs. While some origami projects can be quite complex, requiring hours of practice and meticulous folding, others are surprisingly simple and accessible to beginners. This tutorial focuses on one such project: the easy origami heart. Perfect for crafting sessions with children, quick gifts, or simply a relaxing creative outlet, this charming little heart is surprisingly easy to make, requiring only a square piece of paper and a few simple folds.
Forget complicated diagrams and frustrating instructions; this guide provides a straightforward, step-by-step approach to crafting a perfect origami heart. Ready to learn how to fold your very own? Let's dive into the simple steps outlined below, and in no time, you'll be creating a beautiful paper heart.
Preparation and Safety Guidelines
- Square sheet of paper (colored on one side)
- Use sharp, clean scissors to avoid injury. Always cut away from yourself.
- Adult supervision is recommended, especially for young children, to prevent accidental cuts or ingestion of small paper pieces.
- If using glue, apply it carefully to avoid spills and messes. Ensure adequate ventilation if using strong adhesives.
Step-by-Step Instructions
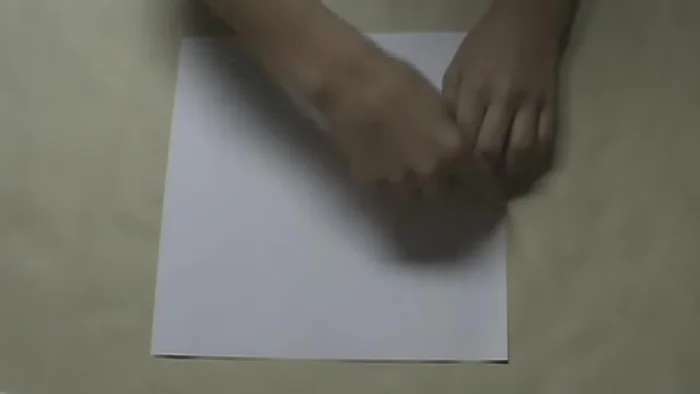
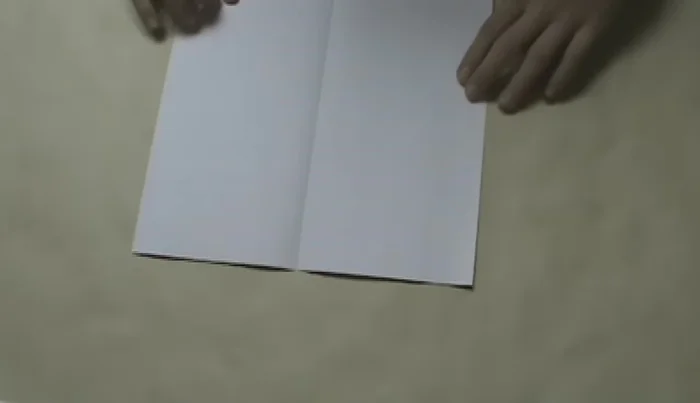
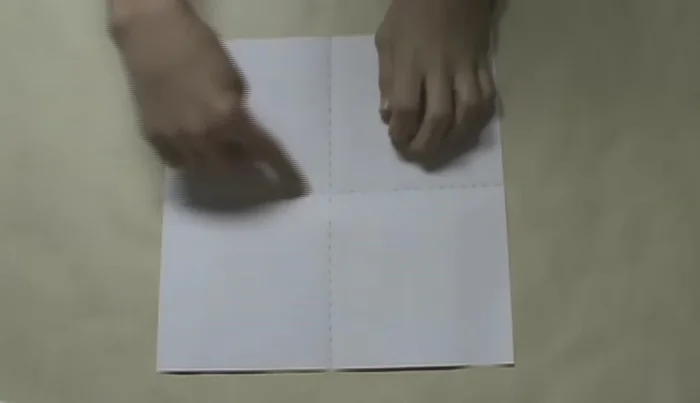
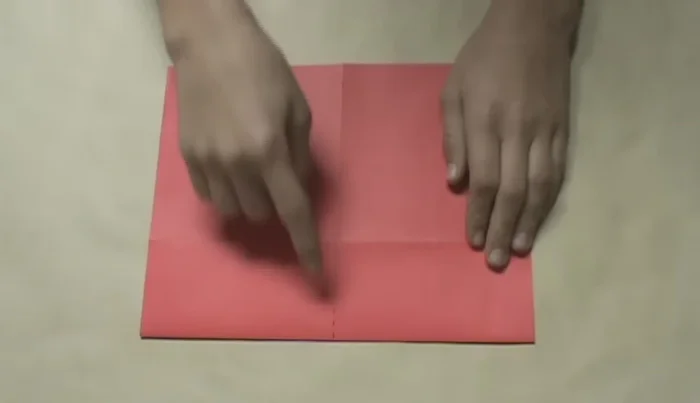
Initial Creases
- Fold the left edge to the right edge, crease, and unfold.
- Fold the top edge to the bottom edge, crease, and unfold.

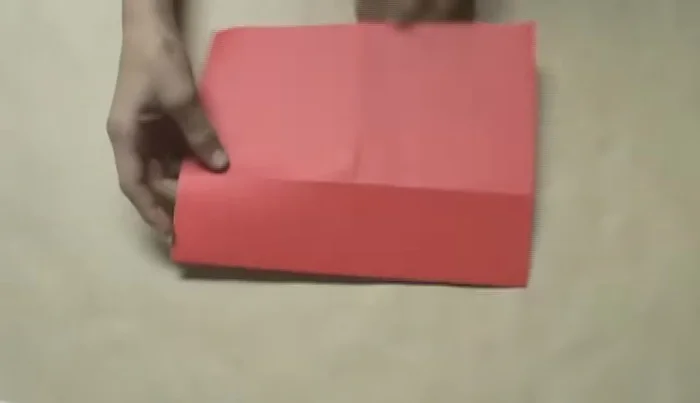
Initial Creases First Fold
- Fold the bottom edge to the horizontal crease, crease.
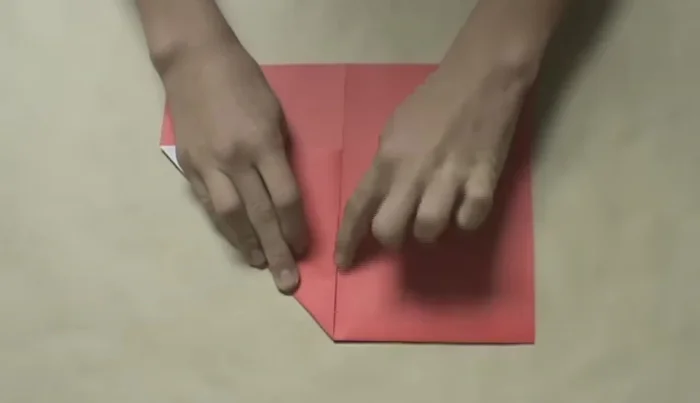
First Fold Side Folds
- Turn the model over.
- Fold the left side (left of the vertical crease) up to align with the vertical crease, crease.
- Repeat step 5 on the right side.
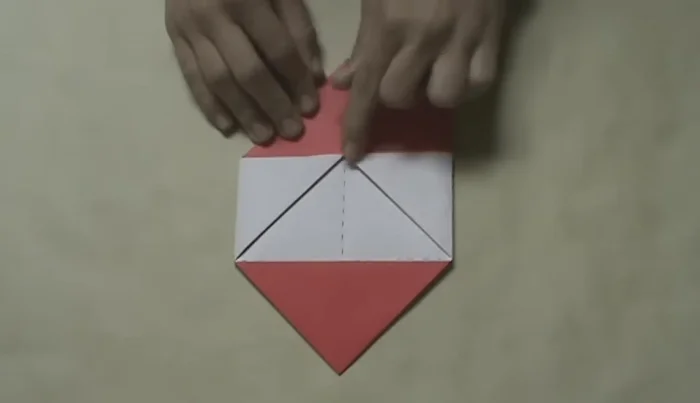
Side Folds Center Folds
- Fold the left edge up to align with the vertical crease, crease.
- Repeat step 7 on the right side.
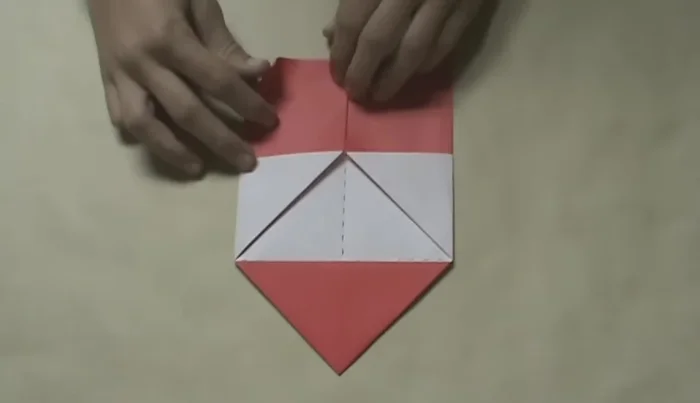
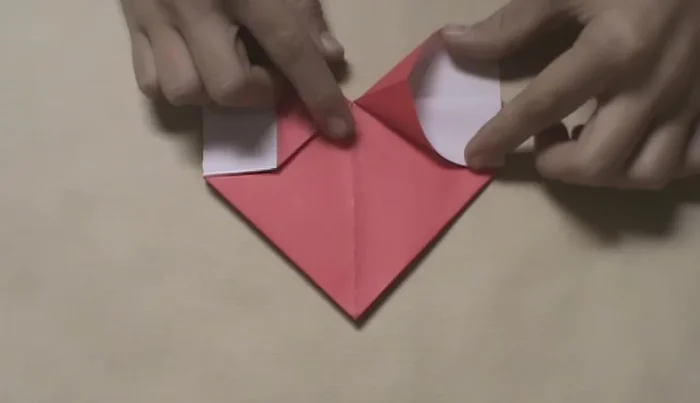
Center Folds Top Corner Folds
- Fold the top left corner down to align with the vertical crease and the top edge of the flap, crease.
- Repeat step 9 on the top right corner.
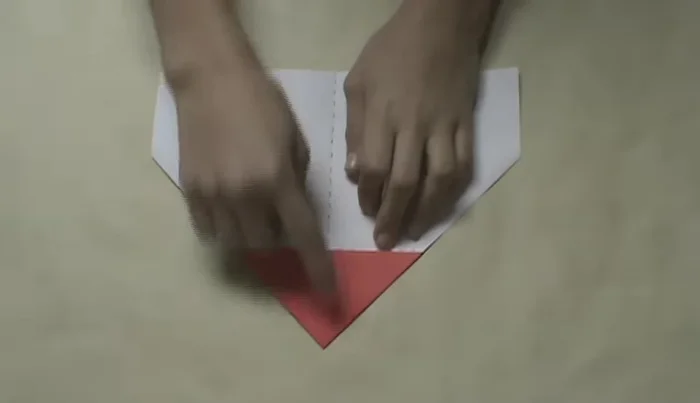
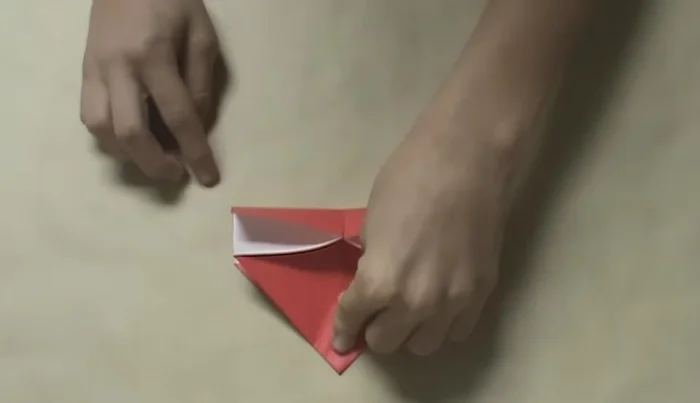
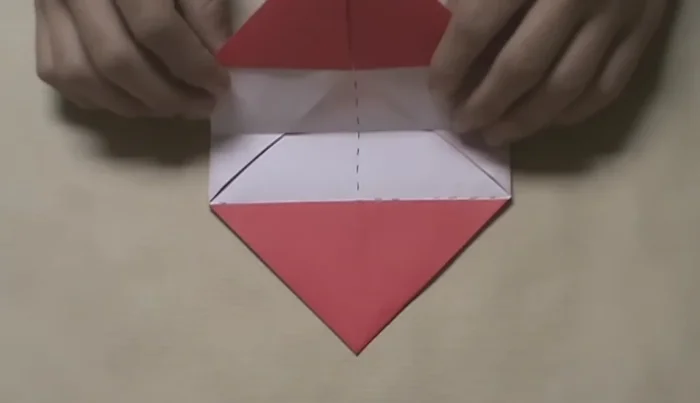
Top Corner Folds Create 3D Flaps
- Fold the top tip down to the bottom tip. Open up the little pockets slightly to create 3D flaps.
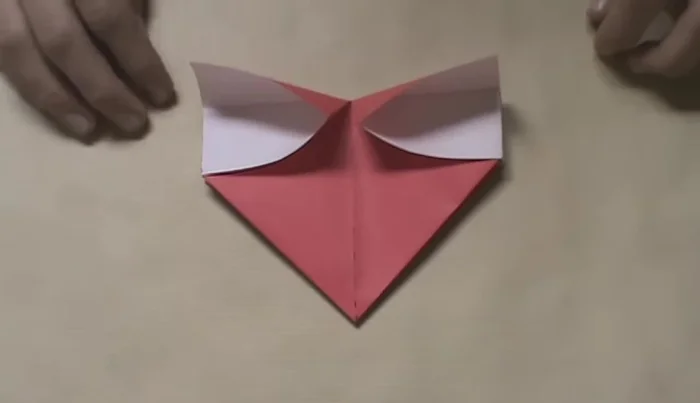
Create 3D Flaps Flatten 3D Flaps
- Align the crease on the colored part with the bottom edge, flatten.
- Repeat step 12 on the other side.
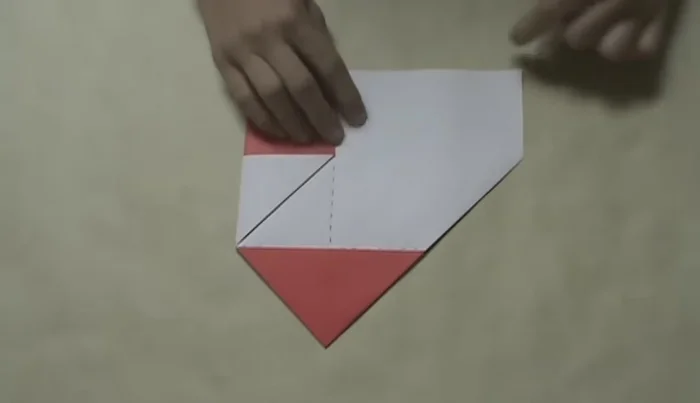
Flatten 3D Flaps Tuck and Flatten
- Pull up the top layer to reveal the colored triangle pocket underneath. Insert the top layer into the pocket and flatten.
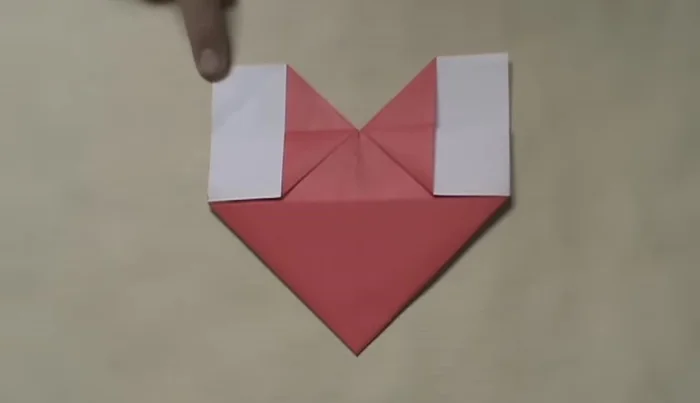
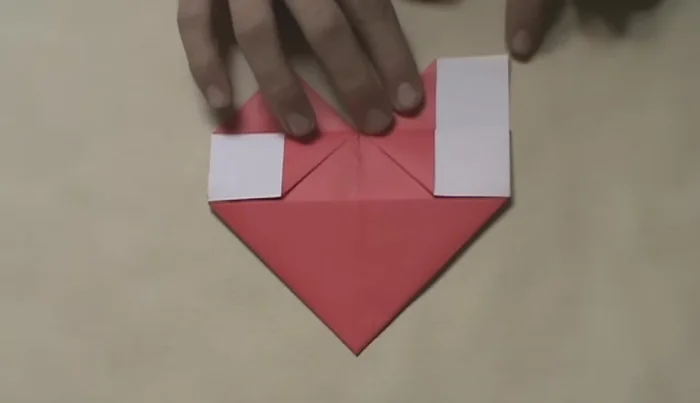
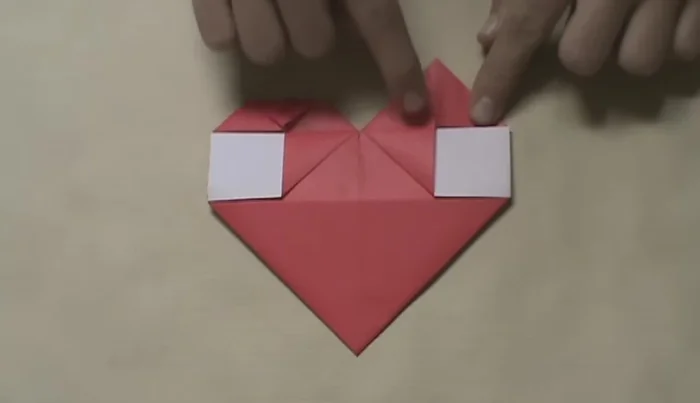
Tuck and Flatten Final Top Corner Folds
- Fold down the top left corner to align the edges, crease.
- Repeat step 15 on the top right corner.
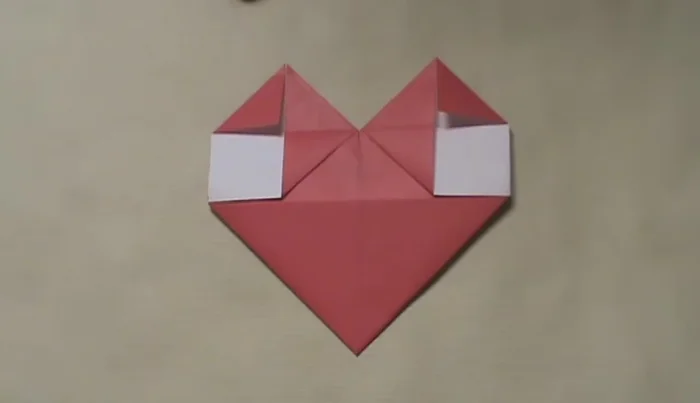
Final Top Corner Folds Final Point Folds
- Fold down the top left point to the edge, crease.
- Repeat step 17 on the top right point.
Final Point Folds
Read more: Easy Origami Paper Box Tutorial: Step-by-Step Guide
Tips
- Align edges nicely to create crisp creases.
- Use existing creases as references for alignment.
- When creating 3D flaps, don't fully flatten them until the final step.