Origami, the ancient Japanese art of paper folding, offers a captivating blend of creativity and precision. From simple shapes to intricate creatures, the possibilities are endless, and mastering even the most challenging models provides a profound sense of accomplishment. Today, we delve into the fascinating world of origami elephants, specifically exploring a remarkably accessible design by renowned origami artist, Fumiaki Kawahara. His method simplifies the typically complex folding required for this majestic animal, making it a perfect project for both beginners and experienced folders alike.
Kawahara's design elegantly balances simplicity with the recognizable form of an elephant, requiring minimal materials and offering a satisfying result. Prepare to be amazed by how easily you can create your very own origami elephant following the clear and concise step-by-step instructions outlined below. Let's get started and transform a single sheet of paper into a charming miniature pachyderm!
Preparation and Safety Guidelines
- 7in x 7in (or 18cm x 18cm) square paper
- Use sharp, clean scissors to avoid injury. Carefully handle the scissors and keep them away from children unless supervised.
- Work on a clean, flat surface to prevent tearing of the paper. Avoid working on rough or textured surfaces.
- Take your time and follow the instructions carefully. If a step is unclear, refer to the diagram or video tutorial provided by Fumiaki Kawahara.
Step-by-Step Instructions
Initial Creases and Base Formation
- Orient the paper like a diamond and fold the diagonals.
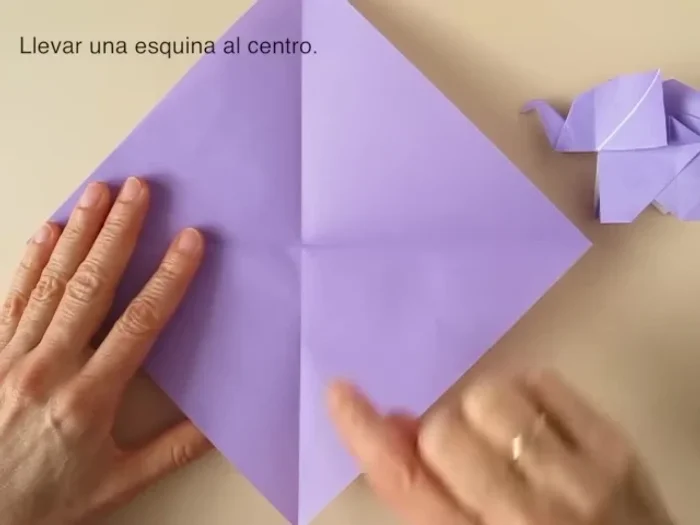
- Fold one corner to the center.
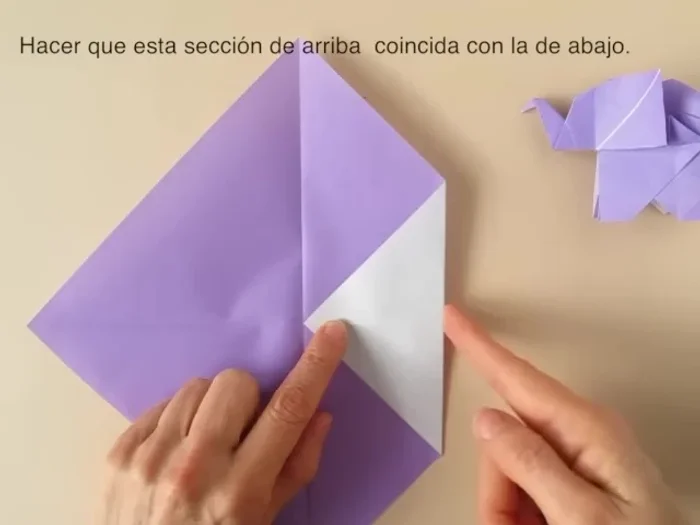
- Bring the section to align with the opposite section and pinch mark over the central line.
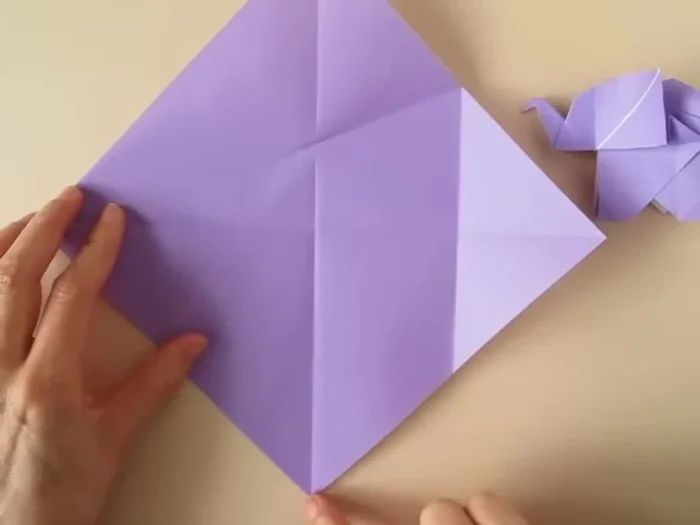
- Open the flap, bring the lower corner to the pinch mark and crease.

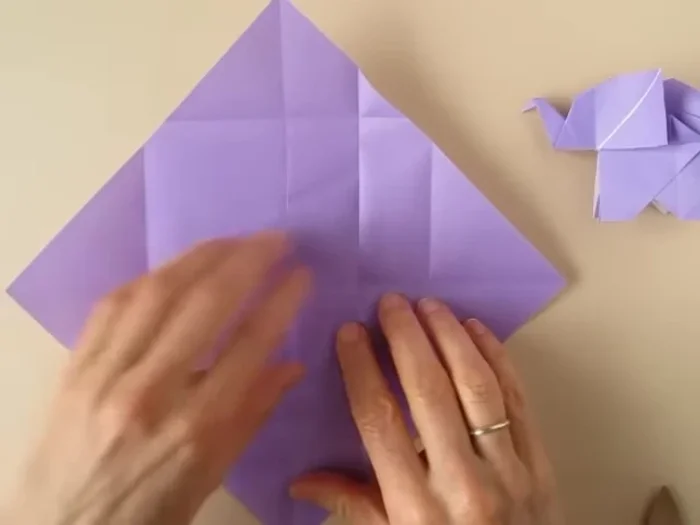
Initial Creases and Base Formation - Bring the corners to the center, open and return to the previous position with the marks and folds.
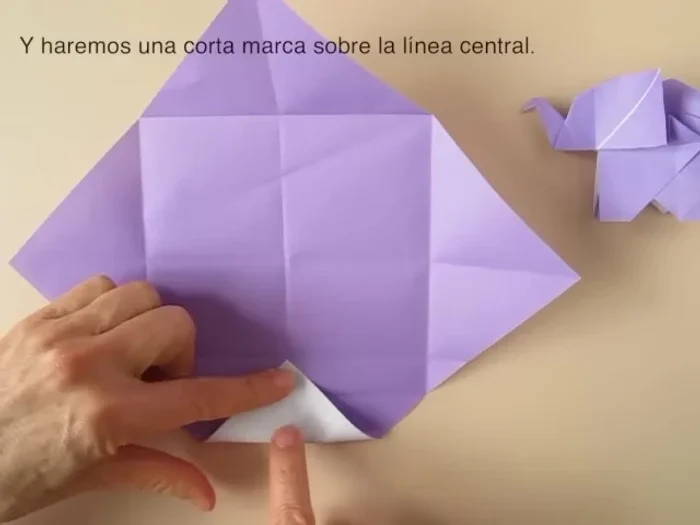
- Bring the lower corner to the intersection and make a pinch mark. Bring the opposite corner to that pinch mark and make another mark in the center.
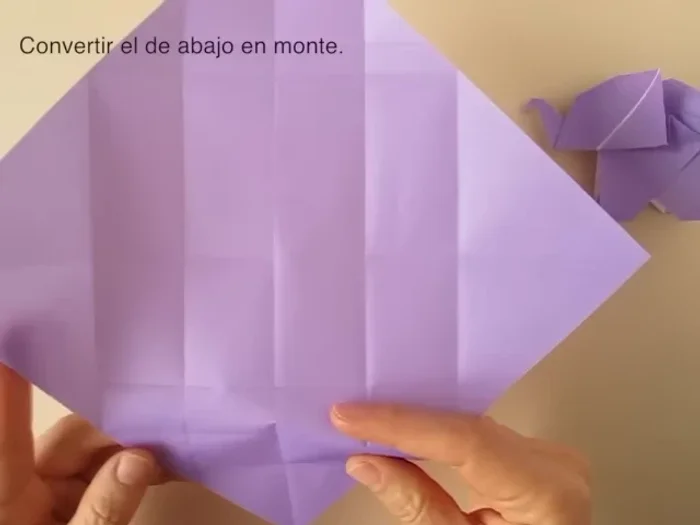
- Bring that point to the mark and set the crease. Bring the opposite corner to the intersection and create a fold.
- Repeat the fold on the other side.
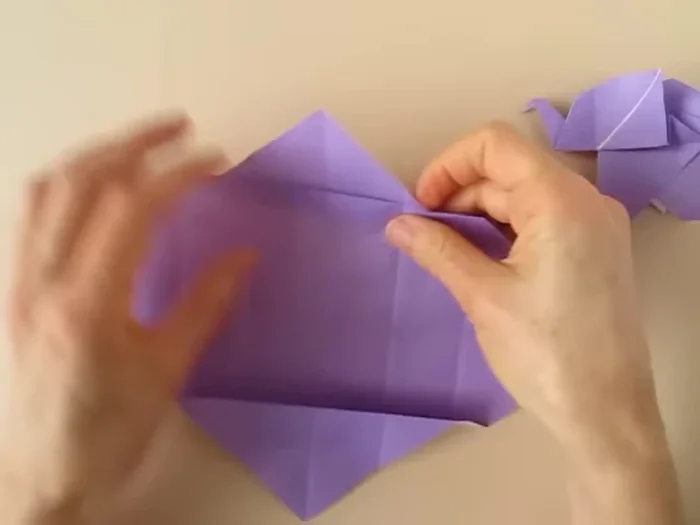
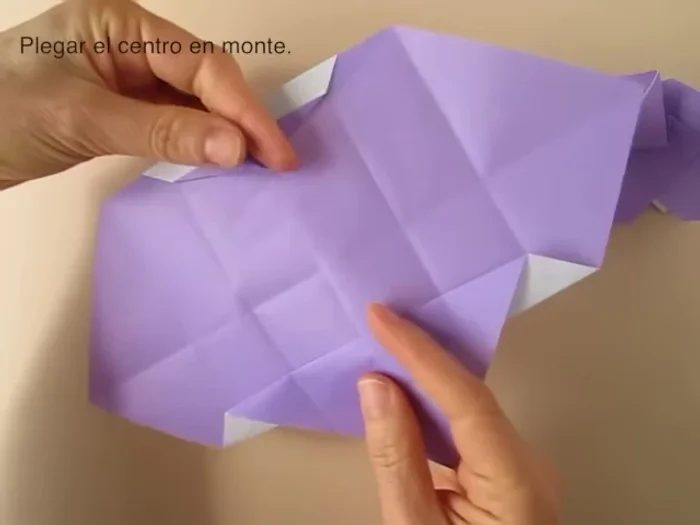
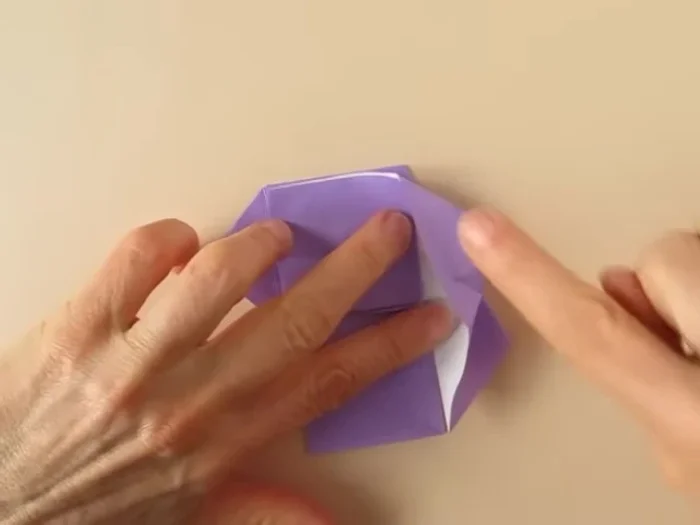
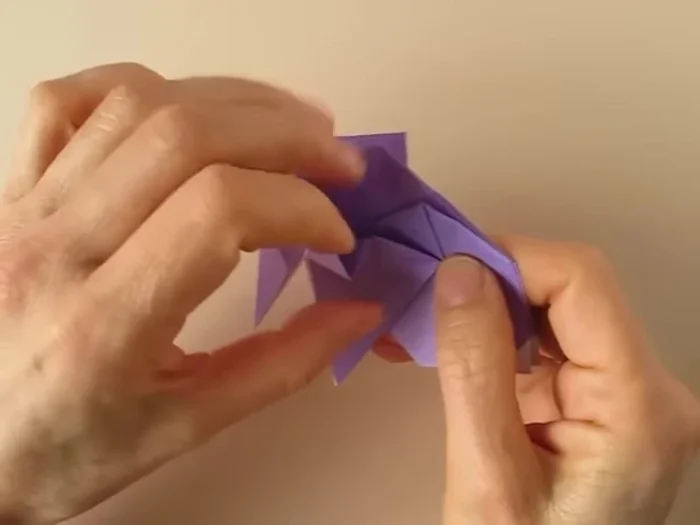
Initial Creases and Base Formation Creating the Elephant's Head
- Reverse the valley folds to create mountain folds, creating rabbit ear folds.
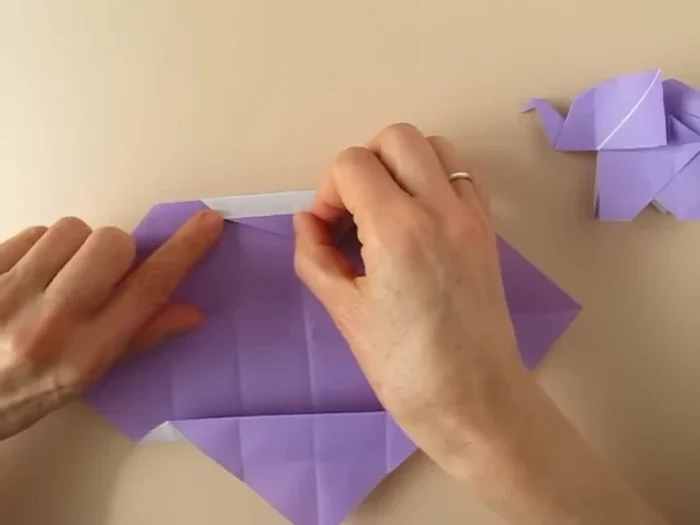
- Bring the point down, creating a fold over the edge. Create a fold guided by the intersection and edge, parallel to the top edge.
- Repeat on the other side. Fold along the lines to make rabbit ear folds.
- Fold along the center so that the central fold is a mountain fold. Rotate so that the point is up, fold and collapse.
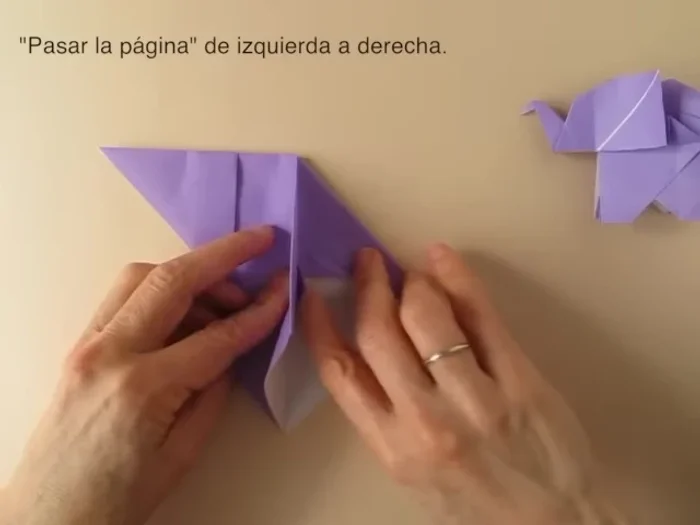
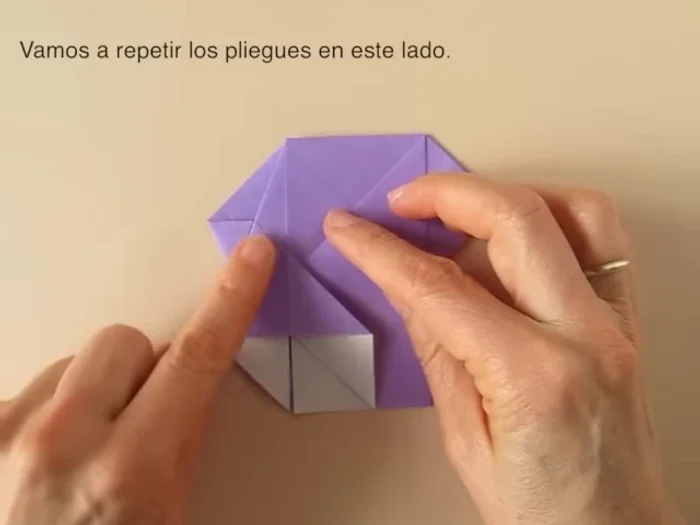
Creating the Elephant's Head - Fold the left flap to the back. Fold along the existing hinge, folding the edge over itself. Align sections and flatten.
- Repeat on the other side.
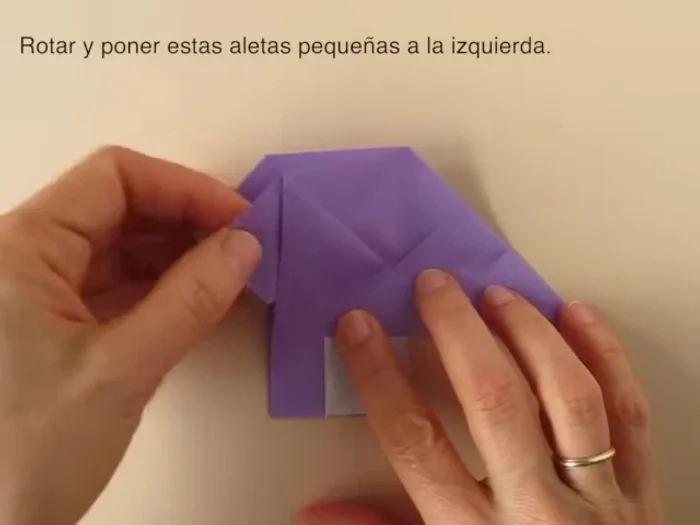
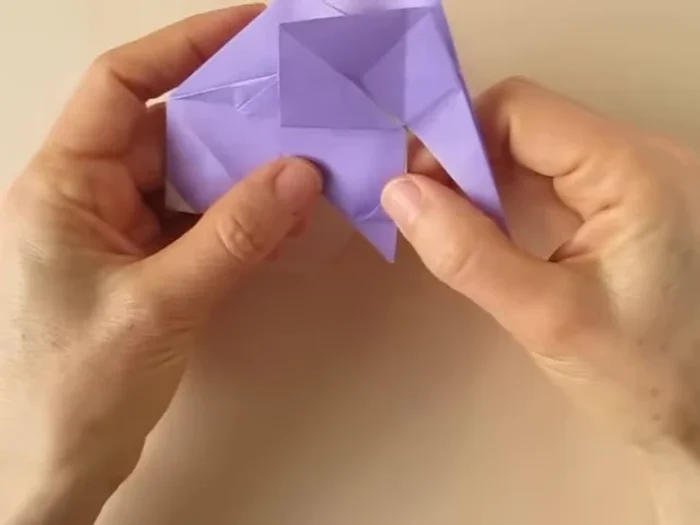
Creating the Elephant's Head Forming the Body and Legs
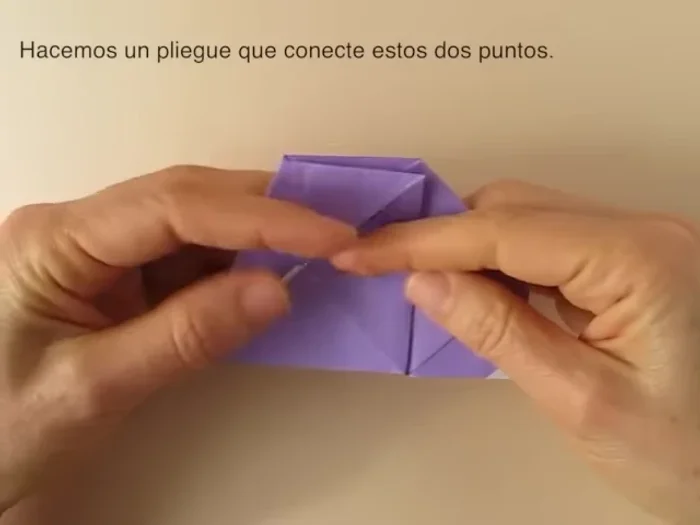
- Fold to connect the points, creating a rectangle shape. Insert finger inside the triangular flap, push down and flatten.
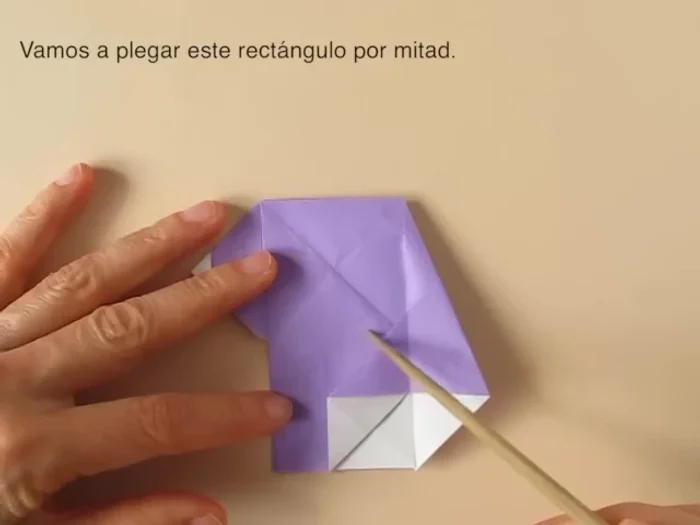
- Divide the central rectangle in half, making a fold. Extend the fold underneath. Bring the edges to match.
- Gently collapse the edge to match the edge underneath. Insert finger and collapse.
- Repeat on the other side. Fold to align edges and collapse.
Forming the Body and Legs - Fold to connect points to form the legs, aligning the folds.
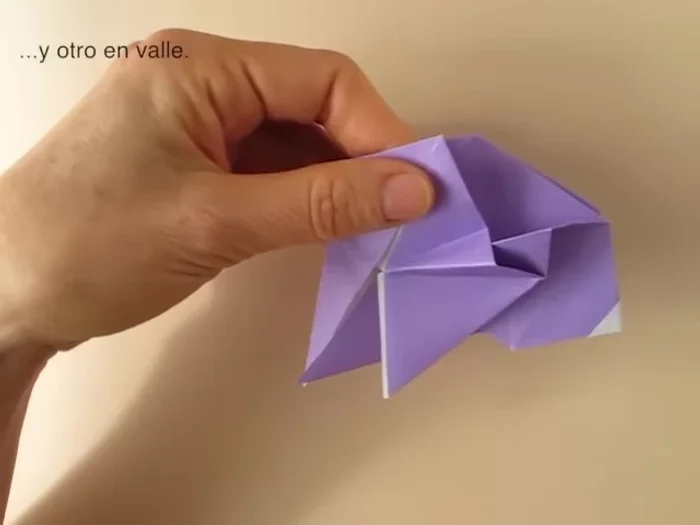
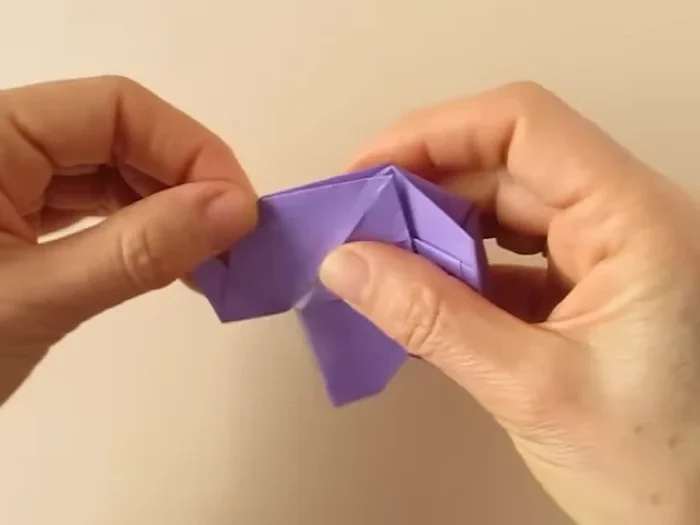
Forming the Body and Legs Refining the Legs and Body
- Reverse the folds (mountain to valley, valley to mountain).
- Repeat on the other side. Align edges and reverse folds.
- Bring the edge to align with the other and reverse and fold to the back. Repeat on other side.
- Blunt the leg by aligning lines and reversing folds. Fold the white points.
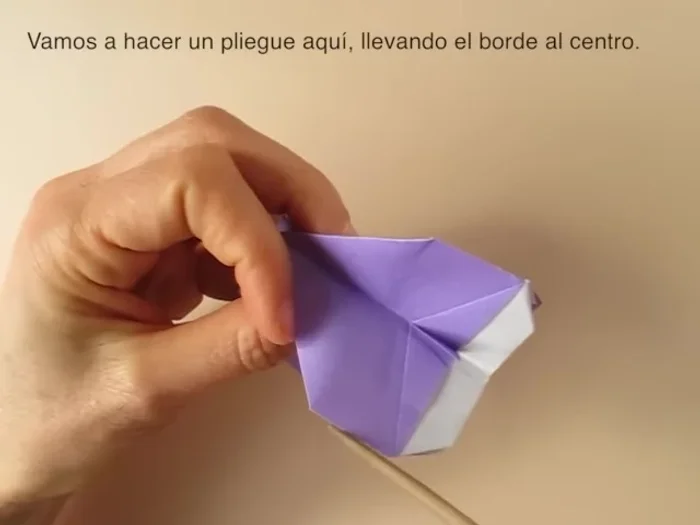
Refining the Legs and Body Shaping the Trunk and Tail
- Open the area and make folds by bringing edges to the center. Repeat on the other side.
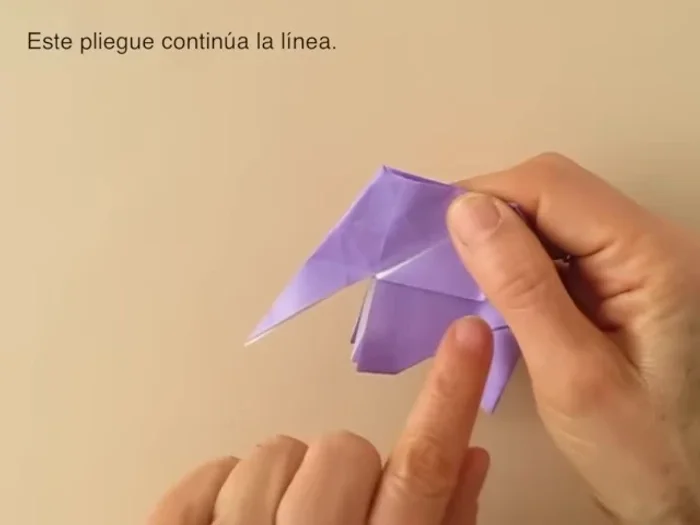
- Shape the trunk by creating a fold that continues the pre-existing line. Reverse the fold. Repeat with the tip.
- Blunt the corners. Fold the tail inside. Fold the ears outward.
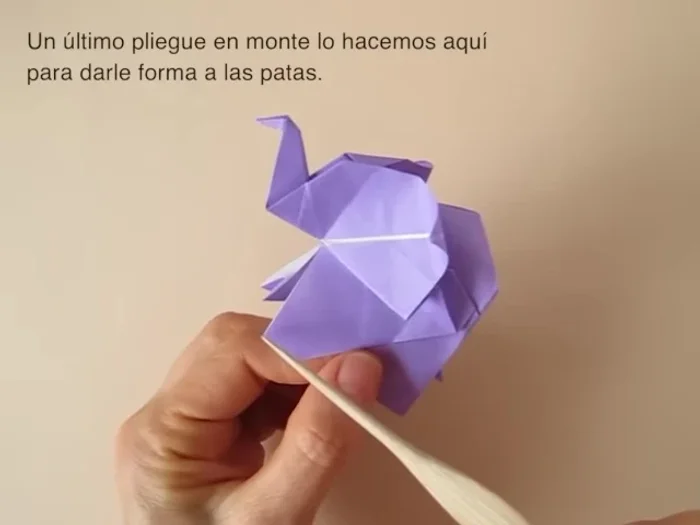
Shaping the Trunk and Tail Final Touches
- Create a mountain fold to define the legs.
Final Touches


Read more: Easy Origami Paper Box Tutorial: Step-by-Step Guide
Tips
- N/A