The captivating allure of a panda's distinctive black and white fur presents a unique challenge and reward for oil painters. Their seemingly simple markings belie a complex interplay of light and shadow, demanding a nuanced approach to achieve realism. From the subtle gradations of color within the black patches to the soft, almost downy texture of their white fur, mastering the painting of a panda requires a careful understanding of brushwork, color mixing, and layering techniques. The seemingly impenetrable task of depicting this iconic creature's coat is surprisingly approachable with the right methods.
This step-by-step guide will equip you with the knowledge and skills necessary to paint realistic panda fur in oils, transforming your canvas into a captivating portrait of this beloved bear. We'll explore essential techniques, from preparing your canvas and palette to mastering the fine details that bring a panda painting to life, revealing how to achieve breathtaking realism in your own artwork.
Preparation and Safety Guidelines
- Oil paints (Dull Georgian, Winsor & Newton)
- Acrylic paints
- Solvents (Windsor Newton low odor)
- Flat brush (soft bristle)
- Angled brush (size 4, size 2)
- Round brush (size 2)
- Always work in a well-ventilated area. Oil paints and solvents release fumes that can be harmful if inhaled.
- Clean brushes thoroughly with appropriate solvents (like mineral spirits or odorless mineral spirits) after each use to prevent paint buildup and maintain brush quality. Dispose of solvents responsibly.
- Wear appropriate safety gear, including a respirator mask to filter out paint fumes and avoid skin contact with paints and solvents. Protect your clothing and work surface.
Step-by-Step Instructions
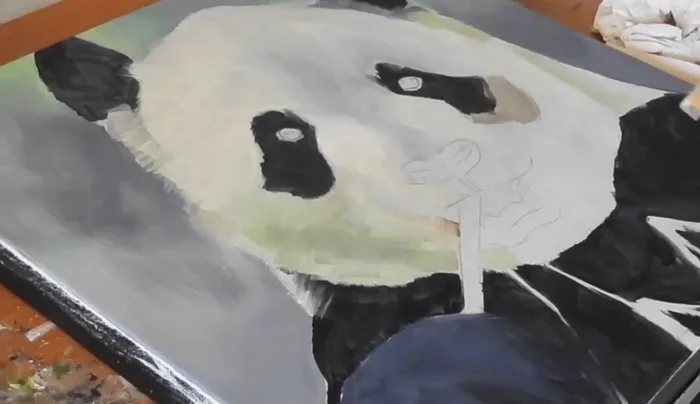
Base Layer and Initial Blocking
- Create a base layer using acrylics to define shapes and main colors. This speeds up the oil painting process and helps with thin layers.
- Loosely apply initial colors for nose, muzzle, eyes, and background without precise color matching.

Base Layer and Initial Blocking Background Development
- Use a clean, dry, flat brush with soft bristles to swirl and blend background colors smoothly.
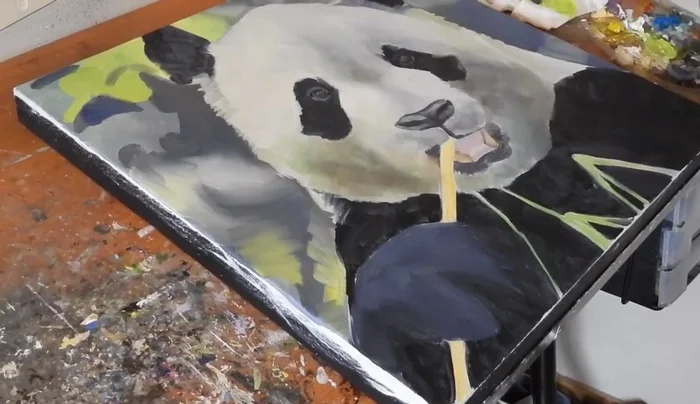
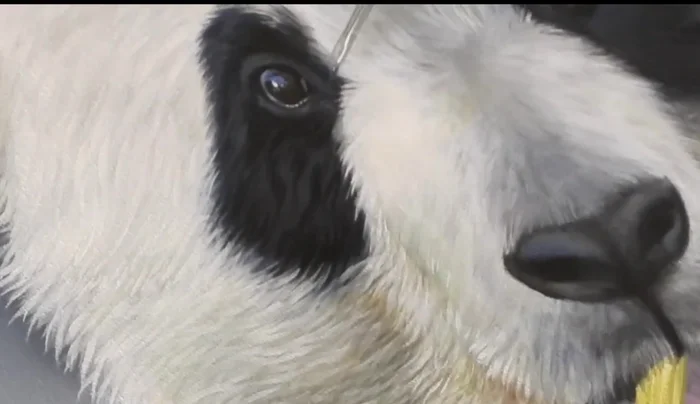
Panda Base Coat and Fur Layering
- Apply a slightly darker base coat than the reference photo for the panda. This allows lighter fur to be built on top.
- Using an angled brush and an off-white color (toned down with titanium buff), create layered fur strokes, varying each stroke direction for realism.
Panda Base Coat and Fur Layering Painting and Texturing the Fur
- Consider texture. For smooth fur, reflect more colors with lights. For coarse fur, reflections are subtler. Add depth by letting the darker base coat show through.
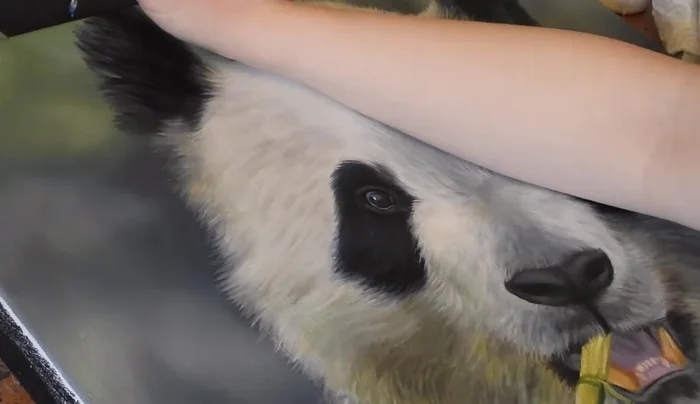
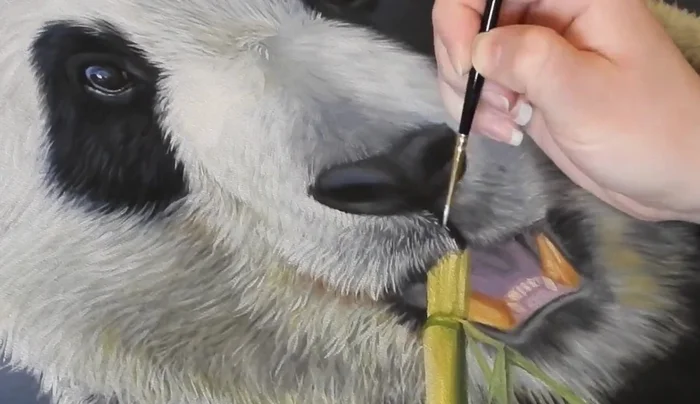
Painting and Texturing the Fur Adding Highlights and Details
- Use a size 2 round brush to add bright highlights around eyes and muzzle for visual interest. Incorporate hints of blue to mimic sky reflection in the eyes.
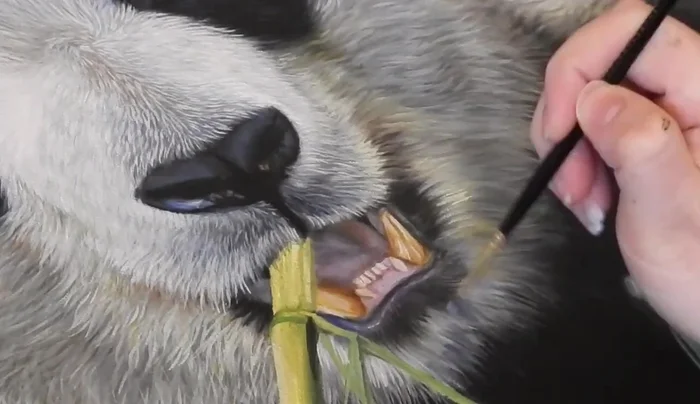
- Use a size 2 round brush and angled brush to refine details of the mouth, teeth, fur, and bamboo. Add finer hairs around the chin.
Adding Highlights and Details Blending and Refinement
- Blend the black fur of the body into the white fur of the face to create a seamless transition.
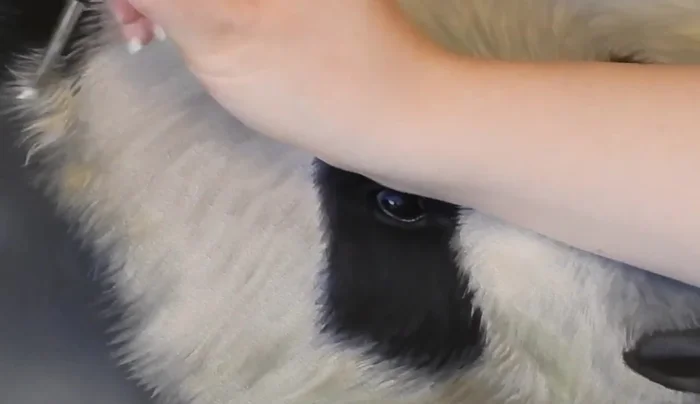
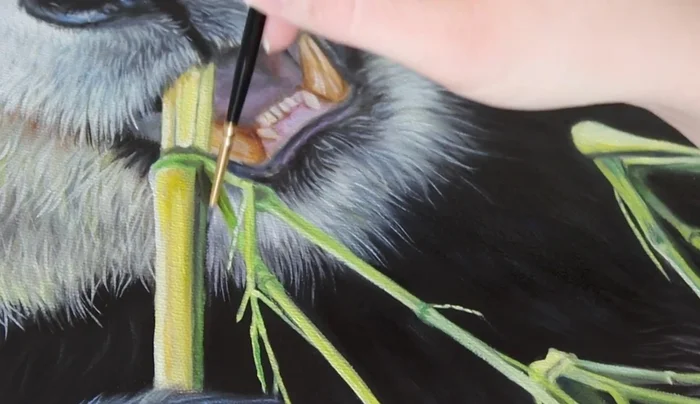
Blending and Refinement Finalizing and Finishing
- Add final highlights, shadows, and finer hairs to complete the painting.
- Apply a gloss varnish to enhance the subtle highlights and textures, especially in the black fur areas.
Finalizing and Finishing


Read more: 7 Top Paint Color Trends for 2024: A Complete Guide with Free Downloadable Resource
Tips
- Work in a well-ventilated area when using oil paints.
- Use a low odor solvent to minimize potential health issues.
- Thin layers are better when using oils, and an acrylic underpainting helps.
- Don't worry about precise color matching during the initial blocking stages; focus on accurate shapes.
- Consider a blurred background to keep focus on the main subject. Match some of the background colors to the subject for complementarity.