Capture the untamed power and beauty of the ocean with this comprehensive guide to painting epic stormy seascapes. Learn to translate the raw energy of crashing waves and tempestuous skies onto your canvas, transforming your artistic vision into a breathtaking reality. We'll explore a range of techniques, from mastering the fluidity of water to capturing the dramatic interplay of light and shadow in a turbulent ocean. Forget the limitations of photography – let's unlock the expressive potential of paint to create truly unforgettable works of art.
This tutorial will take you step-by-step through the process of creating a dynamic and realistic stormy ocean painting, focusing on achieving the texture, movement, and emotion of a raging sea. From initial sketching and color mixing to layering techniques and final details, you’ll discover how to build a masterpiece that embodies the raw power and majestic beauty of nature's most formidable force. Prepare to unleash your inner artist and conquer the challenge of painting the ocean's untamed spirit!
Preparation and Safety Guidelines
- paint
- brushes
- canvas
- Never attempt to paint outdoors during an actual storm. Focus on recreating the scene from safe, dry surroundings using reference photos.
- Use appropriate safety gear when working with paints and solvents. Ensure good ventilation and wear gloves and eye protection.
- Clean up spills immediately to prevent accidents. Dispose of used materials responsibly according to local regulations.
Step-by-Step Instructions
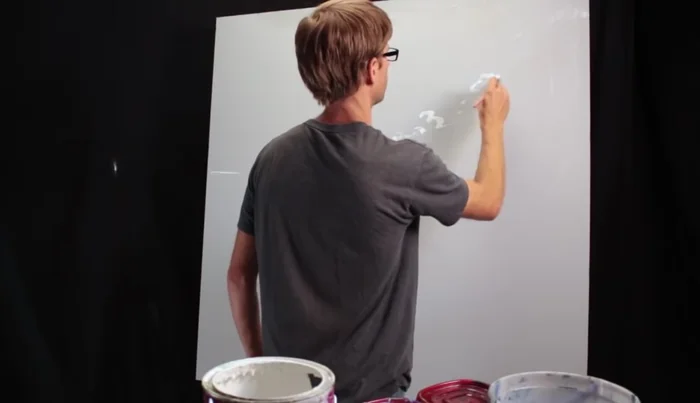
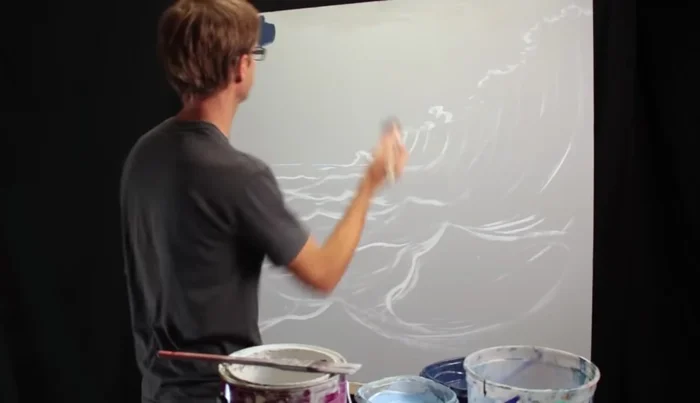
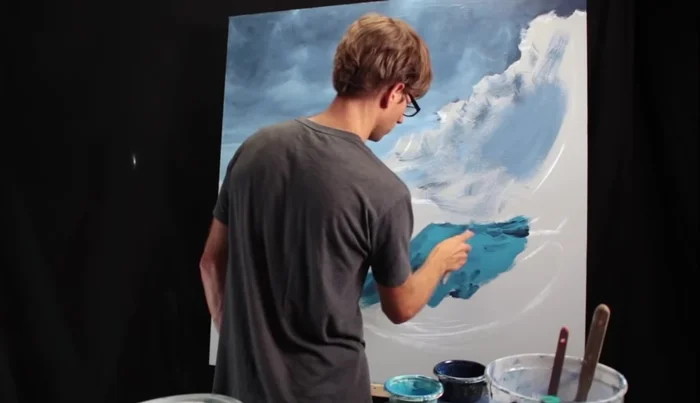
Sketching the Composition
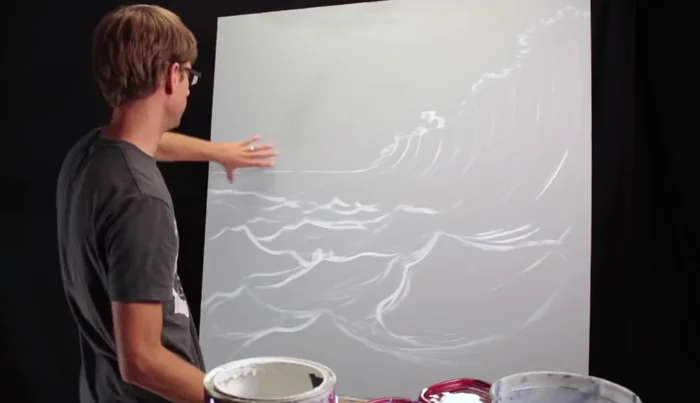
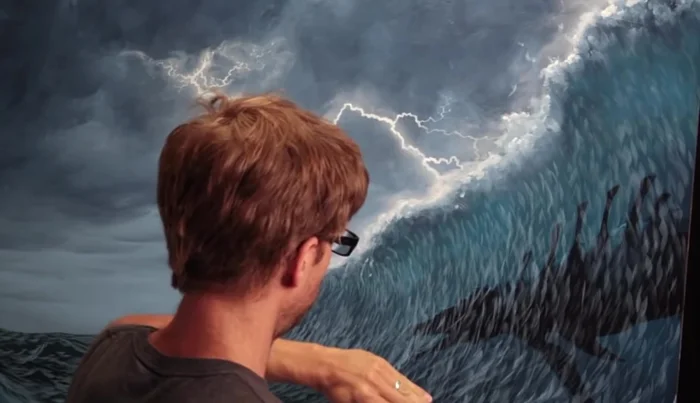
- Begin by sketching the basic shapes of the giant wave and the smaller accompanying waves. Pay attention to the curvature and flow of the waves.

Sketching the Composition Establishing Base Colors
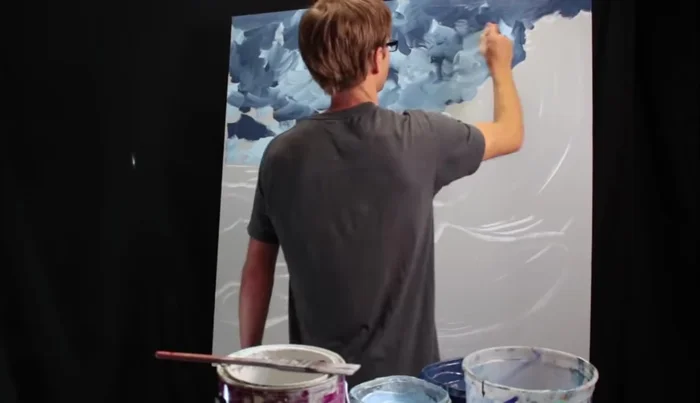
- Start by applying dark blue to the areas of the ocean, leaving lighter areas near the horizon for blending.
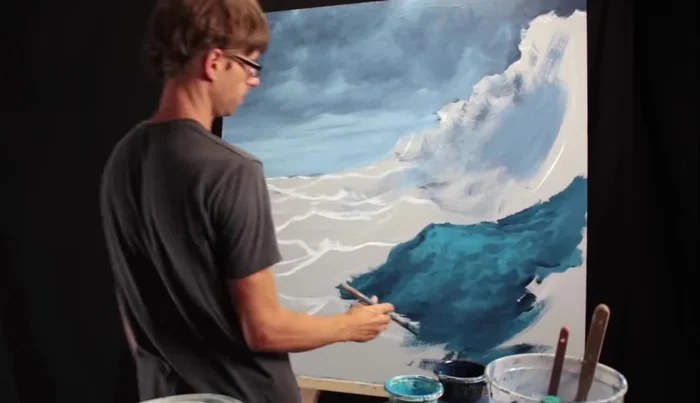
Establishing Base Colors Layering and Blending
- Create depth by painting waves directly behind the main wave, creating a layered effect to emphasize the size of the main wave.
- Blend the dark and light colors, pulling the dark color upwards and the light color downwards to create a smooth transition.
Layering and Blending Defining Wave Forms
- Focus on the brightest part of the wave at the top, leaving the base darker for contrast.
- Use a large brush to create soft edges, gradually building up the color and avoiding excessive detail. This enhances the overall impact of the waves.
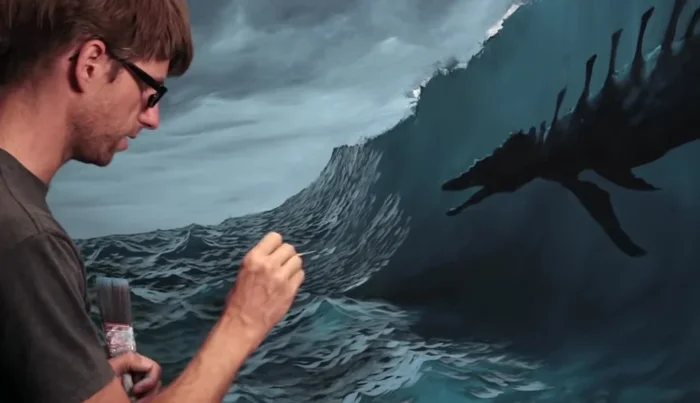
- Add small, reflective waves within the darker areas to enhance the overall size and impact of the larger waves.
- Maintain the overall angle of the waves to ensure the perspective remains consistent, emphasizing the curvature and movement.
Defining Wave Forms Adding Texture and Detail
- Use a dry brush to create textured, varied wave shapes, paying close attention to light reflections.
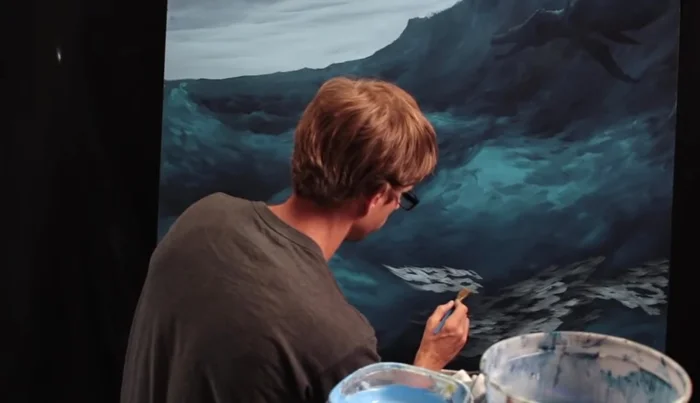
- In the wake of the large wave, paint foam and air bubbles rising to the surface, adding detail to the water texture.
Adding Texture and Detail Refining with Light and Reflection
- Pay attention to how light interacts with the waves, emphasizing the brighter areas where light reflects and adding a glow to the white water.
Refining with Light and Reflection
Read more: 7 Top Paint Color Trends for 2024: A Complete Guide with Free Downloadable Resource
Tips
- Use a large brush to encourage broader strokes and avoid getting bogged down in detail.
- Focus on the overall impact of the waves and use color blending to create depth and volume.
- Observe the natural patterns in waves and use that knowledge to guide your brushstrokes.
- Gradually build up the painting layer by layer, continuously evaluating the overall effect.