Ever wanted to sculpt your own adorable teddy bear, but the thought of sticky fingers and messy cleanup deterred you? Then prepare to be delighted! This guide introduces you to the wonderful world of no-stick clay modeling, a fun and surprisingly easy method perfect for crafting charming creations. Forget wrestling with traditional clay; this technique utilizes materials that keep your workspace clean and your hands surprisingly free of residue, leaving you free to focus on the joy of creating. No special tools are needed, making this project accessible to beginners and experienced crafters alike.
This project will guide you through the simple steps of shaping and assembling a delightful little teddy bear from start to finish. We'll explore techniques for creating the bear's body, head, limbs, and facial features, culminating in a truly huggable finished product. Ready to get started and bring your cuddly clay companion to life? Let's dive into the step-by-step instructions!
Preparation and Safety Guidelines
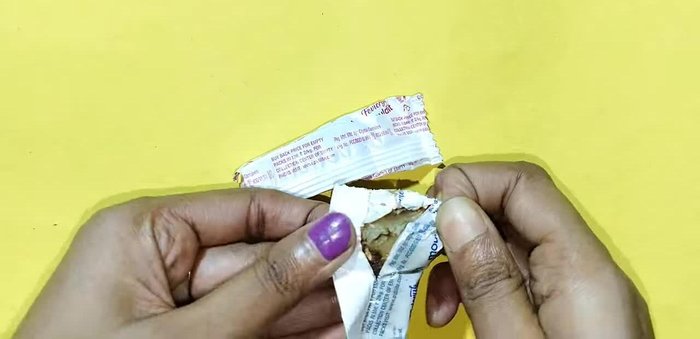
- Air-dry clay
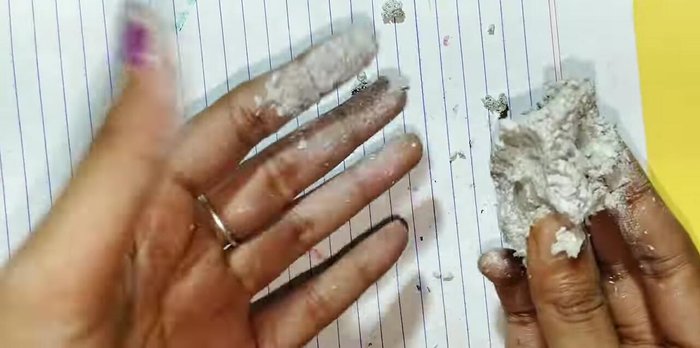
- Powder (e.g., cornstarch or talcum powder)
- Pins
- Adult supervision is required, especially for young children. No-stick clay, while generally safe, can be a choking hazard if small pieces are ingested.
- Always wash your hands thoroughly before and after handling no-stick clay. Some clays may contain ingredients that could irritate sensitive skin.
- Store unused clay in an airtight container in a cool, dry place to prevent it from drying out and becoming unusable.
Step-by-Step Instructions
Prepare the Clay
- Separate the clay from its packaging and mix it thoroughly.

Prepare the Clay Prevent Sticking
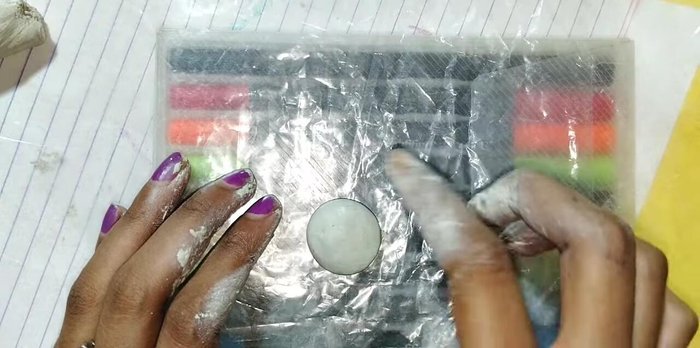
- Apply powder to your hands to prevent sticking.
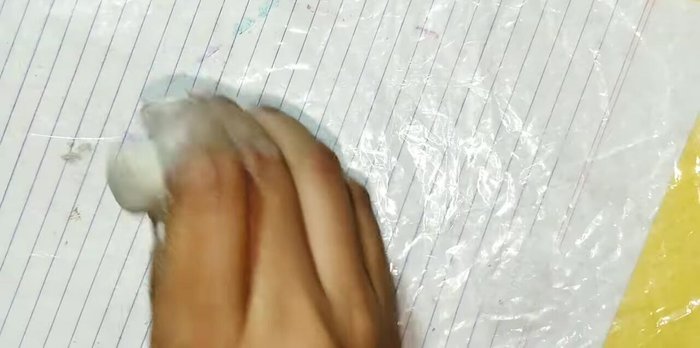
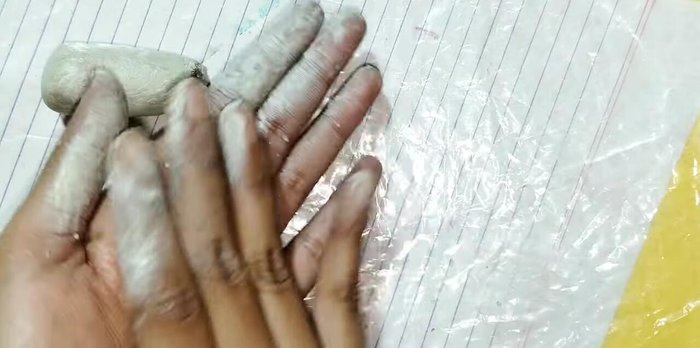
Prevent Sticking Knead the Clay
- Knead the clay until it's smooth and pliable.
Knead the Clay Shape the Body and Head
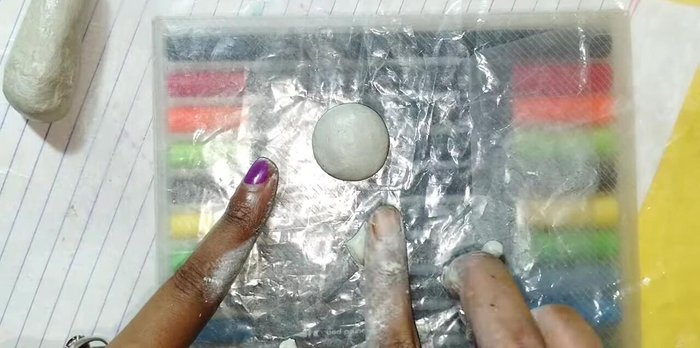
- Roll the clay into balls for shaping.
- Shape the teddy bear's body and head.
Shape the Body and Head Create and Attach Ears
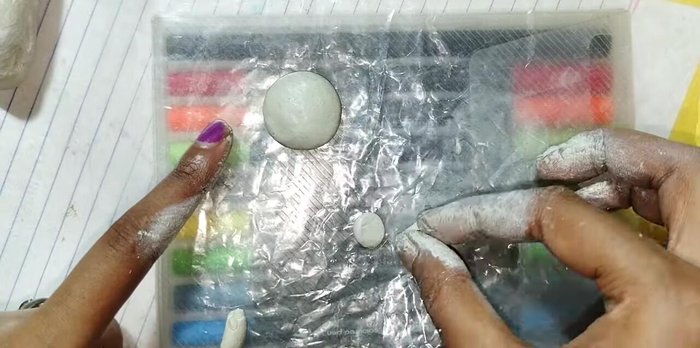
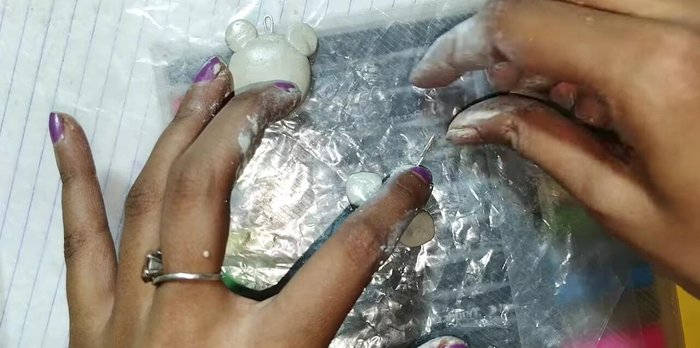
- Create small balls for the ears.
- Attach the ears to the head.
Create and Attach Ears Support the Shape
- Insert pins to support the shape during drying.
Support the Shape Add Eyes (Part 2)
- Add eyes (this step is shown in part two of the video).
Add Eyes (Part 2)

Read more: Hang Your Clay Creations: The No-Hole Hanger Method
Tips
- Apply powder to your hands before handling the clay to prevent sticking.
- Use pins to help the clay maintain its shape while drying.