Ever wished you could create something amazing with just a single sheet of paper? Prepare to be amazed! This guide will show you how to transform a humble piece of paper into a delightful eight-page mini booklet, perfect for journaling, notes, miniature artwork, or even a charming little gift. Forget complicated folding techniques and confusing instructions; this method is surprisingly simple and incredibly satisfying. The small size makes it ideal for carrying around, tucking into a bag, or slipping into a pocket – a truly portable creative companion.
Creating your own mini booklet is a fun and accessible craft, ideal for all ages and skill levels. No special tools or materials are needed, just a sheet of paper and a little bit of patience. Ready to unleash your inner bookbinder? Let's dive into the easy step-by-step instructions and learn how to make your own eight-page masterpiece from a single sheet of paper!
Preparation and Safety Guidelines
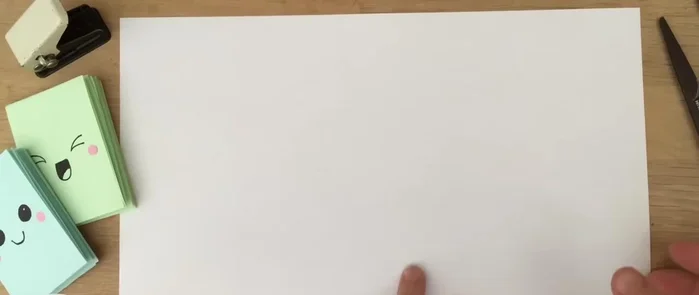
- One sheet of A4 paper (or similar rectangular sheet)
- Scissors
- Use sharp scissors or a craft knife with adult supervision. Always cut away from yourself and your body.
- Be mindful of your fingers when folding and creasing the paper. Take your time to avoid cuts or paper cuts.
- If using glue or adhesive, apply it in a well-ventilated area and avoid contact with skin and eyes. Follow the glue manufacturer's instructions.
Step-by-Step Instructions
Initial Folds
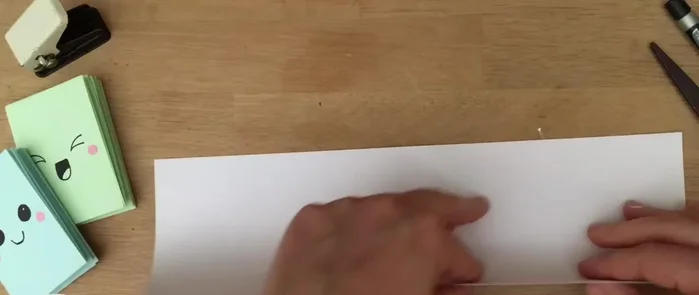
- Fold the bottom part of the paper upwards to create a neat crease.
- Fold the paper upwards again, creating another neat crease.
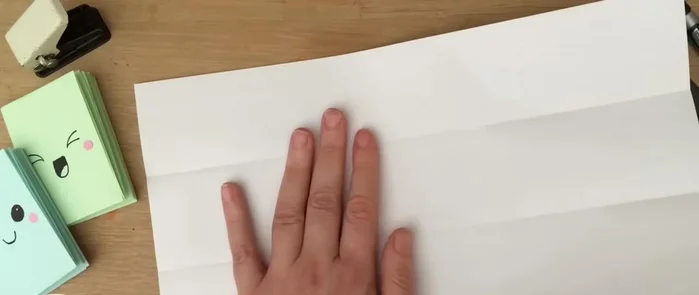
- Fold the paper in the other direction, aligning the edges neatly.
- Fold the paper over again.

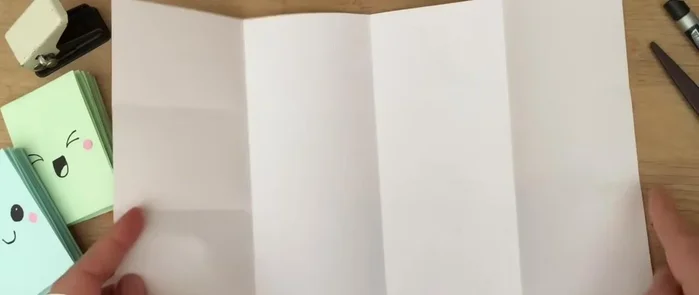
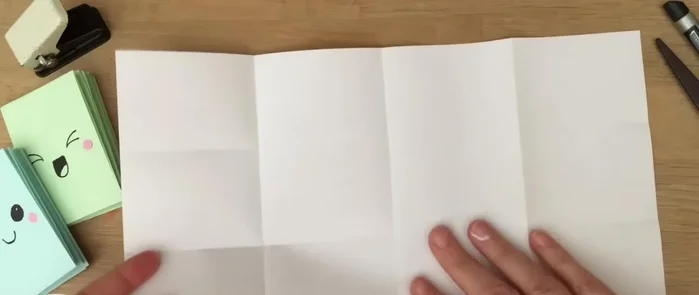
Initial Folds - Open the paper completely. You should have 16 rectangles.
Initial Folds Cutting and Scoring
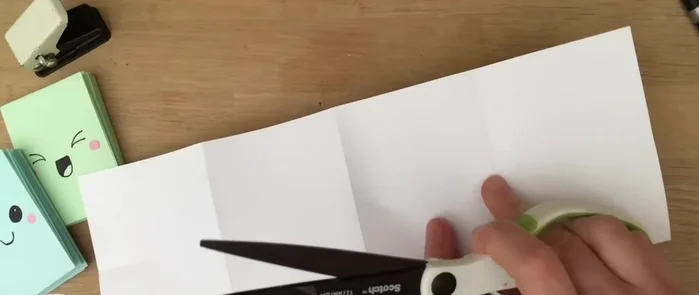
- Fold the paper back in half, aligning the three lines running across.
- Cut up to the center crossing line on each side of the folded paper.
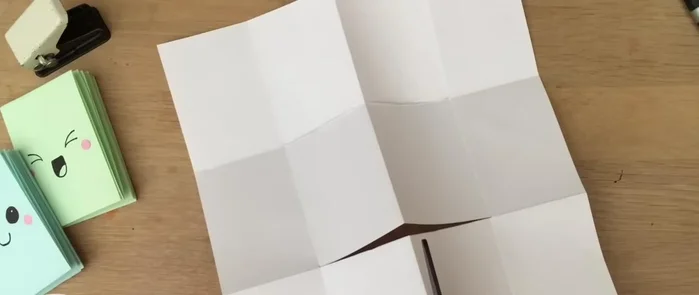
- Open up the paper and cut along the center line of the two middle sections. (You can tear instead of cutting if your creases are sharp).
Cutting and Scoring Folding to Create Booklet
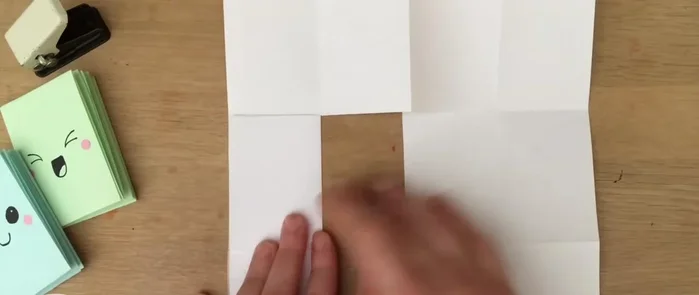
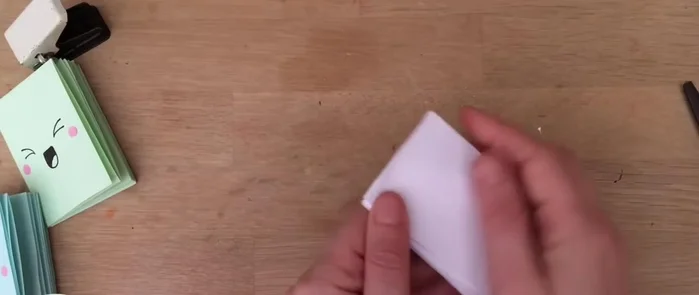
- Lift the rectangles up from the center and fold them outwards. Flip up, flip down, and then flip one more time towards yourself.
- Open the folded sections, push the edges together, fold down, and make your creases. You should now have eight pages.
Folding to Create Booklet Decoration
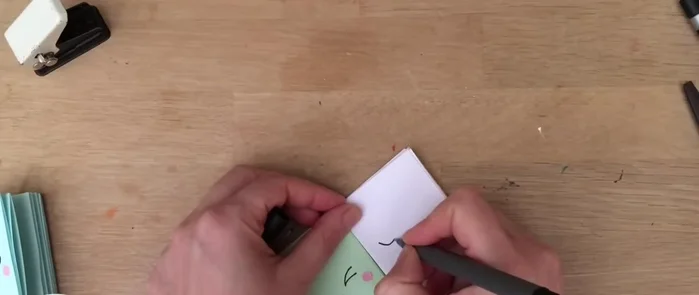
- Decorate your booklet as desired.
Decoration

Read more: Easy Origami Paper Box Tutorial: Step-by-Step Guide
Tips
- Make as neat and sharp creases as possible. This will make the cutting/tearing process easier and result in a cleaner finished booklet.
- Ensure the final fold is done correctly; folding in the opposite direction will reduce the number of pages.