Invitations set the tone for any event, from intimate gatherings to grand celebrations. A beautifully designed invitation can instantly generate excitement and anticipation, leaving a lasting impression on your guests long before the event itself. While professional design services can be expensive, creating stunning invitations is surprisingly achievable using readily available software like Microsoft Word. You don't need advanced design skills to craft something truly memorable.
Forget generic templates and embrace your creativity! This guide will walk you through a simple, step-by-step process, empowering you to design elegant and personalized invitations using the familiar interface of Microsoft Word. Let's unlock the potential of this versatile program and transform your invitation designs from ordinary to extraordinary. Ready to begin? Let's dive into the detailed steps.
Preparation and Safety Guidelines
- Microsoft Word
- Always save your invitation design in multiple formats (e.g., .docx and .pdf) to ensure compatibility across different devices and software.
- Before printing, check your printer settings and print a test copy to ensure the colors, fonts, and image quality are accurate. Adjust settings as needed for optimal results.
- When using images, ensure they are high-resolution to prevent pixelation or blurring when printed. Use images with appropriate licenses to avoid copyright issues.
Step-by-Step Instructions
Set up the document
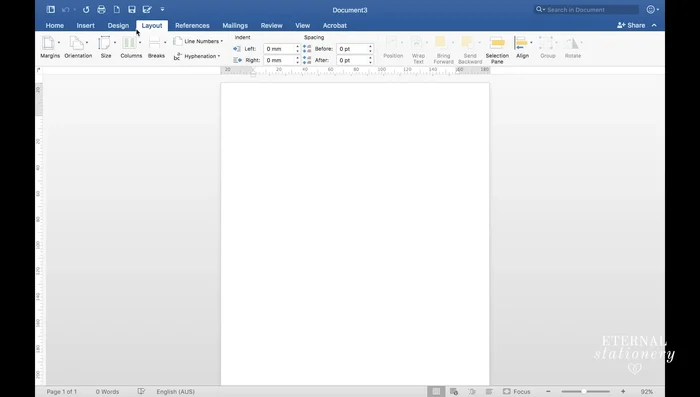
- Open a new Word document and go to 'Layout' -> 'Orientation' -> 'Landscape'. Set the page size to A4 (or US Letter).

Set up the document Create the invitation base
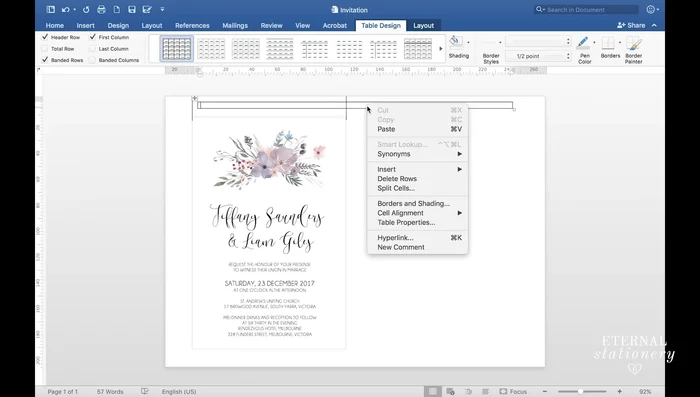
- Insert a 120mm x 180mm table (one cell) to create the invitation's base. Adjust dimensions as needed to fit your envelope.
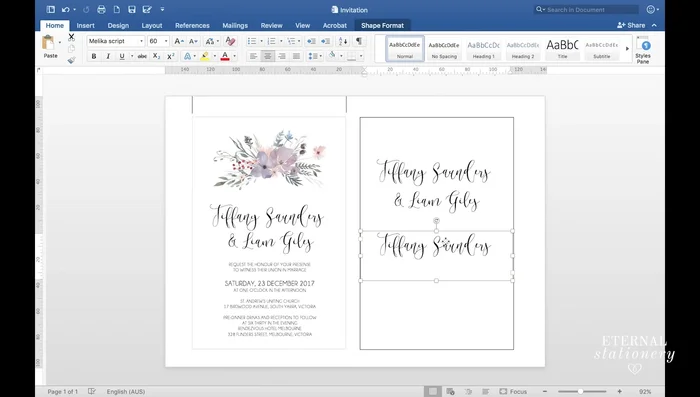
Create the invitation base Add names
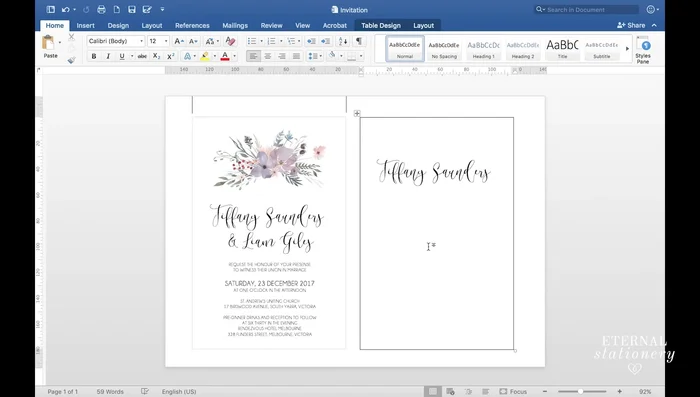
- Insert text boxes for the bride's and groom's names. Use a suitable font (e.g., Malica) and size (e.g., 60pt). Ensure 'Wrap Text' is set to 'In Front of Text' to prevent resizing issues.
- Duplicate text boxes for efficiency. Center-align text using the home tab.
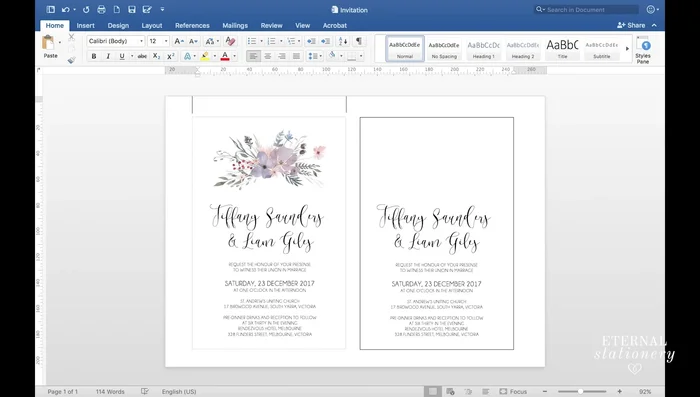
Add names Add invitation body
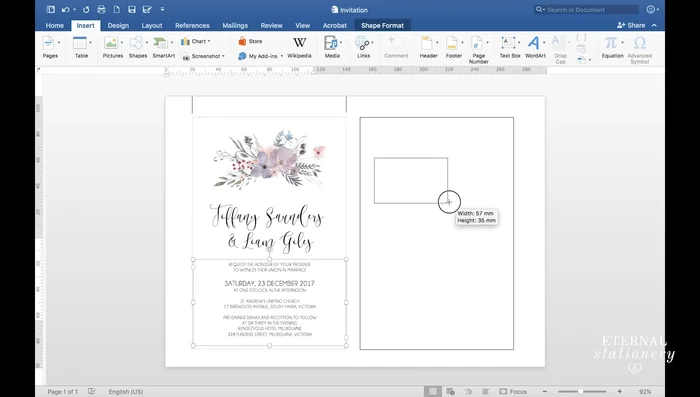
- Add a text box for the invitation body. Adjust font, size, and box dimensions to fit all the information.
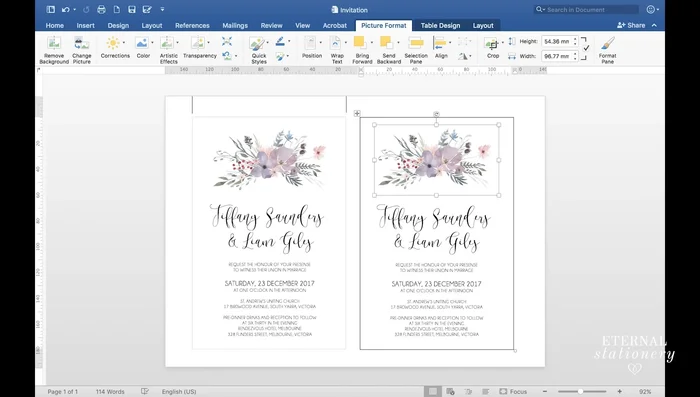
Add invitation body Add and format image
- Insert a high-quality image (at least 2000 pixels) for better print resolution. Use 'Insert' -> 'Pictures' -> 'Pictures from File'.
- Resize and center the image using the 'Picture Format' tab. Click on 'Align' -> 'Center' to perfectly center the image within the invitation.
Add and format image
Read more: Easy Origami Paper Box Tutorial: Step-by-Step Guide
Tips
- Use text boxes for easier manipulation and movement of text elements.
- For high-quality printed invitations, use images with a resolution of at least 2000 pixels to avoid pixelation.