Planning a party or special event often involves the seemingly small, yet surprisingly time-consuming task of creating place cards. Forget hours spent hand-lettering or meticulously crafting individual cards – there's a much faster, more efficient way to achieve elegant results. This guide will demonstrate the quickest method for designing professional-looking place cards using the readily available software, Microsoft Word. Say goodbye to tedious crafting and hello to effortless elegance!
Mastering the art of DIY place cards doesn't require specialized design skills or expensive software. We'll walk you through a streamlined, step-by-step process using Microsoft Word's built-in tools, transforming your ordinary computer into a place card powerhouse. Ready to create stunning, personalized place cards in minutes? Let's dive into the tutorial!
Preparation and Safety Guidelines
- Microsoft Word
- Printer
- Always print a test page first to check alignment, font size, and ink quality before printing your entire batch. Adjust settings as needed.
- Use heavy-weight card stock or photo paper for best results. Thinner paper can easily wrinkle or tear.
- Consider using a high-quality printer to avoid smudging or bleeding ink, especially with darker colours or intricate designs.
Step-by-Step Instructions
Prepare the Document
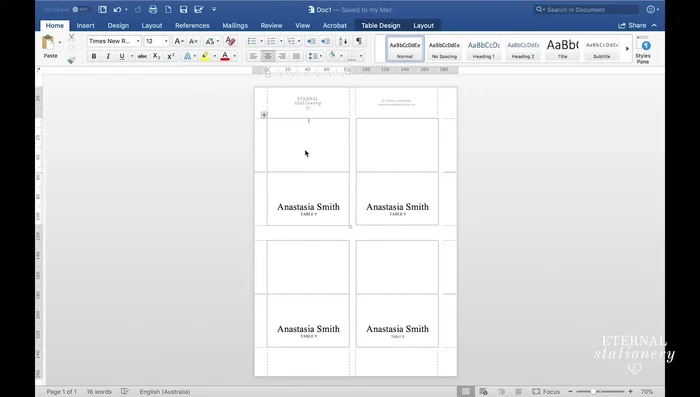
- Download the template. The link is in the video description and iCard.
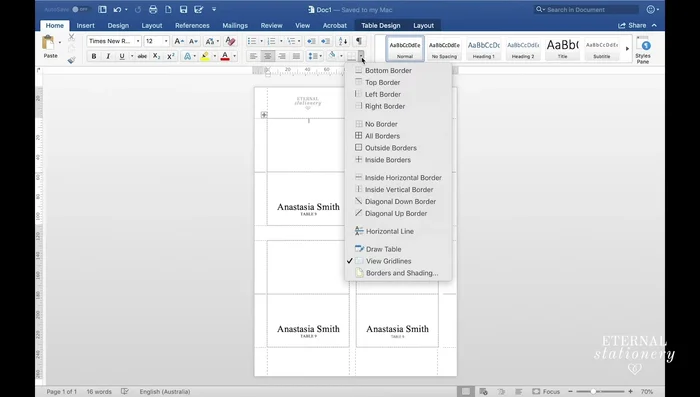
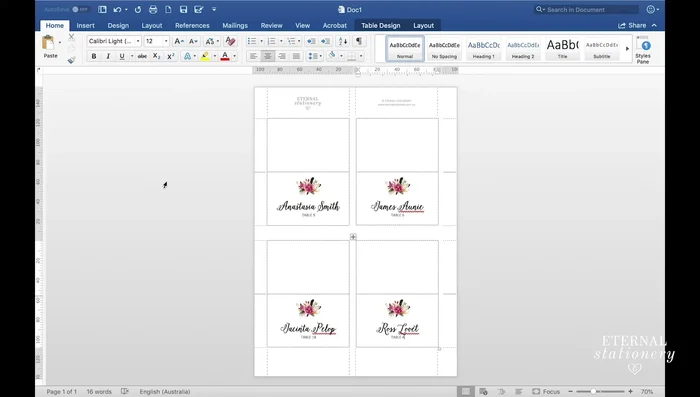
- Go to the 'View' tab and click 'Gridlines'.
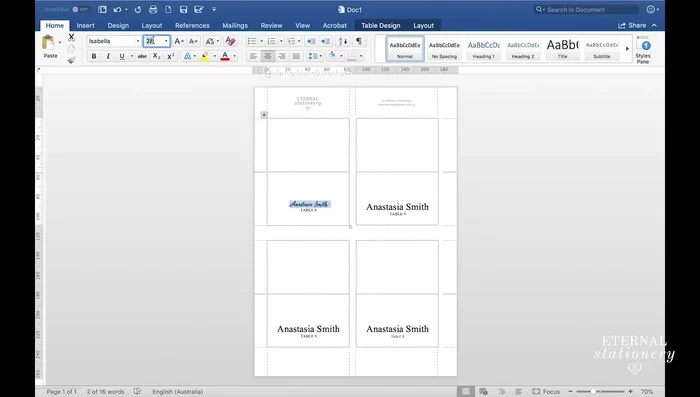
- Choose your font. The video suggests Isabella Script and Calibri Light.

Prepare the Document Add Guest Information
- Enter guest names and table numbers. You can do this manually or use mail merge (a tutorial link is provided in the description).
Add Guest Information Add Images (Optional)
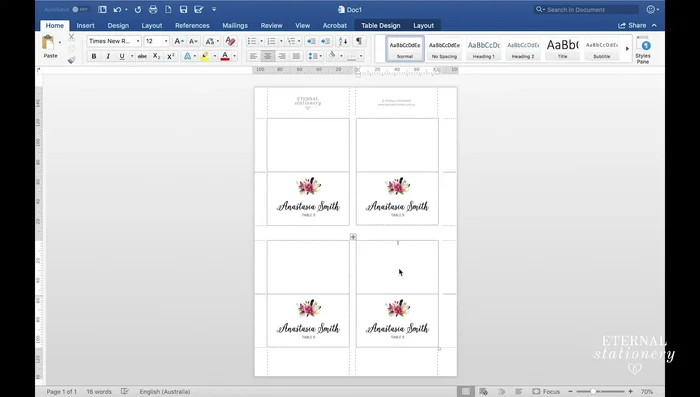
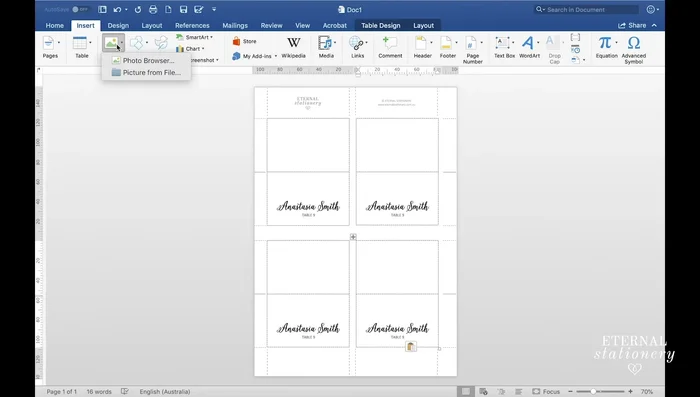
- Go to 'Insert' > 'Picture' > 'Picture from file'.
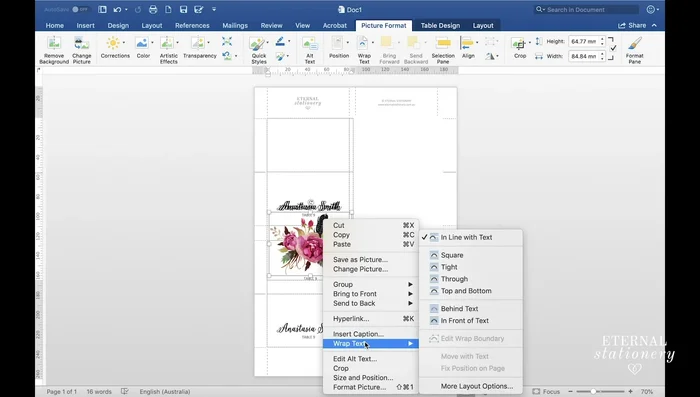
- Set image wrap text to 'In Front of Text' to easily move and resize without affecting the layout.
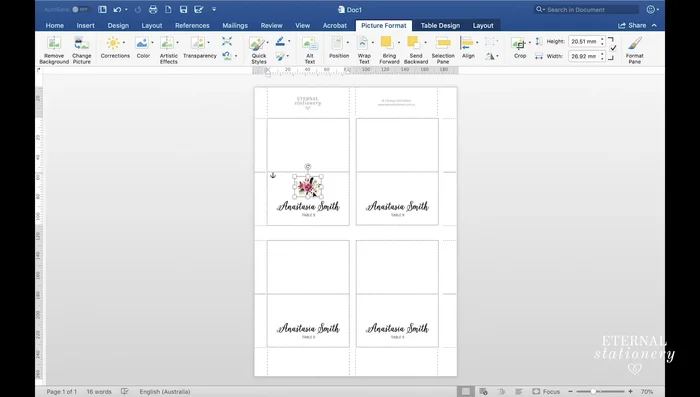
- Resize and position your image. Center it using the 'Picture Format' tab and alignment options.
Add Images (Optional) Finalize and Print
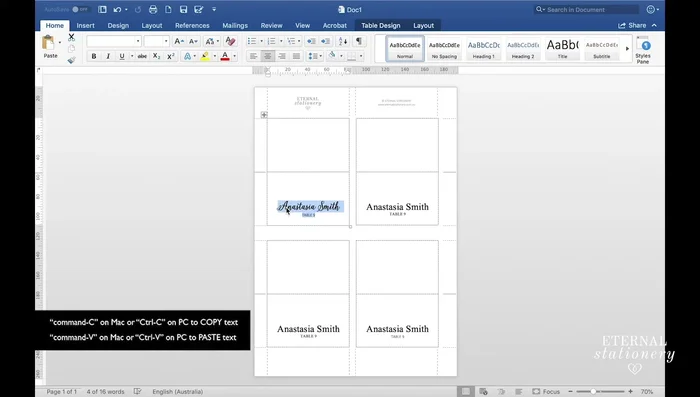
- Copy and paste text to quickly fill in all place card names. Select all text, copy (Cmd+C), paste (Cmd+V) to the next place card.
- Print the place cards.
Finalize and Print
Read more: Easy Origami Paper Box Tutorial: Step-by-Step Guide
Tips
- Use the provided template for ease of use and consistent sizing (85 x 55 mm).
- Gridlines are a visual aid only and won't print.
- Use keyboard shortcuts (Cmd+C, Cmd+V) to speed up the process of copying and pasting names to multiple place cards.
- Consider mail merge for a large number of place cards.