Ever wished you could capture the ethereal glow of LED lights in a painting, transforming a simple canvas into a scene bursting with whimsical energy? This tutorial will guide you through the enchanting process of creating just that, blending the vibrant, playful nature of LED illumination with the tactile satisfaction of painting. Forget stiff, predictable landscapes; we're diving into a world of captivating light trails, shimmering auras, and unexpected color combinations. Imagine capturing the dreamy, almost magical quality of a string of fairy lights draped across a midnight garden, or the hypnotic pulse of a disco ball reflected in a polished surface.
This unique approach to painting utilizes readily available materials and simple techniques, making it perfect for beginners and seasoned artists alike. Prepare to be amazed as you learn how to translate the dynamic energy of LED light into stunning visual art. Let's get started with the step-by-step instructions below, transforming your artistic vision into a radiant reality.
Preparation and Safety Guidelines
- paint
- brushes
- canvas
- other painting supplies (implied)
- Always unplug LED lights before handling them or working near them with paint. Electricity and water are a dangerous combination.
- Use low-heat LED lights to minimize the risk of melting or damaging your painting surface. Avoid high-wattage bulbs or prolonged direct contact.
- Ensure proper ventilation when working with paints and LED lights, especially in enclosed spaces. Some paints and LEDs might release fumes.
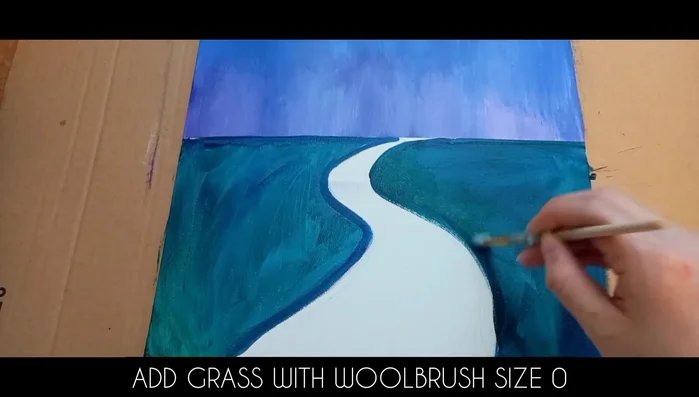
Step-by-Step Instructions
Introduction
- Introduction and welcome
- LED light exhibitions

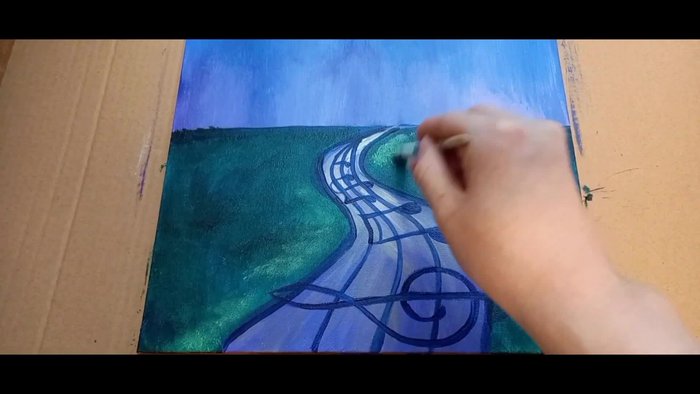
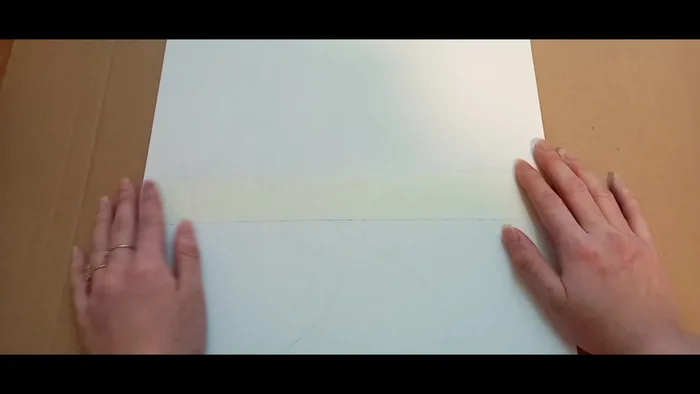
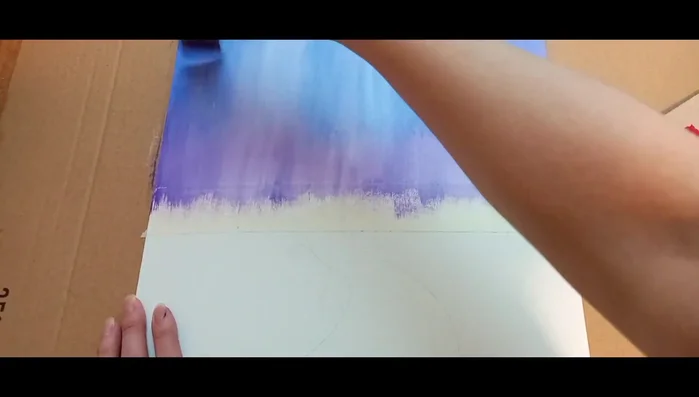
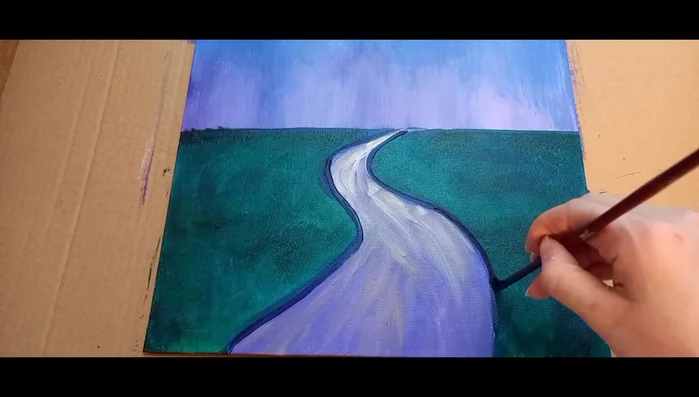
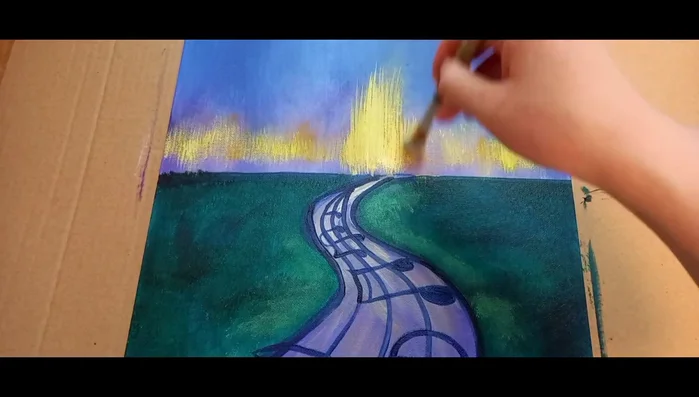
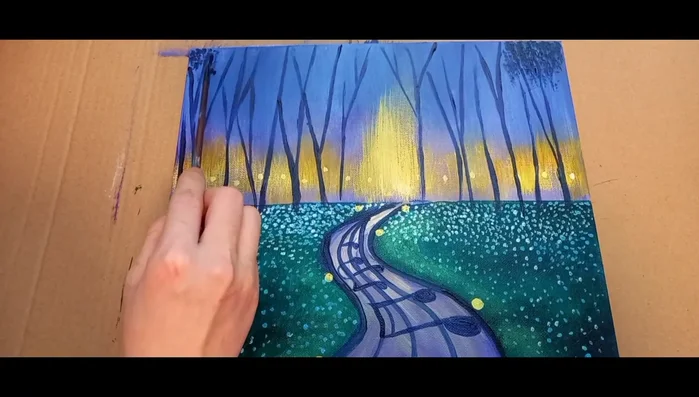
Introduction Painting Process
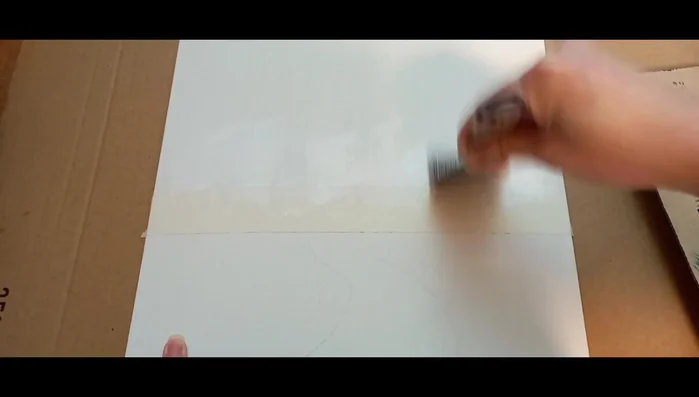
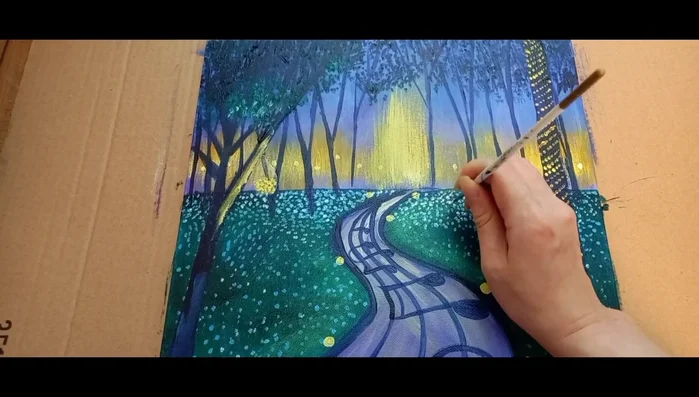
- Painting process begins (music plays)
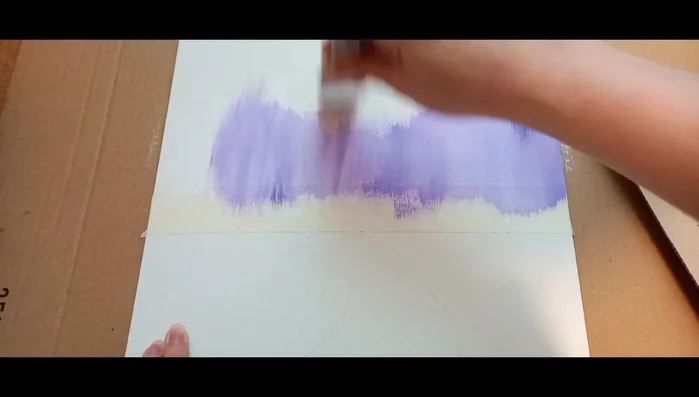
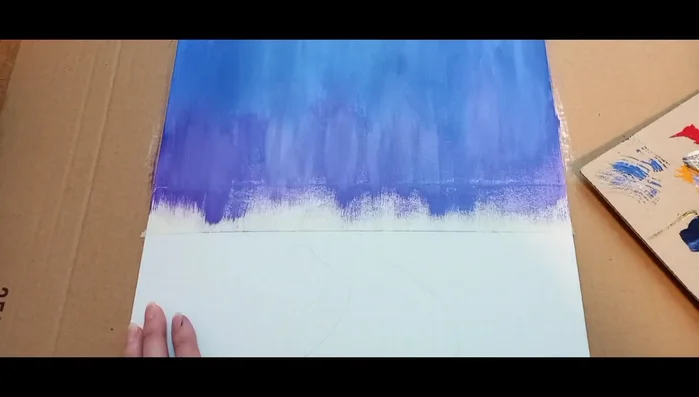
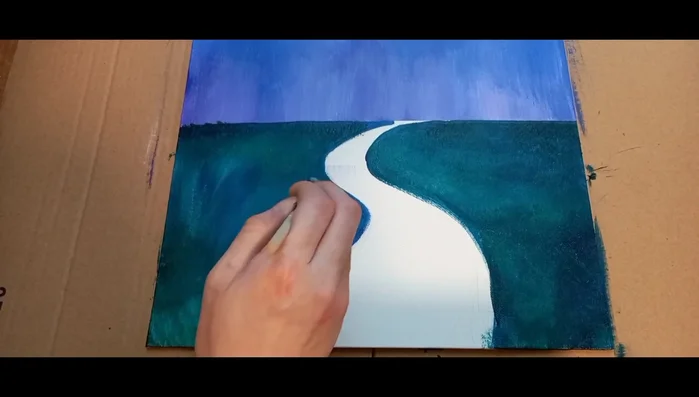
- Painting process continues (music and applause)
- Painting process continues (music)
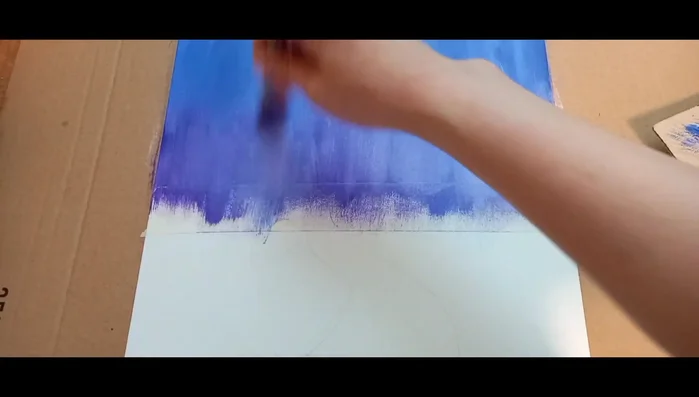
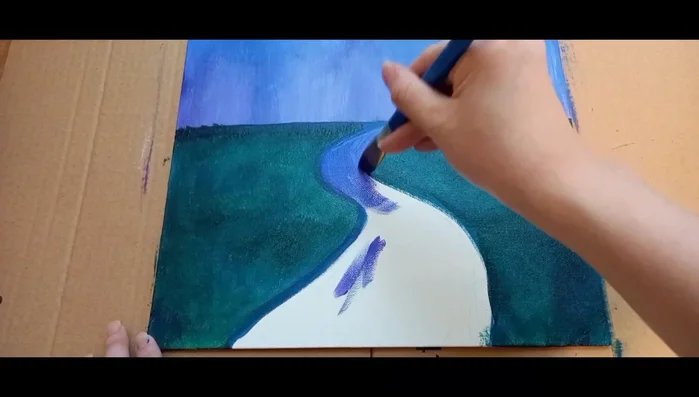
- Painting process continues (music, applause)
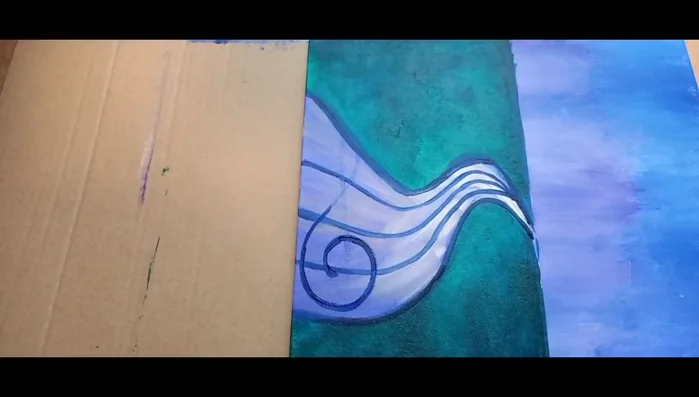
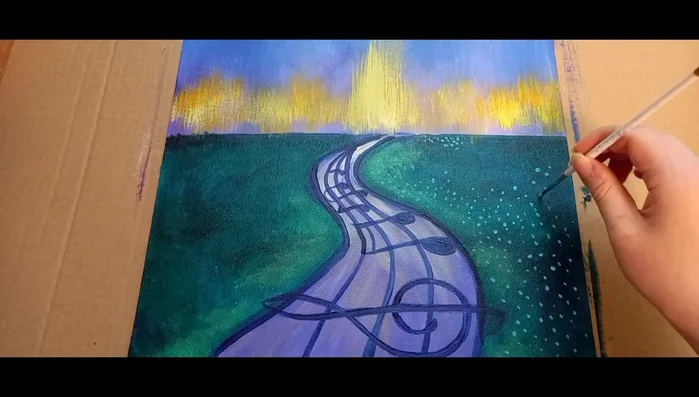
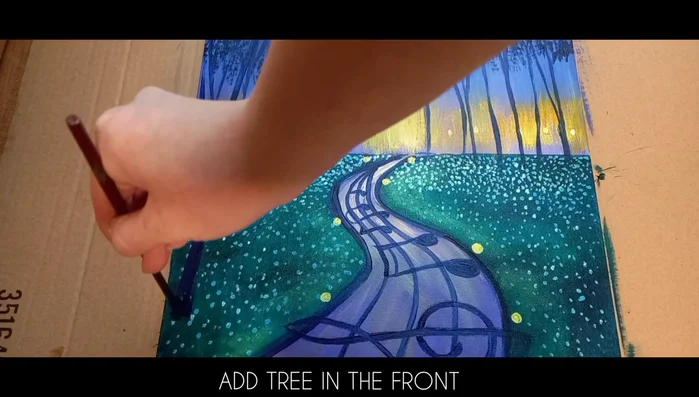
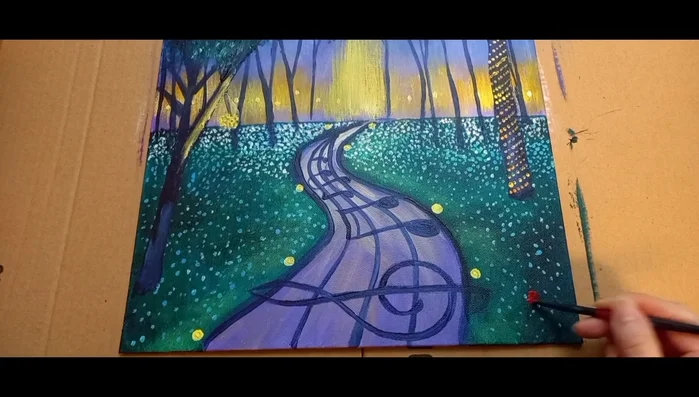
Painting Process - Painting process continues (music)
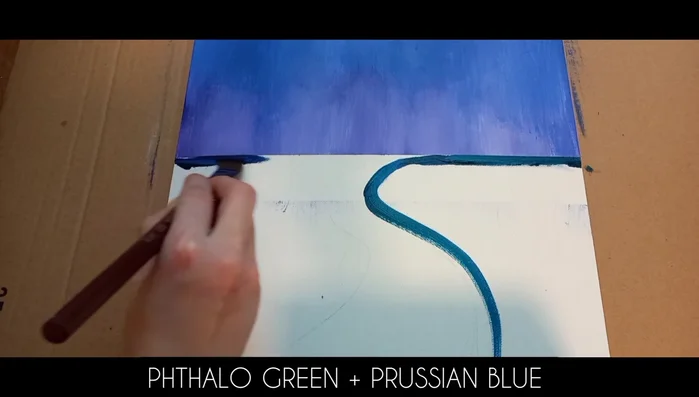
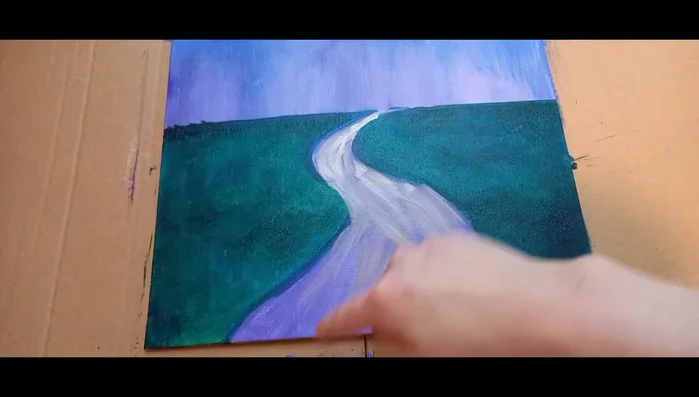
- Painting process continues (music and applause)
- Painting process continues (music)
- Painting process continues (music and applause)
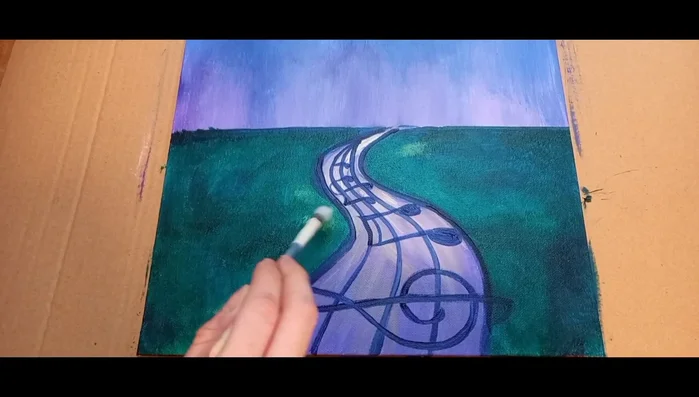
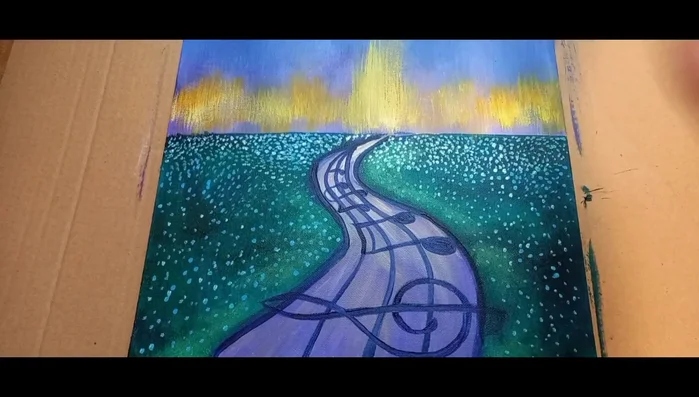
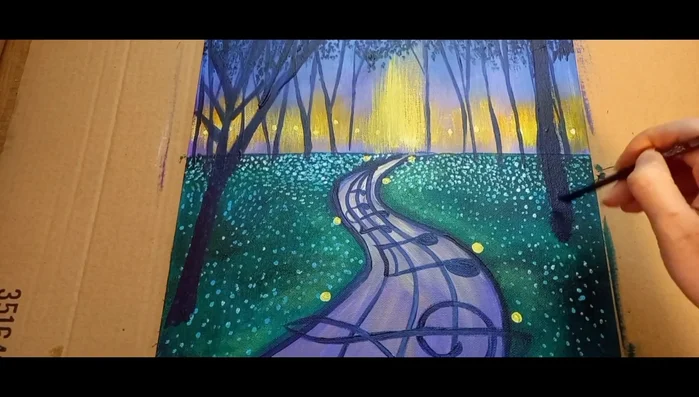
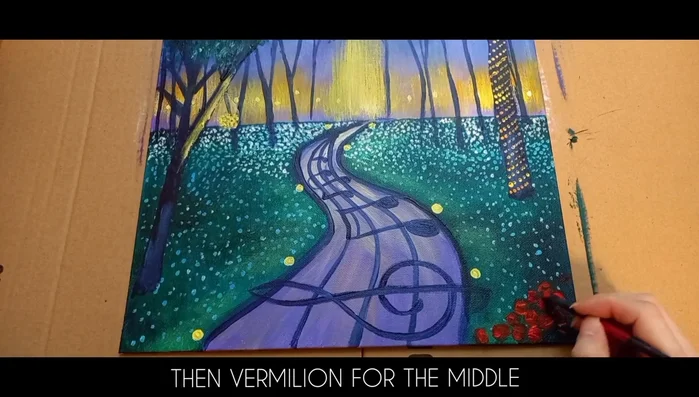
Painting Process - Painting process continues (music)
- Painting process continues (music, applause)
- Painting process continues (music)
- Painting process continues (music, applause)
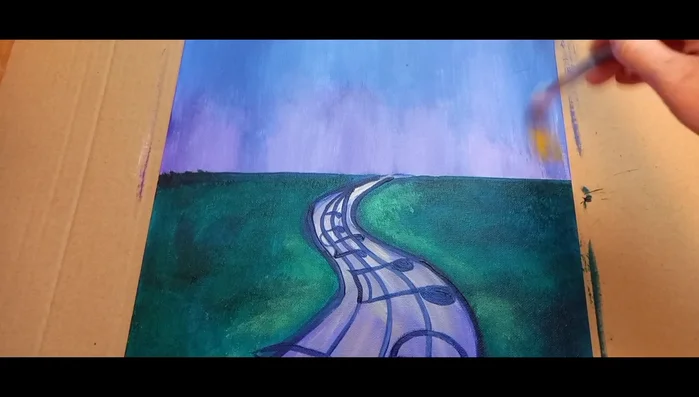
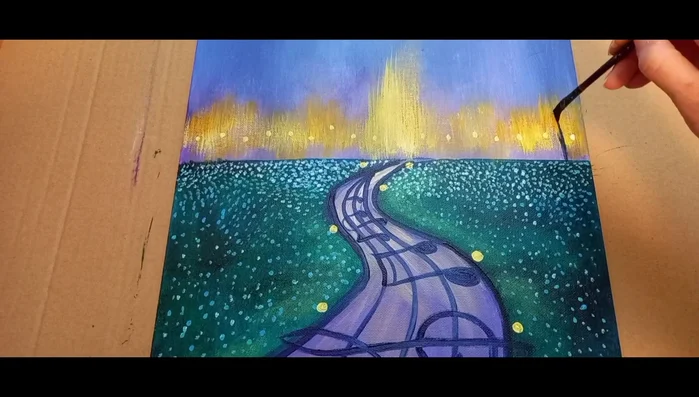
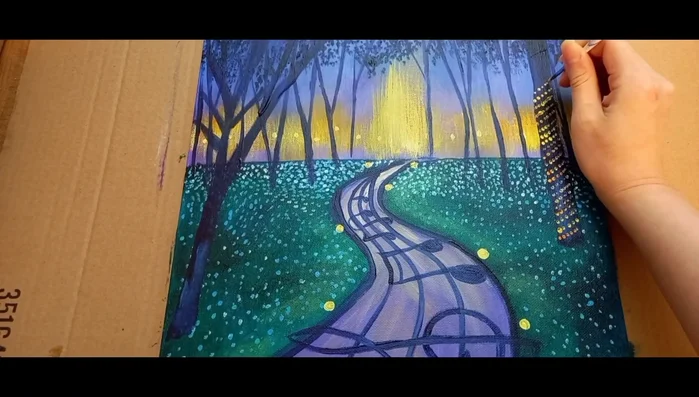
Painting Process - Painting process continues (music)
- Painting process continues (music, applause)
- Painting process continues (music)
- Painting process continues (music, applause)
Painting Process - Painting process continues (music)
- Painting process continues (music, applause)
- Painting process continues (music)
- Painting process continues (music, applause)
Painting Process - Painting process continues (music)
- Painting process continues (music, applause)
- Painting process continues (music)
- Painting process continues (music, applause)
Painting Process - Painting process continues (music)
- Painting process continues (music, applause)
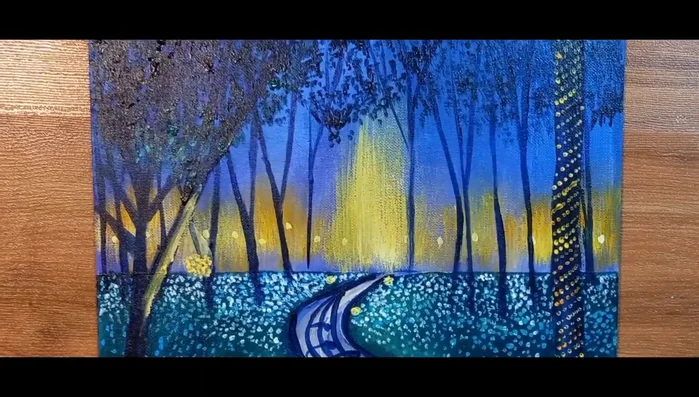
- Painting process continues (music)
Painting Process

Read more: 7 Top Paint Color Trends for 2024: A Complete Guide with Free Downloadable Resource
Tips
- N/A