Have you always dreamt of capturing the serene beauty of a hazy sunrise on canvas, but felt intimidated by the prospect? This easy-to-follow tutorial will guide you through the process, proving that painting breathtaking landscapes is achievable even for absolute beginners. No prior experience is necessary; we'll break down the technique into simple, manageable steps, focusing on creating a soft, atmospheric effect that perfectly embodies the tranquil mood of a hazy dawn. We'll utilize readily available materials and employ techniques that are easy to grasp, ensuring you'll feel confident and accomplished throughout the process.
Forget complex brushstrokes and frustrating color mixing – this tutorial prioritizes simplicity and impactful results. We'll focus on layering washes of color to build depth and atmosphere, achieving a realistic haze with minimal effort. Ready to transform a blank canvas into a stunning sunrise scene? Let's dive into the step-by-step guide and begin painting your own masterpiece!
Preparation and Safety Guidelines
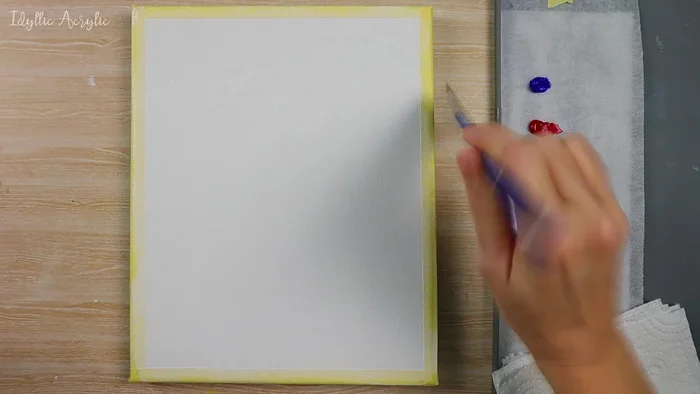
- Canvas
- Paints (white, cadmium yellow deep, light pink, alizarin crimson, ultramarine, a tiny bit of azarin crimson)
- Large brush
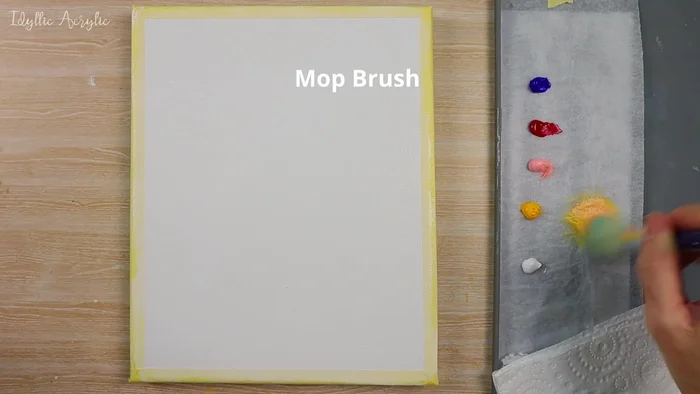
- Soft fluffy brush (mop brush)
- Medium filbert brush
- Fan brush
- Small round brush
- Palette knife
- Always work in a well-ventilated area when using acrylic or oil paints. Fumes can be harmful.
- Protect your work surface with a drop cloth or newspaper to prevent paint spills and damage.
- Wash your brushes thoroughly with soap and water after each use to maintain their quality and prevent paint from hardening.
Step-by-Step Instructions
Prepare the Canvas
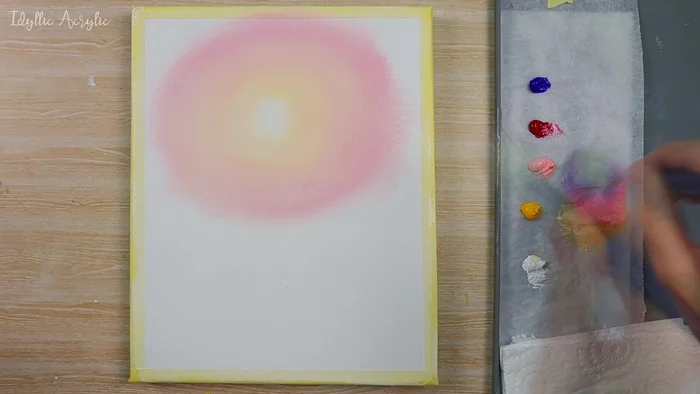
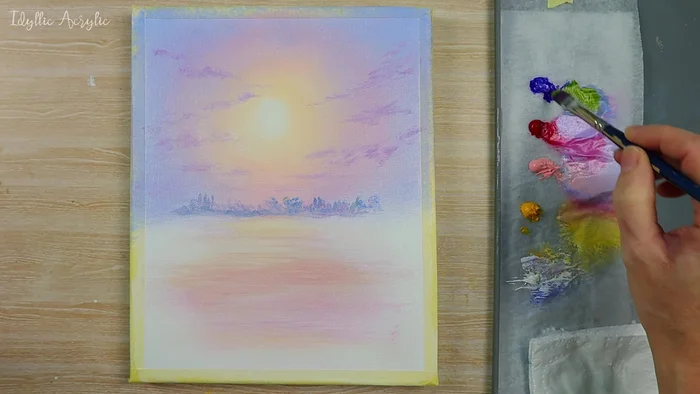
- Cover the entire canvas with thinned-down white paint using a large brush.
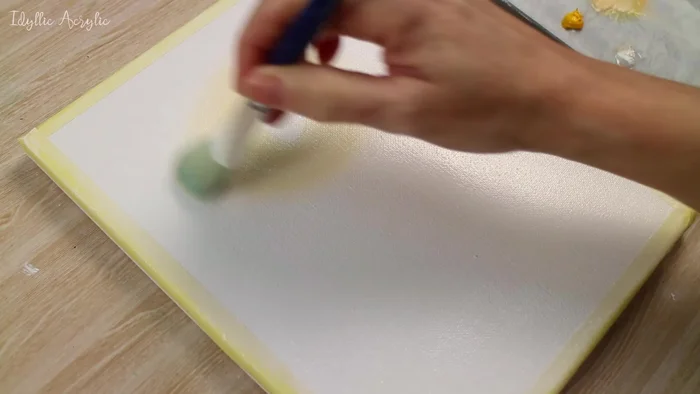
- Apply cadmium yellow deep, light pink, and white to the edges of the canvas using a soft fluffy brush.

Prepare the Canvas Paint the Sunrise
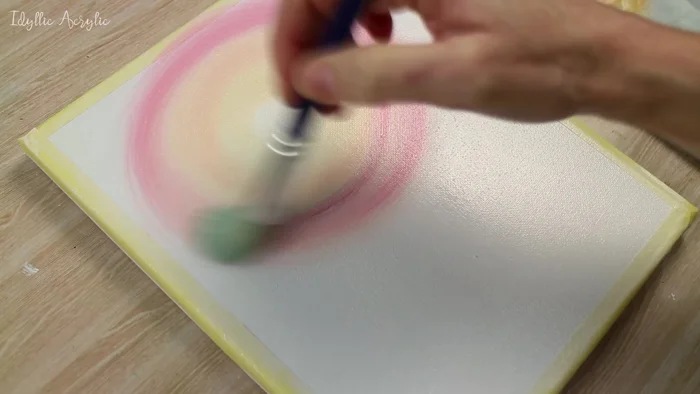
- Paint the sunrise in the distance using circular motions, leaving a white patch in the middle for the bright sun. Add rose pink and alizarin crimson to make the circle bigger.
- Blend the sunrise colors using a dry fluffy brush.
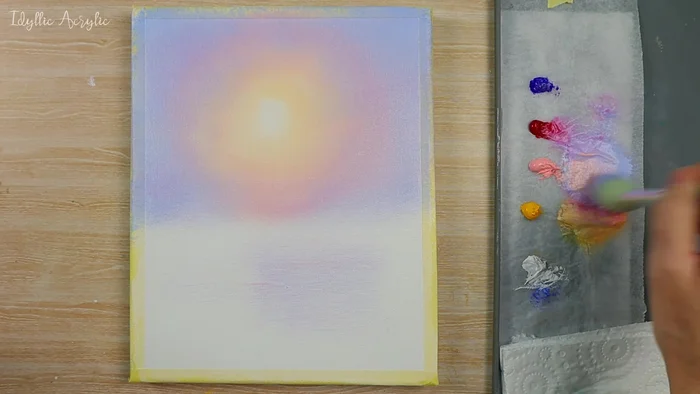
- Create a purple-blue color by mixing ultramarine, pink, and a touch of white; use this to paint around the sunrise area and soften the edges.
Paint the Sunrise Add Water Reflections
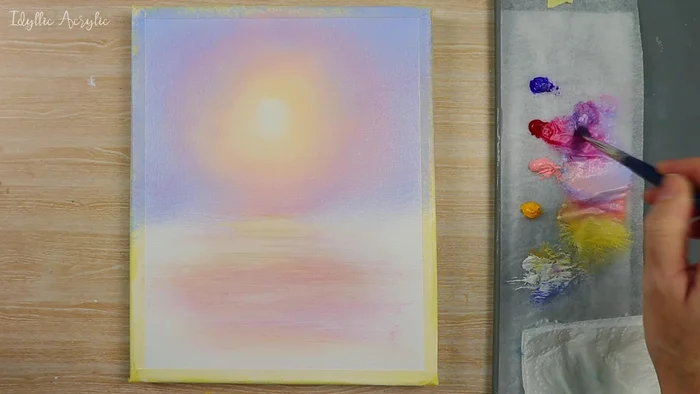
- Add the same colors to the bottom half of the canvas to create water reflections.
Add Water Reflections Paint the Sky
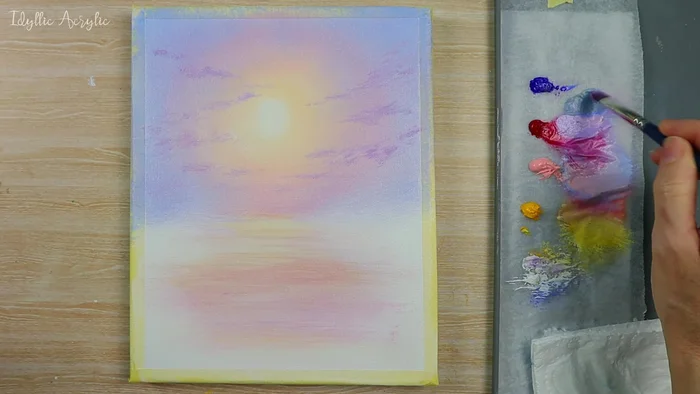
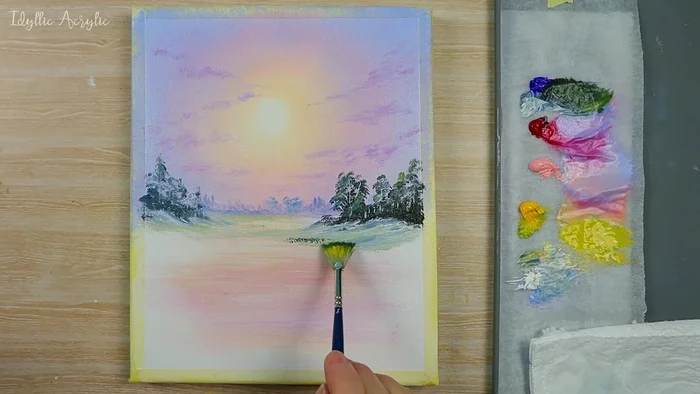
- Paint clouds using a medium filbert brush and a mixture of ultramarine, alizarin crimson, and white.
Paint the Sky Paint the Trees
- Add distant trees by mixing cadmium yellow with the blue-purple mixture, adding white for lighter trees. Use the filbert brush's tip and side to create different shapes.
- Create darker trees in the foreground using ultramarine, cadmium yellow, and a tiny bit of alizarin crimson. Use the filbert brush to build up silhouettes.
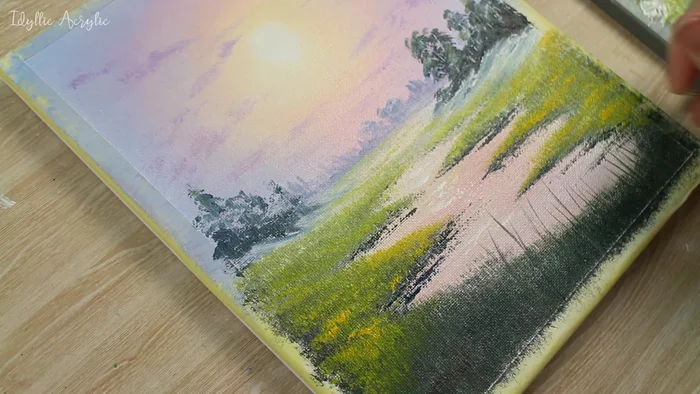
Paint the Trees Paint the Land
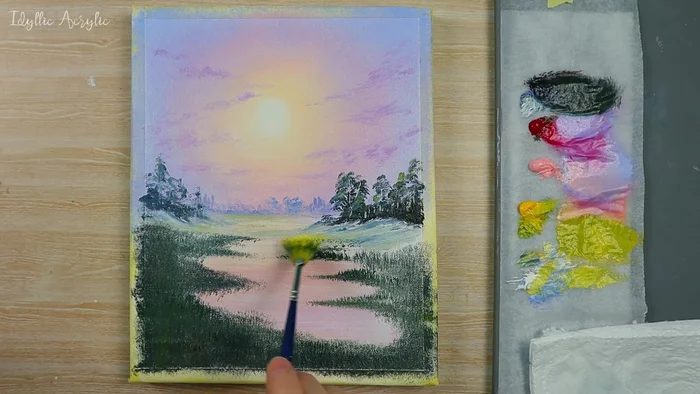
- Block in land areas using a dark green and a fan brush, dabbing it on the canvas to create an illusion of grass.
- Add distant yellow fields using cadmium yellow deep and white, gradually increasing the intensity of the yellow in the foreground.
Paint the Land Add Details and Highlights
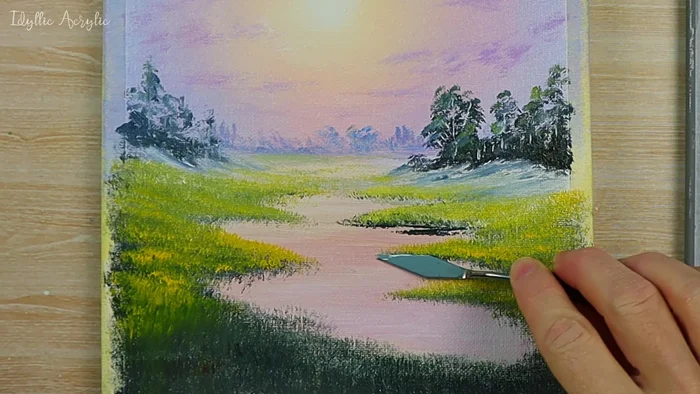
- Use a palette knife to add shadow areas where the ground meets the water, moving the knife horizontally. Add white sparkles on the water with flicks upwards.
- Add wildflowers in the foreground using a small round brush, flicking the brush upwards to create grass and using pinks and alizarin crimson for flower petals.
Add Details and Highlights
Read more: 7 Top Paint Color Trends for 2024: A Complete Guide with Free Downloadable Resource
Tips
- Thinning down the white paint with water makes blending easier.
- Using a wet-on-wet technique makes blending easier.
- Use the tip and side of the brush for varied effects.
- Only a little paint is needed on the palette knife at one time.
- Using the tip of the brush for painting flowers will give a nice petal shape.