Mosaic art, with its vibrant colors and intricate designs, adds a unique and captivating touch to any interior space. However, the grout, the crucial element holding the tiles together, can often fade or become discolored over time, diminishing the artwork's overall aesthetic appeal. Repainting grout in your mosaic artwork allows you to refresh its appearance, revitalize dull colors, or even completely transform its look, extending its lifespan and maintaining its artistic integrity. Maintaining the beauty of your mosaic investment is easier than you might think.
This guide provides a comprehensive, step-by-step process for successfully repainting the grout in your mosaic art pieces, specifically tailored for interior projects. We'll cover everything from preparing your mosaic for painting to choosing the right paint and applying it flawlessly, ensuring a professional finish that will last. Let's dive into the detailed instructions to transform your mosaic masterpiece.
Preparation and Safety Guidelines
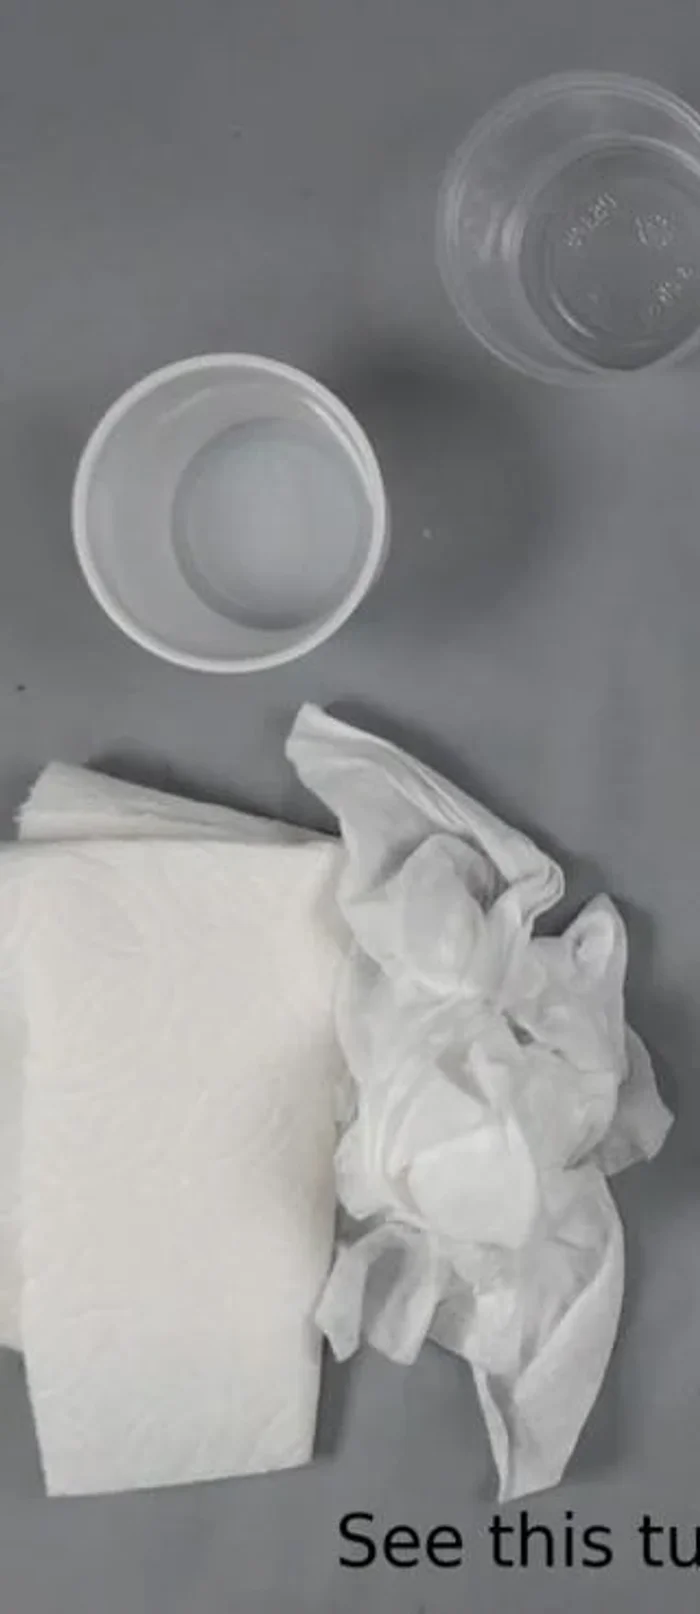
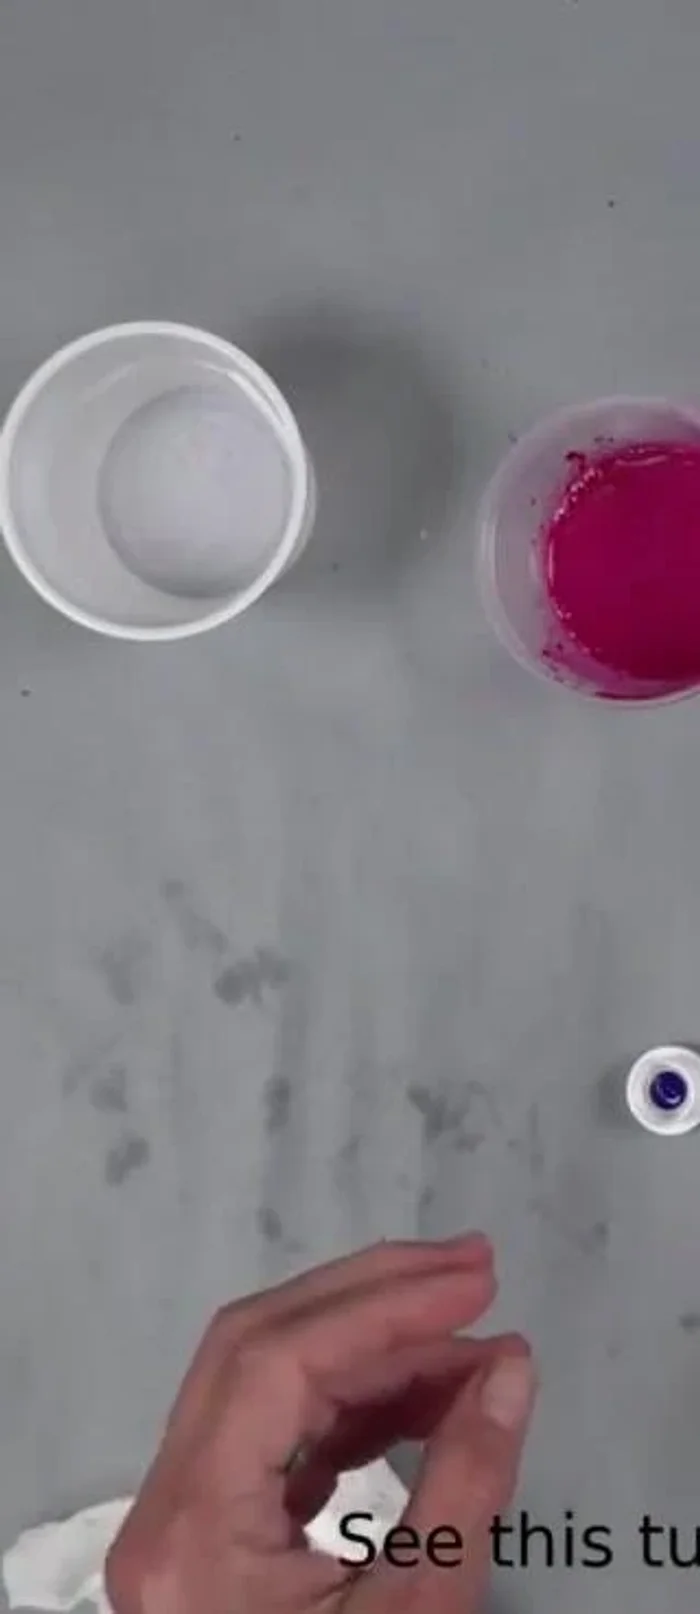
- Acrylic paints
- Water
- Paintbrushes
- Baby wipes
- Sample board (optional)
- Always work in a well-ventilated area. Mosaic grout and paints contain chemicals that can be harmful if inhaled.
- Protect your work surface and surrounding areas with drop cloths or plastic sheeting. Grout and paint can stain.
- Wear appropriate safety gear, including gloves and eye protection, to prevent skin and eye irritation from the materials.
Step-by-Step Instructions
Prepare the Mosaic
- Ensure it's an interior piece with unsealed, porous grout (not epoxy).

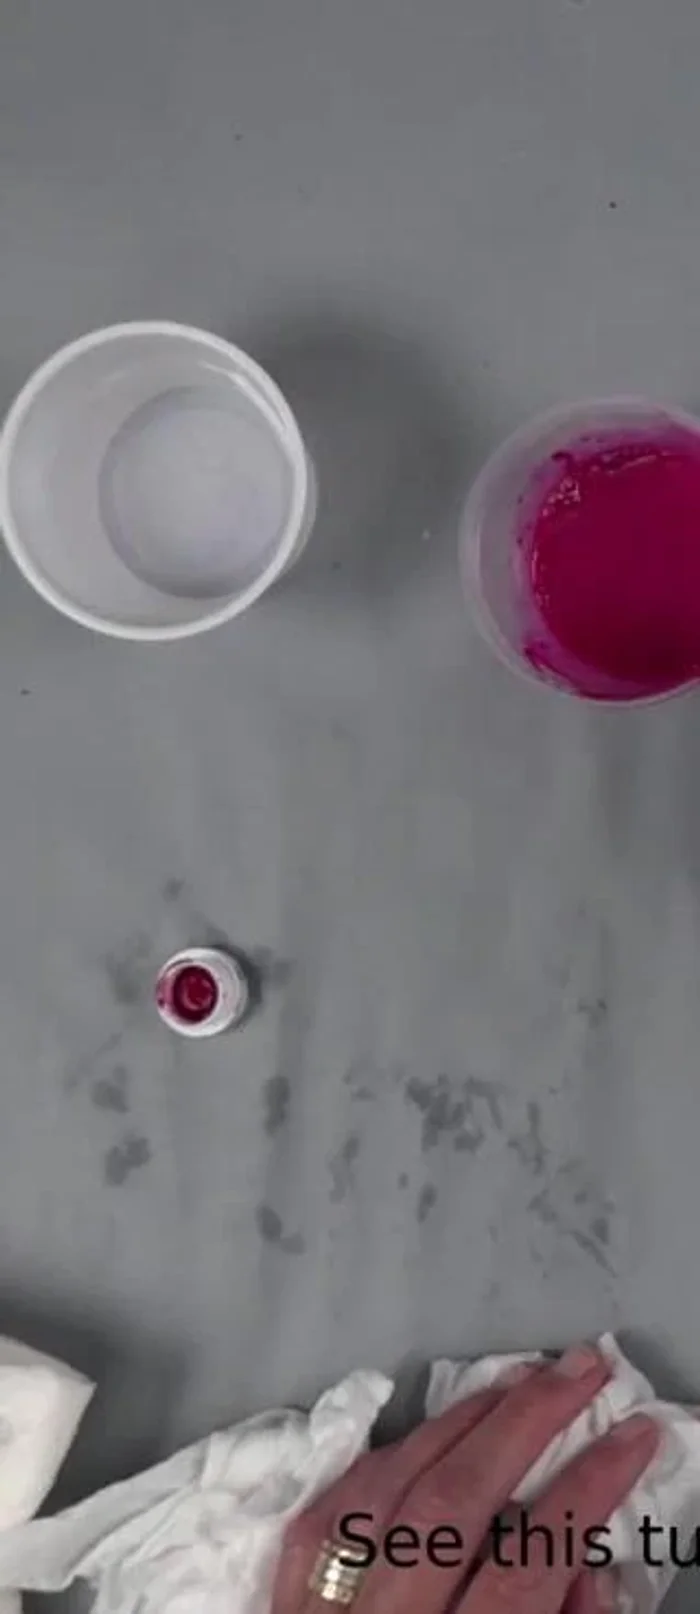
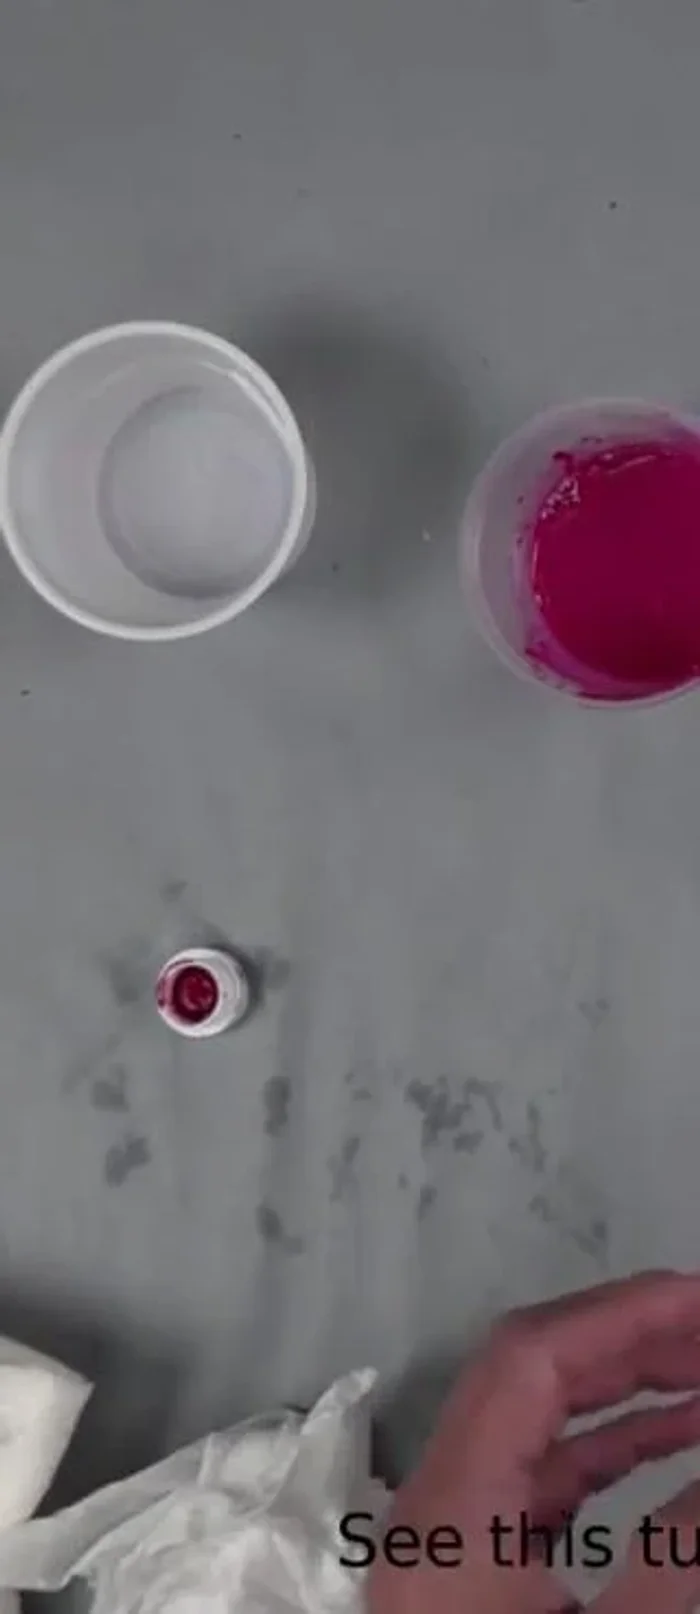
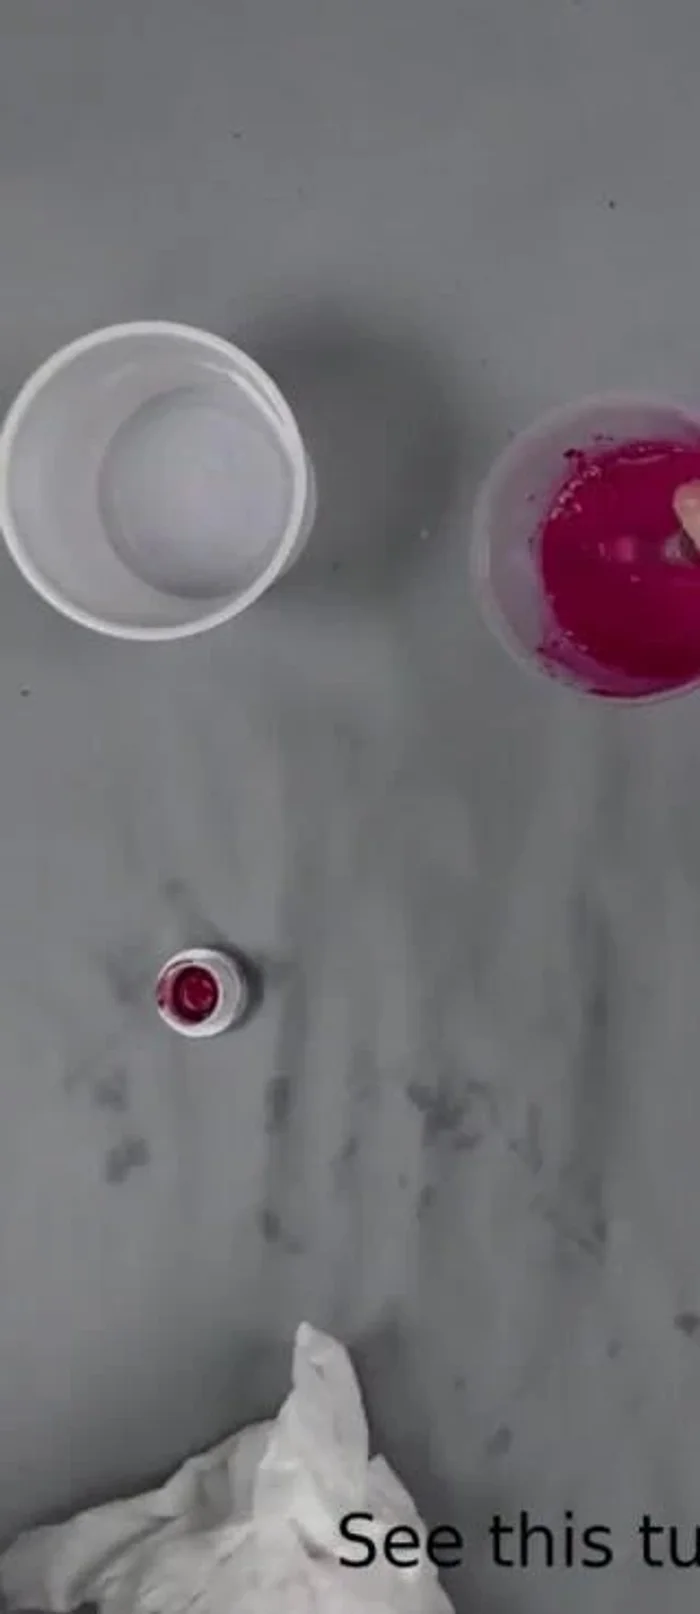
Prepare the Mosaic Mix the Paints
- Dilute acrylic paints with water to create a milky consistency. Avoid large paint clumps in your brush.
Mix the Paints Apply the First Coat of Paint
- Use a paintbrush to apply the diluted paint directly onto the grout. You can overlap the glass slightly; it will wipe off.
Apply the First Coat of Paint Remove Excess Paint
- Use a baby wipe to remove excess paint from the glass and create a desired grout color intensity.
Remove Excess Paint Adjust Paint Intensity
- If areas are not dark enough, add more diluted paint with a dry brush to avoid excess water.
Adjust Paint Intensity Add Multiple Colors and Blend
- Apply different colors to create varied effects. Experiment with blending colors for unique results.
Add Multiple Colors and Blend

Read more: 7 Top Paint Color Trends for 2024: A Complete Guide with Free Downloadable Resource
Tips
- Practice on a sample board: Test your color combinations and techniques on a separate piece of mosaic before working on your final project.
- Use masking tape (optional): For precise control, use masking tape to define areas before painting.
- Consider grout type: This technique works best with porous grouts, not epoxy or sealed grouts. Thinset may present some challenges.
- Interior use only: This method is not suitable for exterior mosaics due to potential fading from sunlight.