Transforming a blank wall into a stunning piece of art is a dream many share, but the sheer scale of a mural can feel daunting. The grid method, however, offers a simple yet powerful solution, breaking down the complex task into manageable, replicable sections. This proven technique, favored by artists of all skill levels, allows you to accurately transfer your design from a small sketch to a large-scale mural with precision and confidence, eliminating the fear of proportion errors and ensuring a flawless final product. Forget freehand anxieties and embrace the control and satisfaction of this accessible method.
This comprehensive guide will walk you through each step of the grid method, from initial planning and design to the final brushstrokes. We'll delve into choosing the right materials, accurately scaling your design, and mastering the transfer process, ensuring you're equipped to create your very own breathtaking mural. Prepare to unleash your artistic vision and discover the ease and precision of the grid method – let's get started!
Preparation and Safety Guidelines
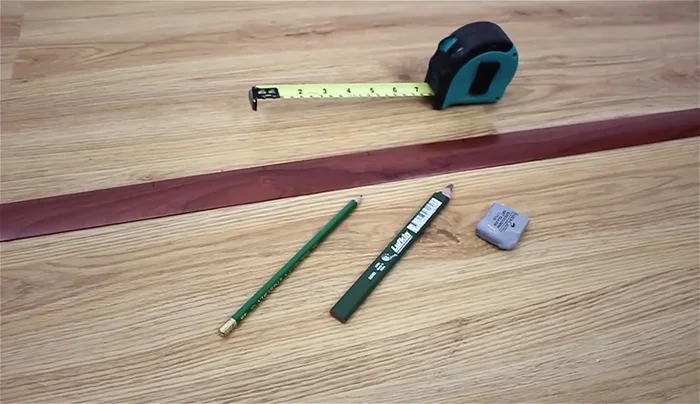
- 1 meter ruler
- floor edging
- tape measure
- durable woodworking pencil
- 2B art pencil
- kneadable eraser
- painters tape
- drop sheet
- containers for mixing paint
- acrylic wall paint sample pots
- brushes
- Always work in a well-ventilated area, especially when using spray paints or oil-based paints. Wear a respirator mask to avoid inhaling harmful fumes.
- Protect your work surface and surrounding areas with drop cloths or plastic sheeting. Paint can be very difficult to remove from surfaces once it's dried.
- If working at heights, use a sturdy ladder or scaffolding and follow all safety precautions. Never overreach or work without proper support.
Step-by-Step Instructions
Planning and Preparation
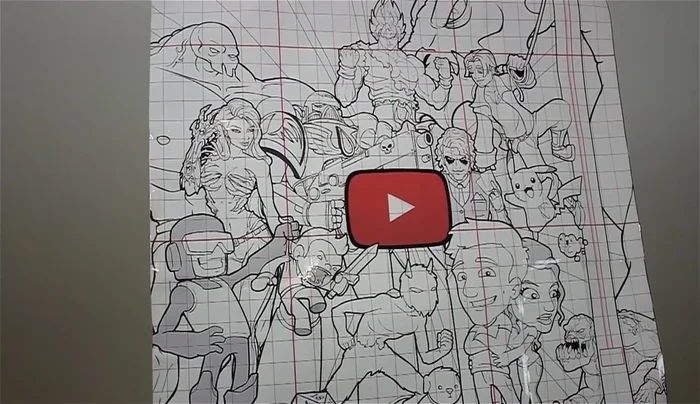
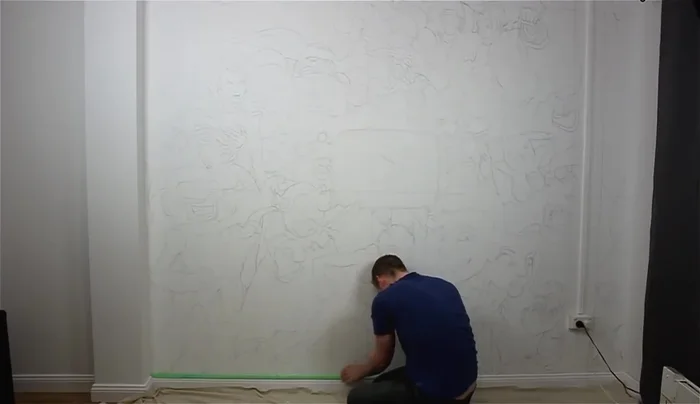
- Measure the wall and subdivide it into 10-centimeter squares within larger 1-meter squares. Transfer this grid onto your mural design.
- Tape around the edges of the mural area and place a drop sheet on the floor.

Planning and Preparation Transferring the Design
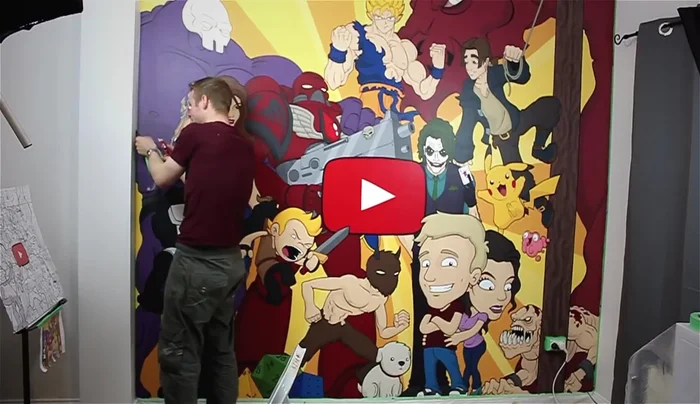
- Replicate each square from your design onto the wall, focusing on one square at a time and carefully mimicking every line and detail to scale.
Transferring the Design Painting the Mural
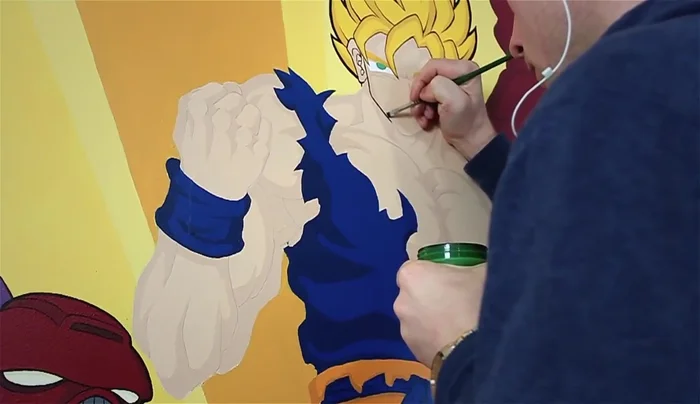
- Apply at least two to three coats of paint for each tone, starting with the background and working towards the foreground. Remember that paint dries darker.
Painting the Mural Adding Details
- Use a small brush and black paint to add line details. Work slowly and carefully, using a damp cloth to correct any mistakes.
Adding Details Finishing Touches
- Carefully remove the painter's tape, using a utility knife to separate it from the paint before pulling it away to avoid damaging your work.
Finishing Touches

Read more: 7 Top Paint Color Trends for 2024: A Complete Guide with Free Downloadable Resource
Tips
- Prepare thoroughly: Know that painting a mural is a lot of work, hours and stress, but the payoff is great.
- Plan your design: Approach your mural design as you would any other refined piece of art. Prepare and plan to ensure the final product matches your vision.
- Use a kneadable eraser: This type of eraser lifts paint instead of smearing it, making it ideal for detailed work.
- Mix enough paint: You can't remix paint exactly the same, so prepare more than enough paint for each area.
- Don't rush: Take your time and avoid rushing the process to prevent mistakes. It's a time-consuming process.